Adrian's Daily Journal
5/15/15
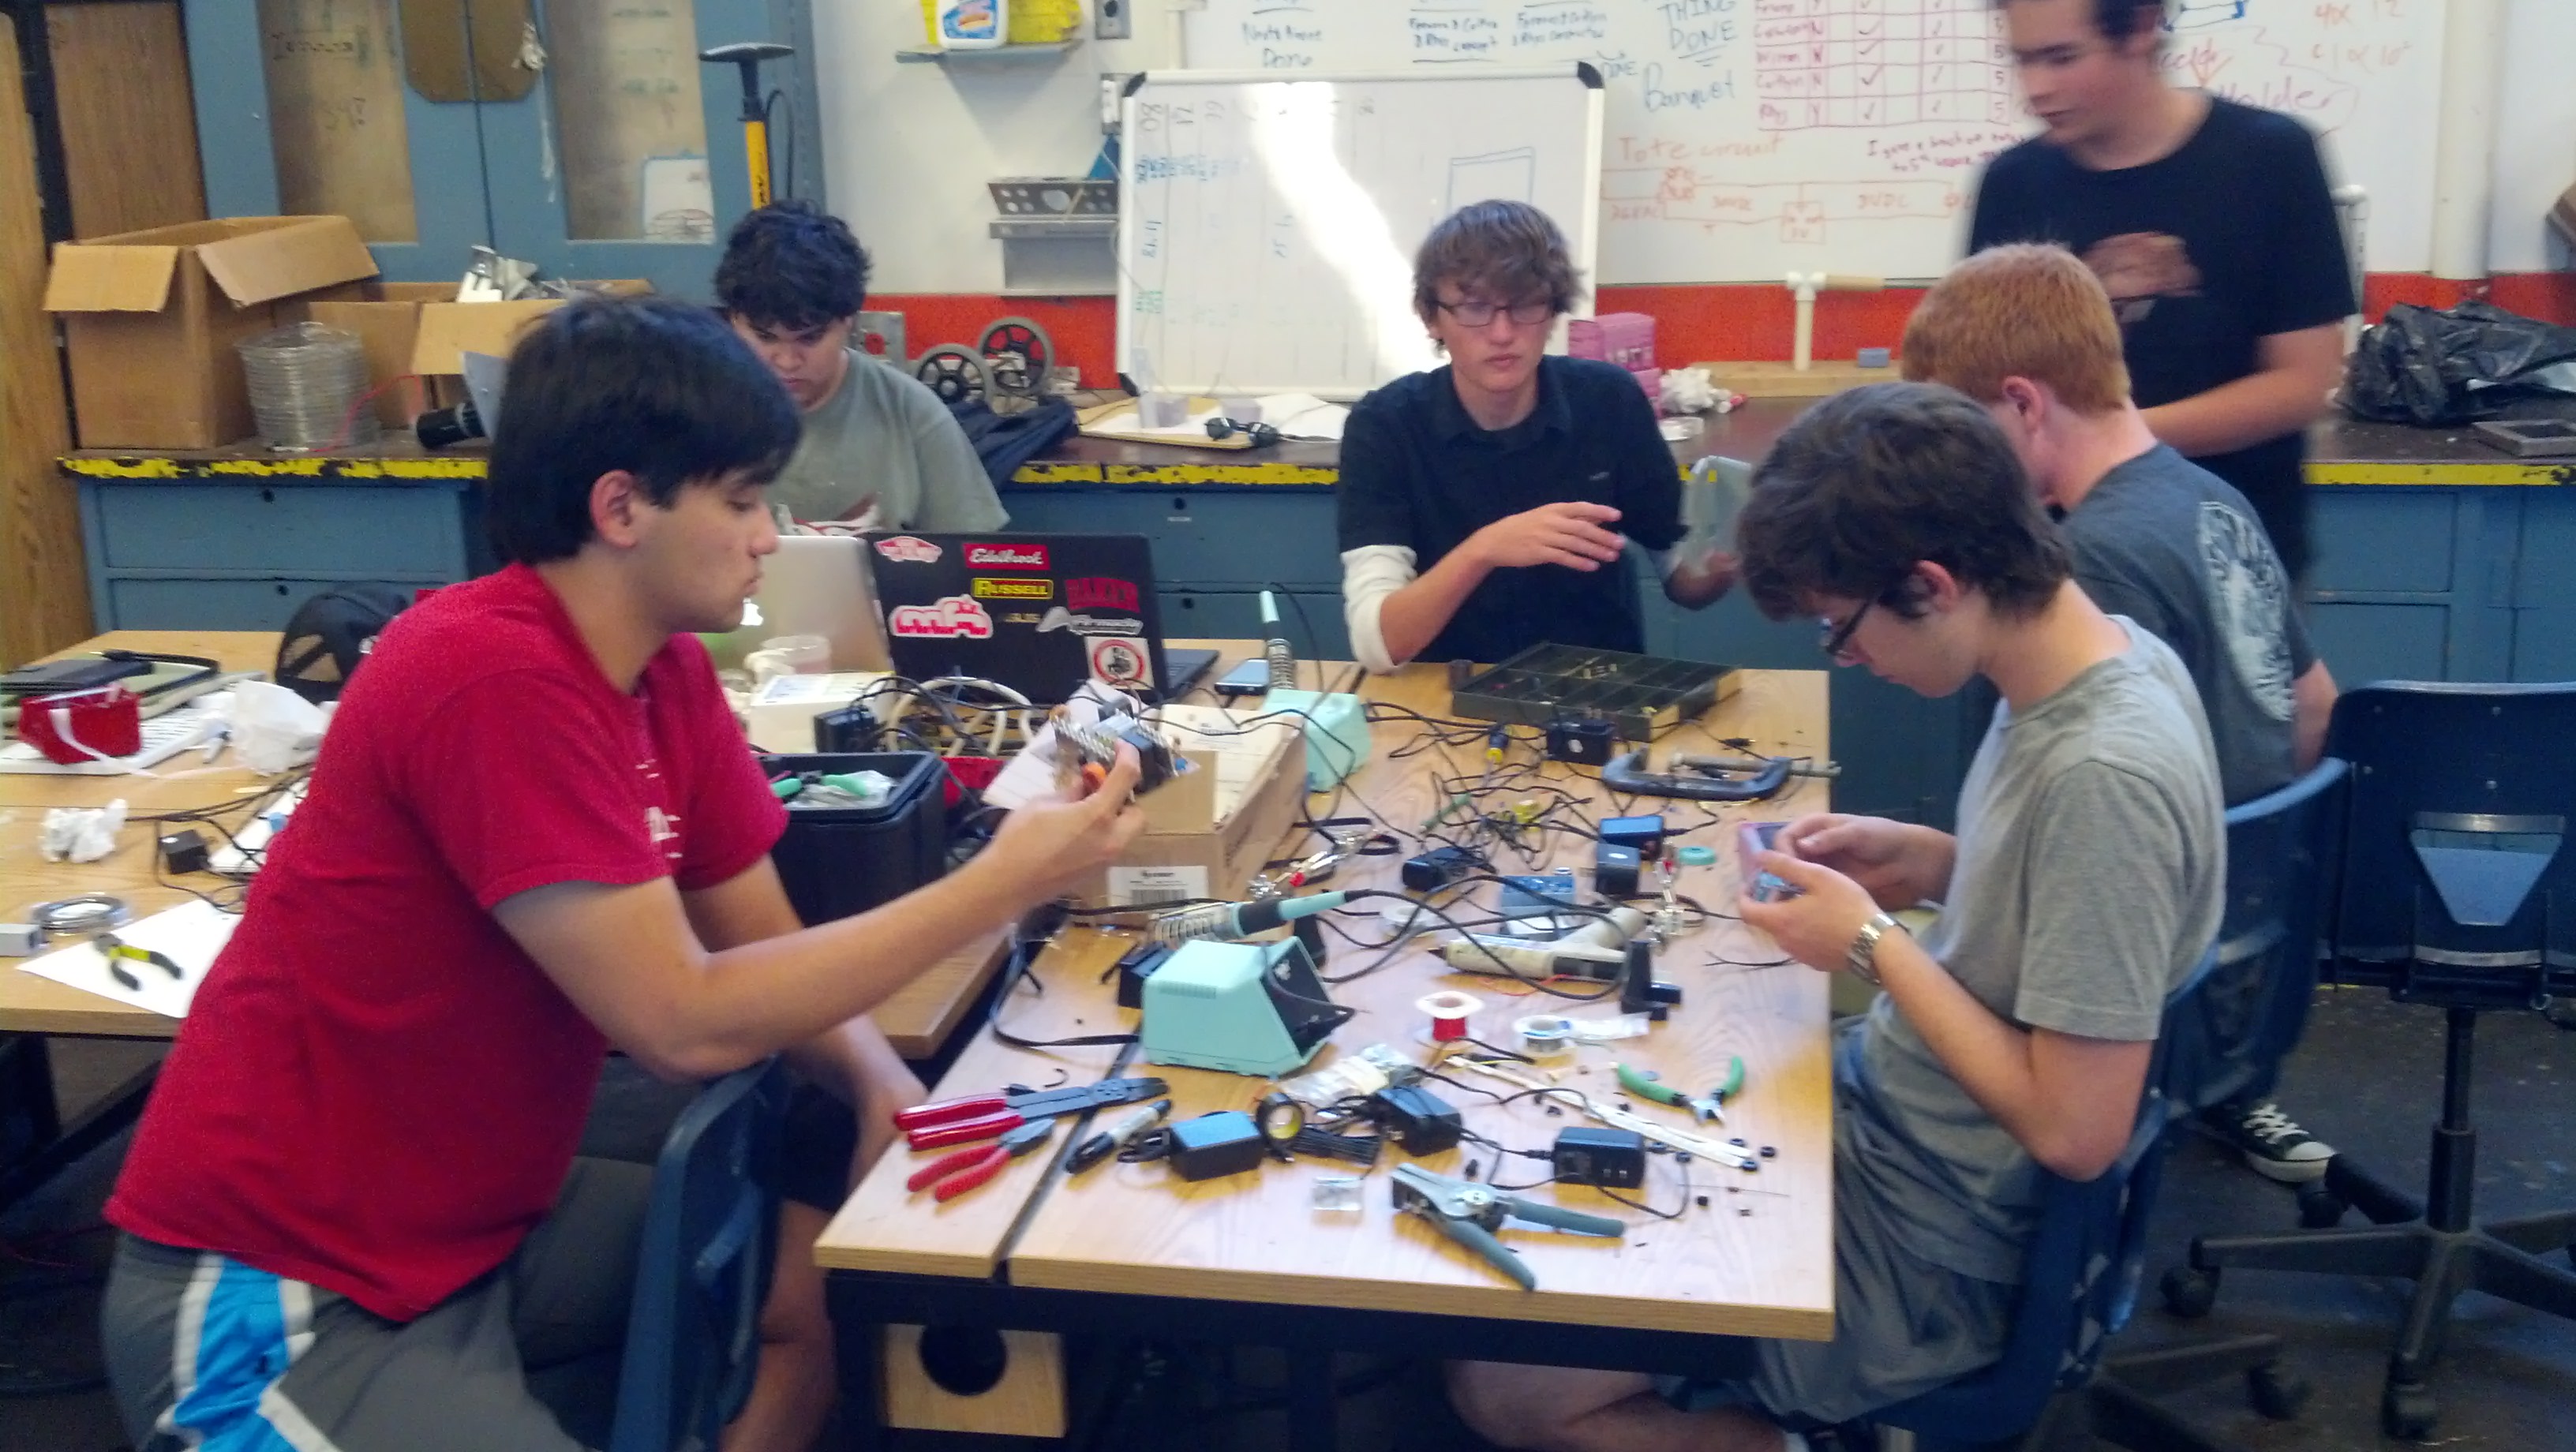
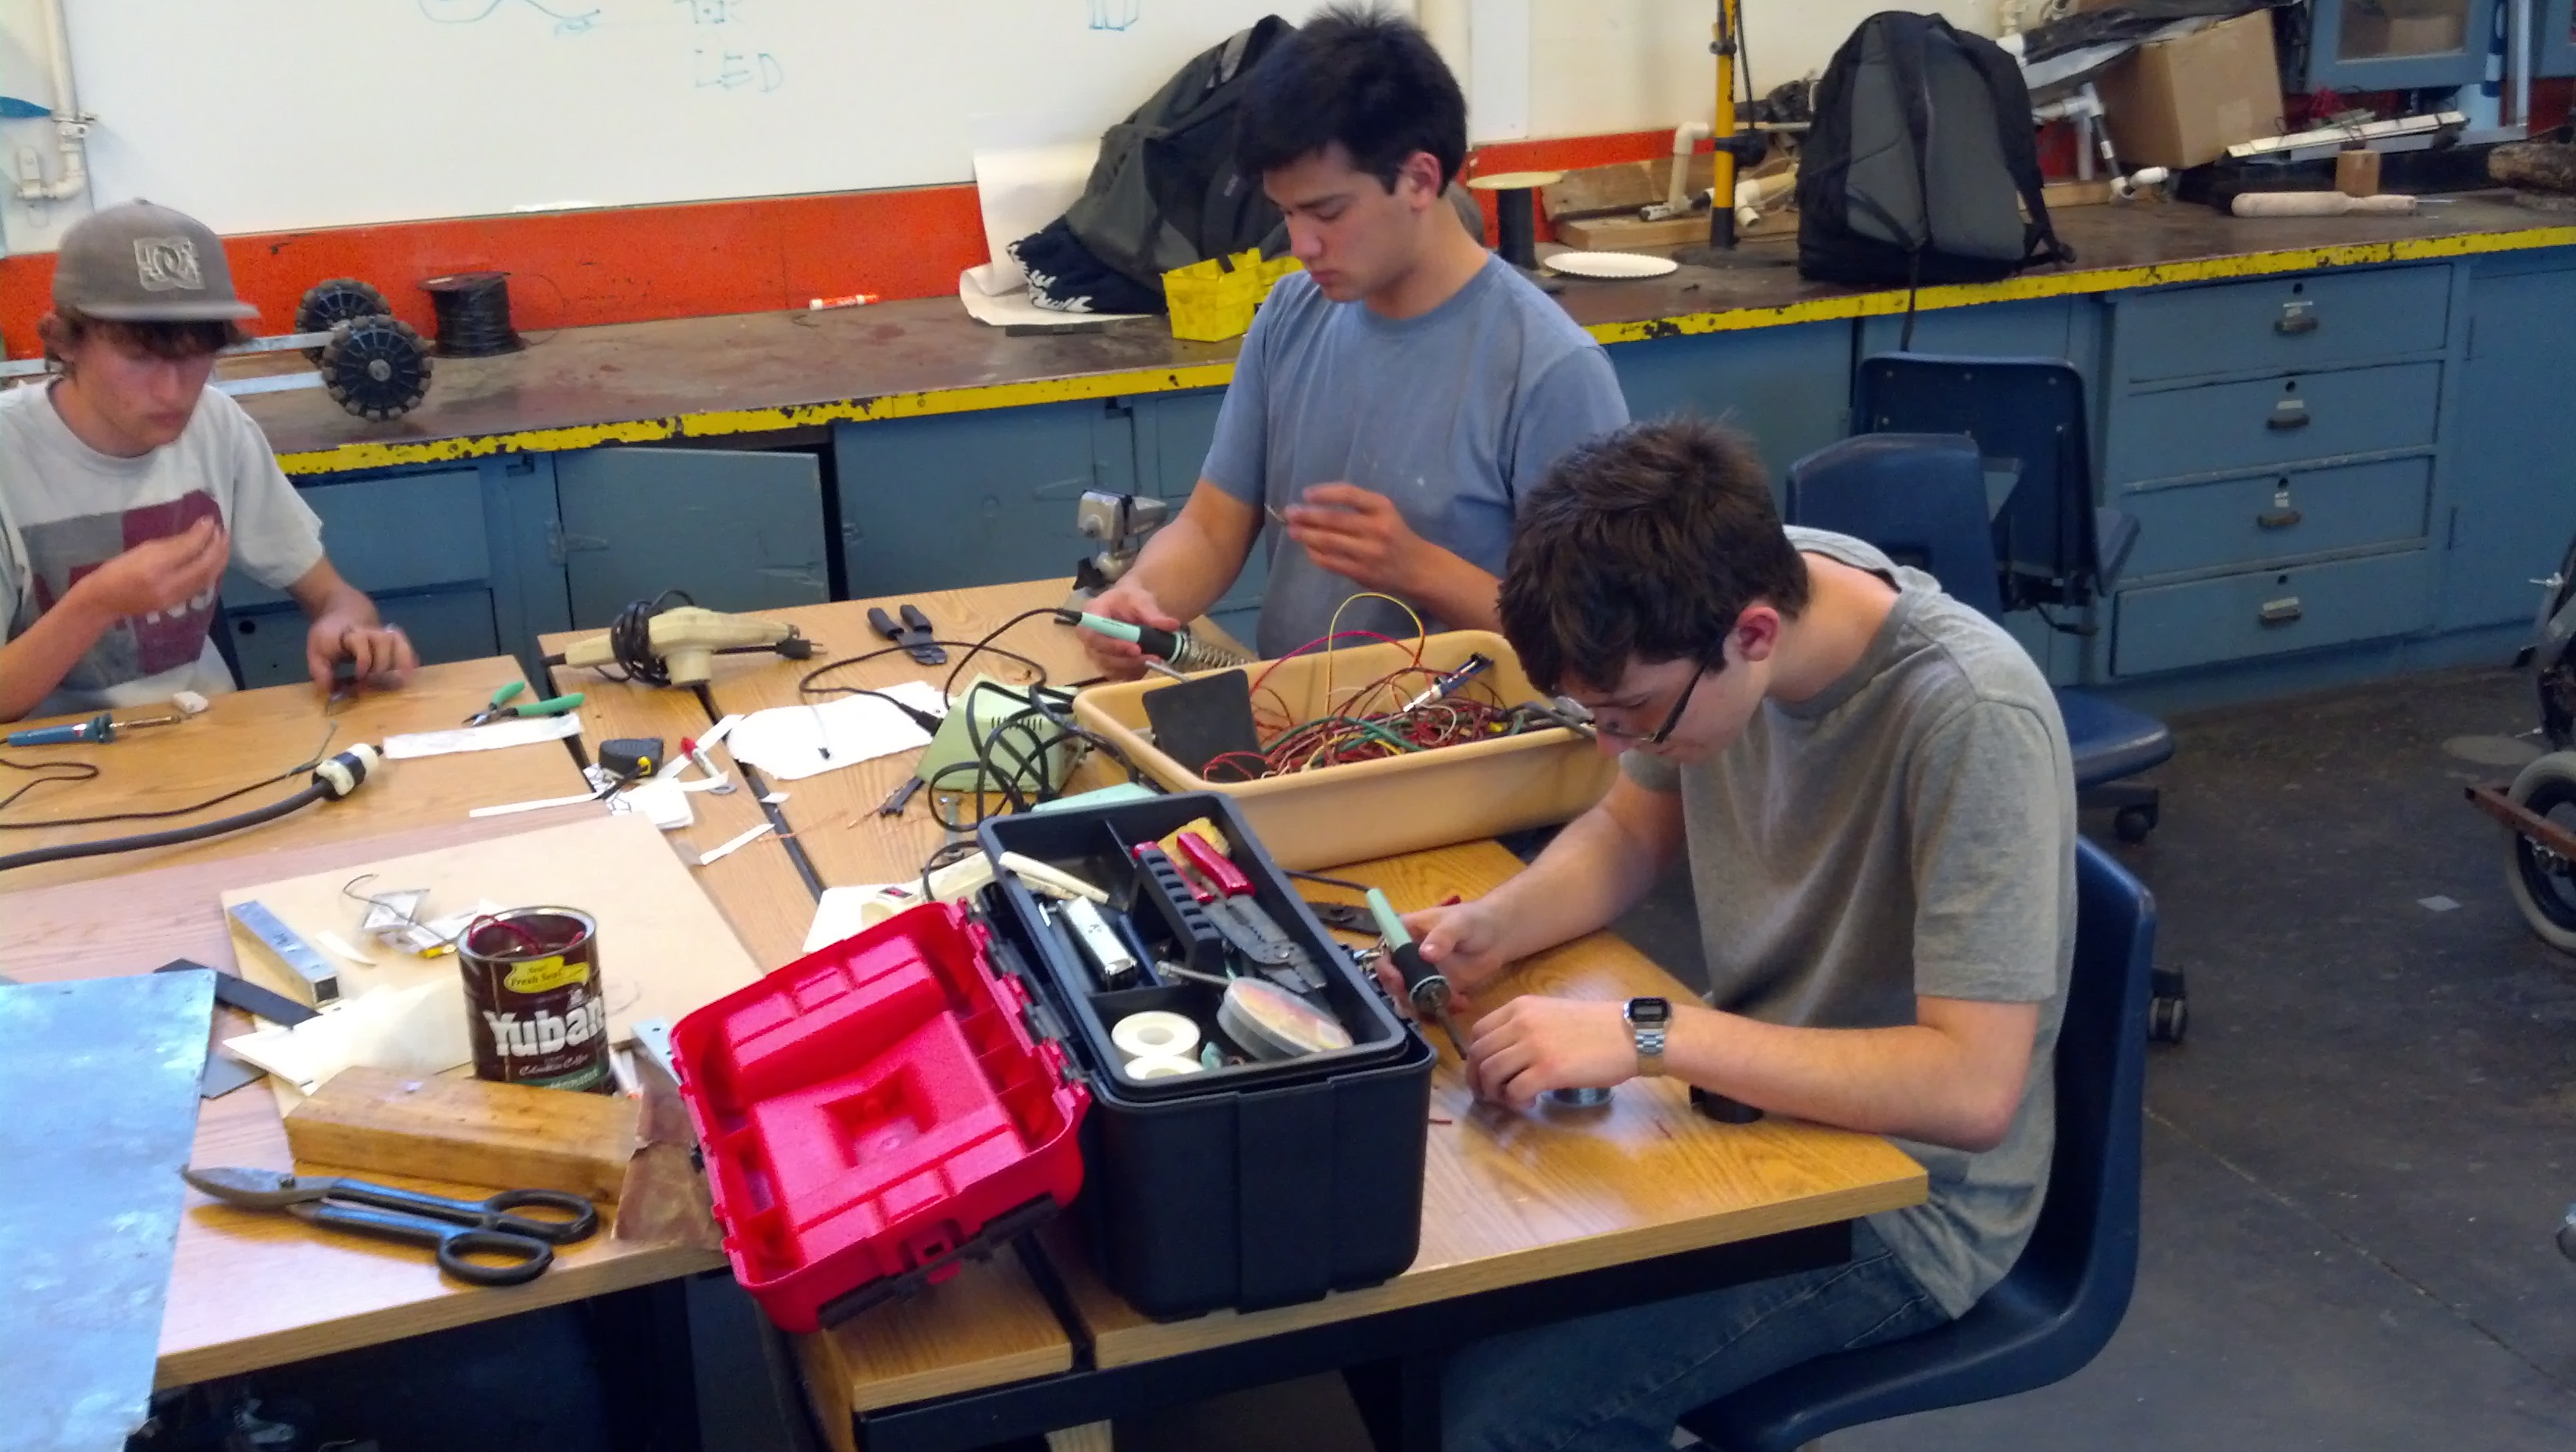
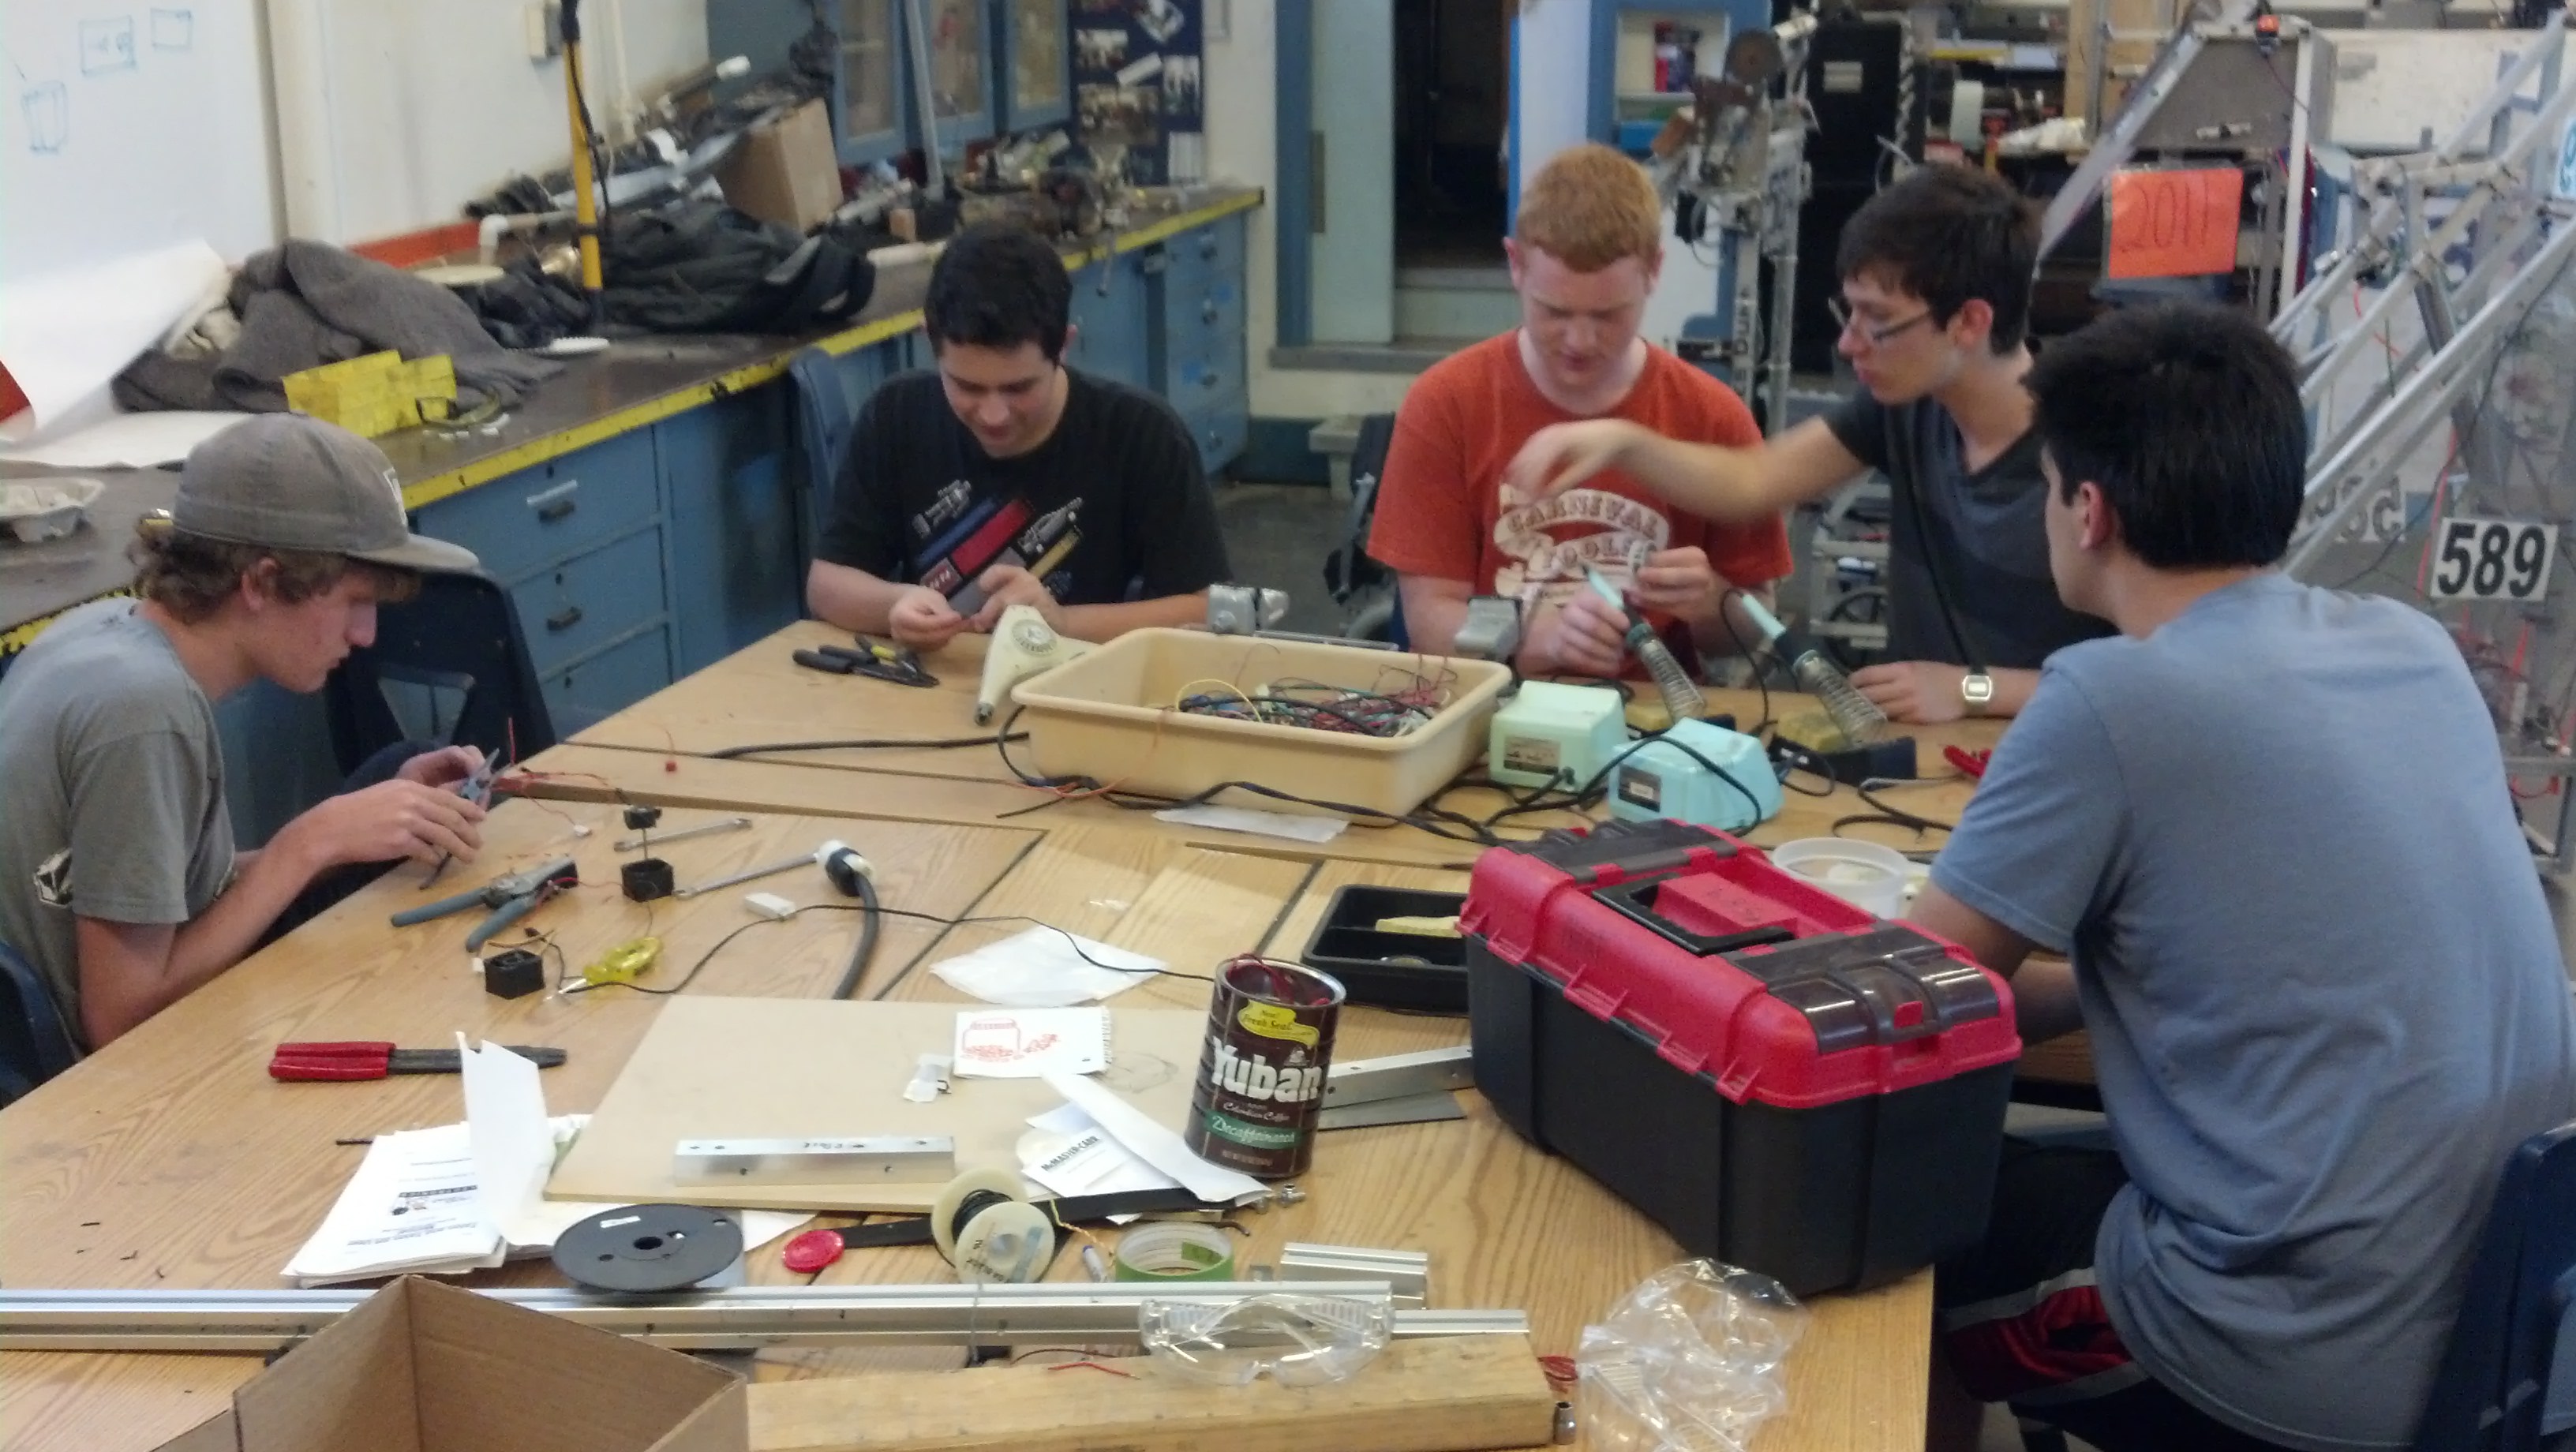
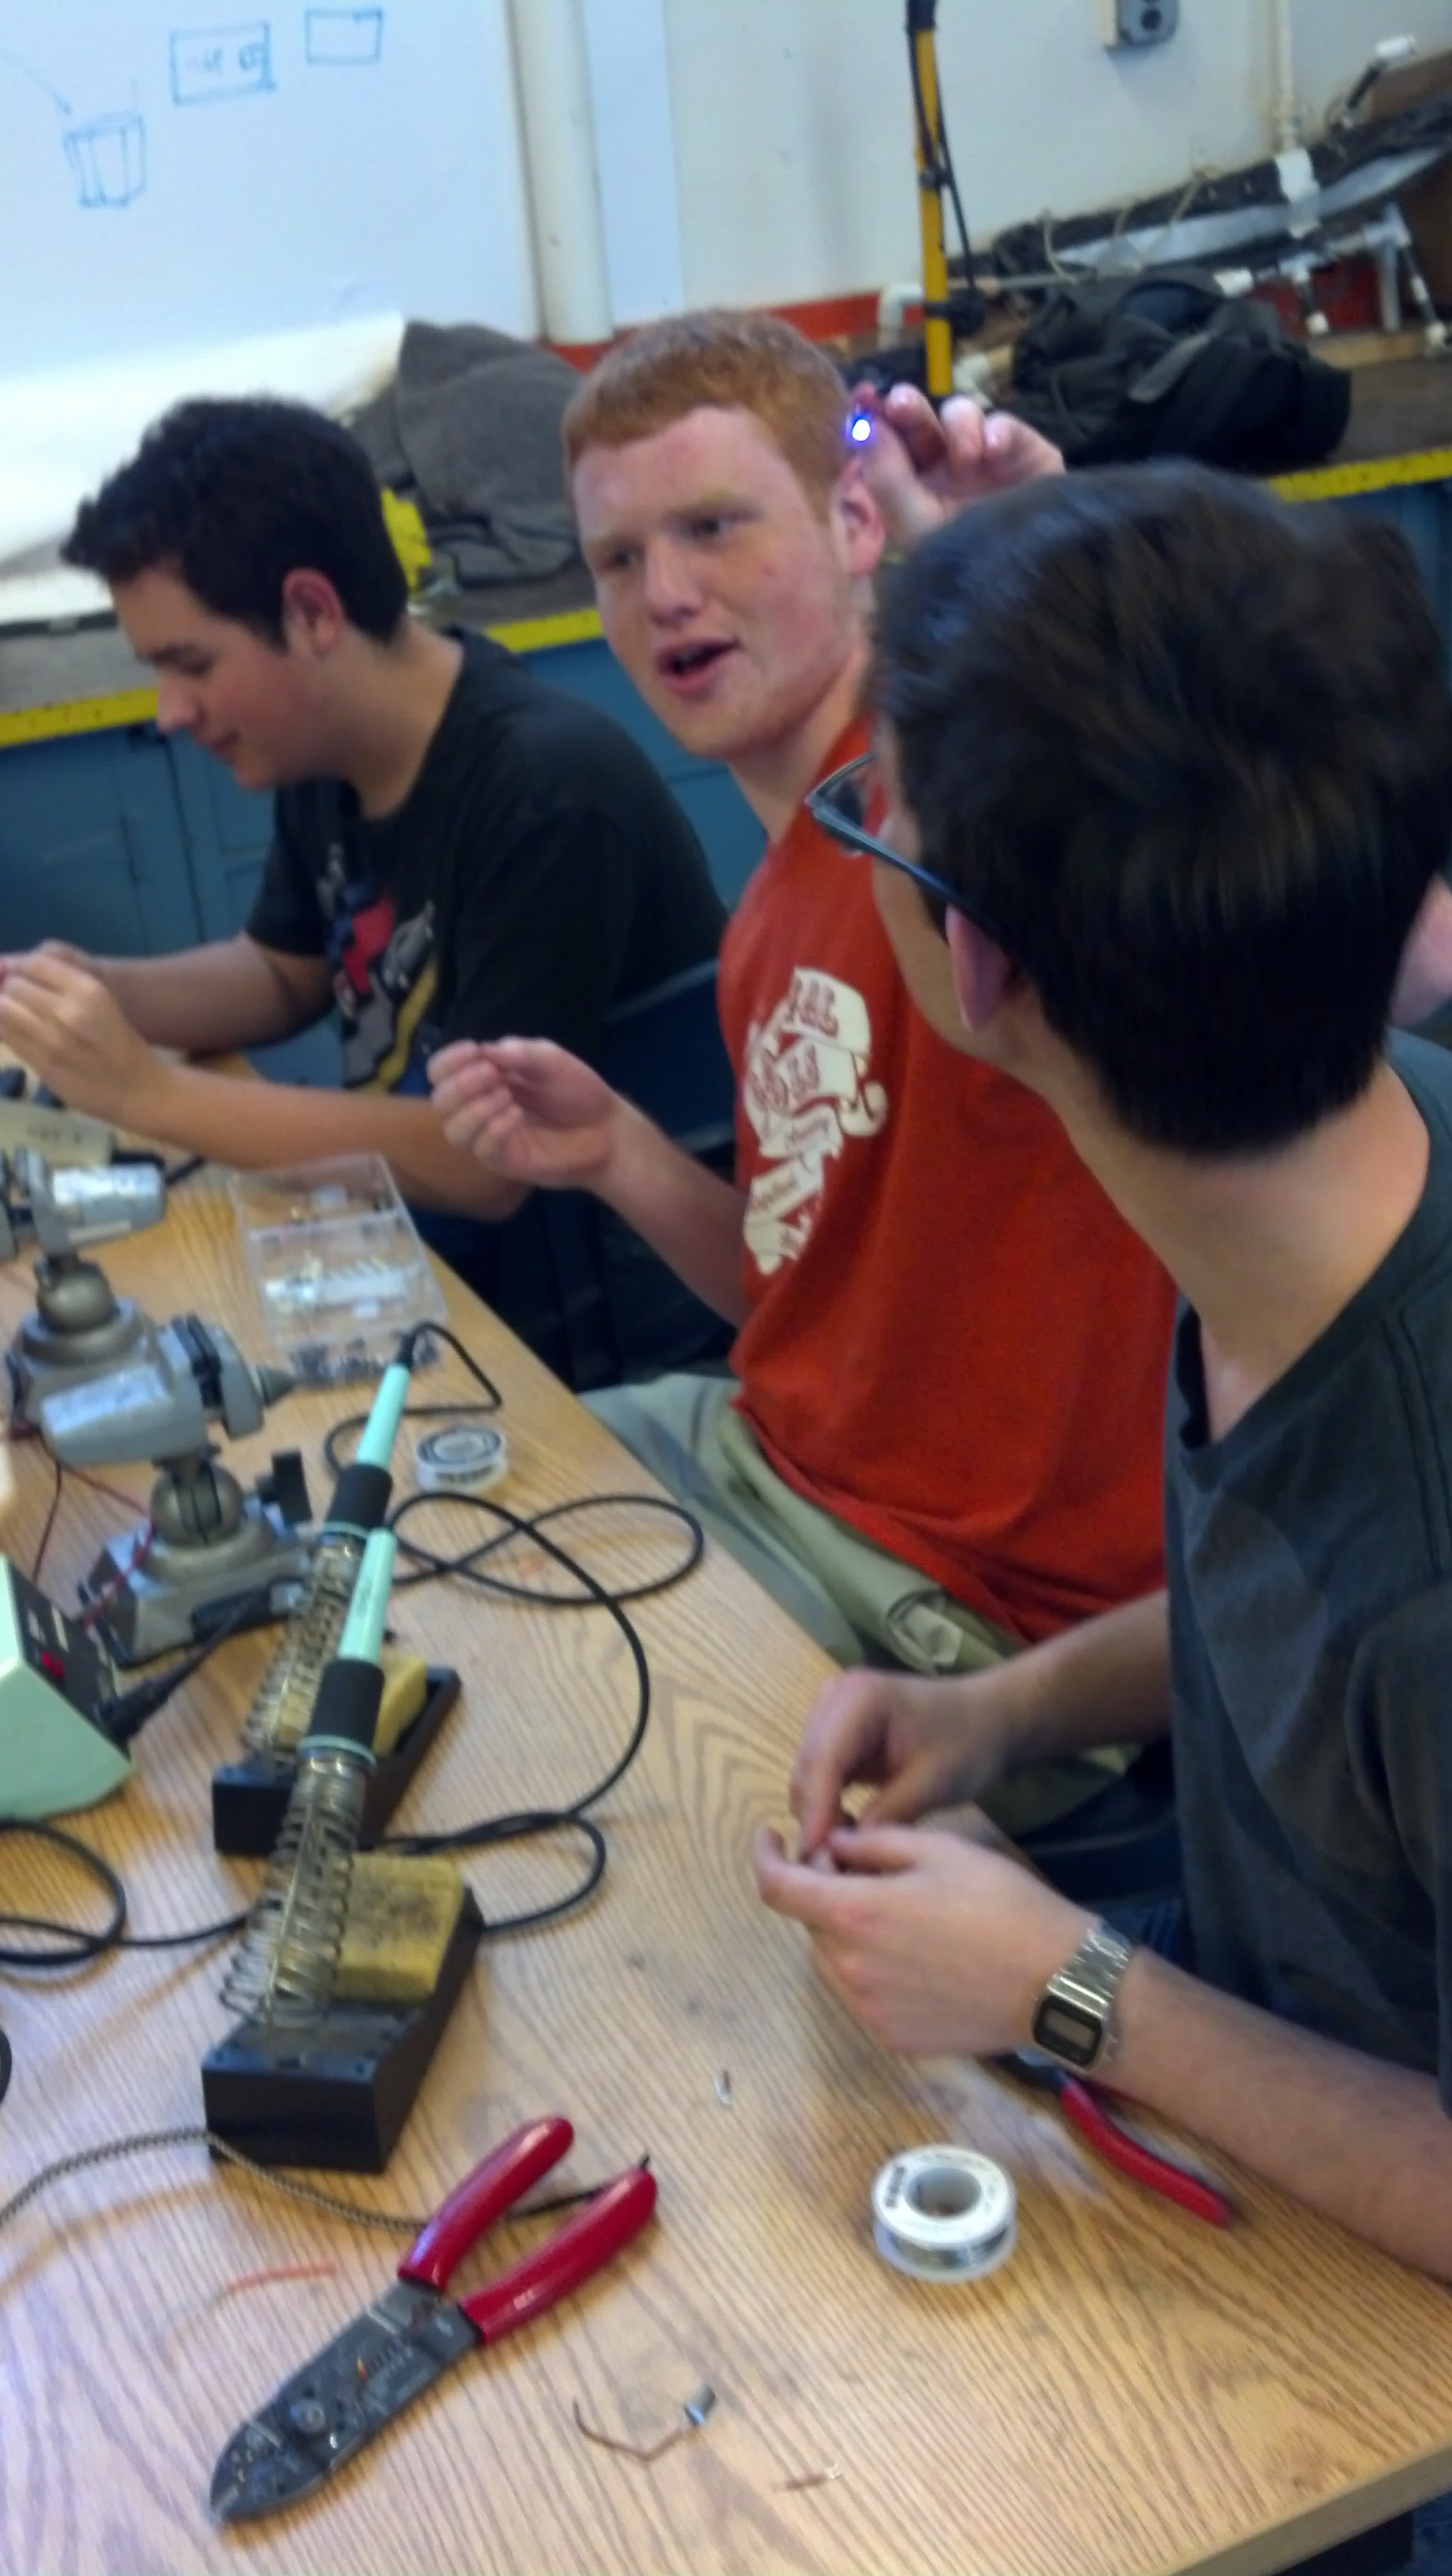
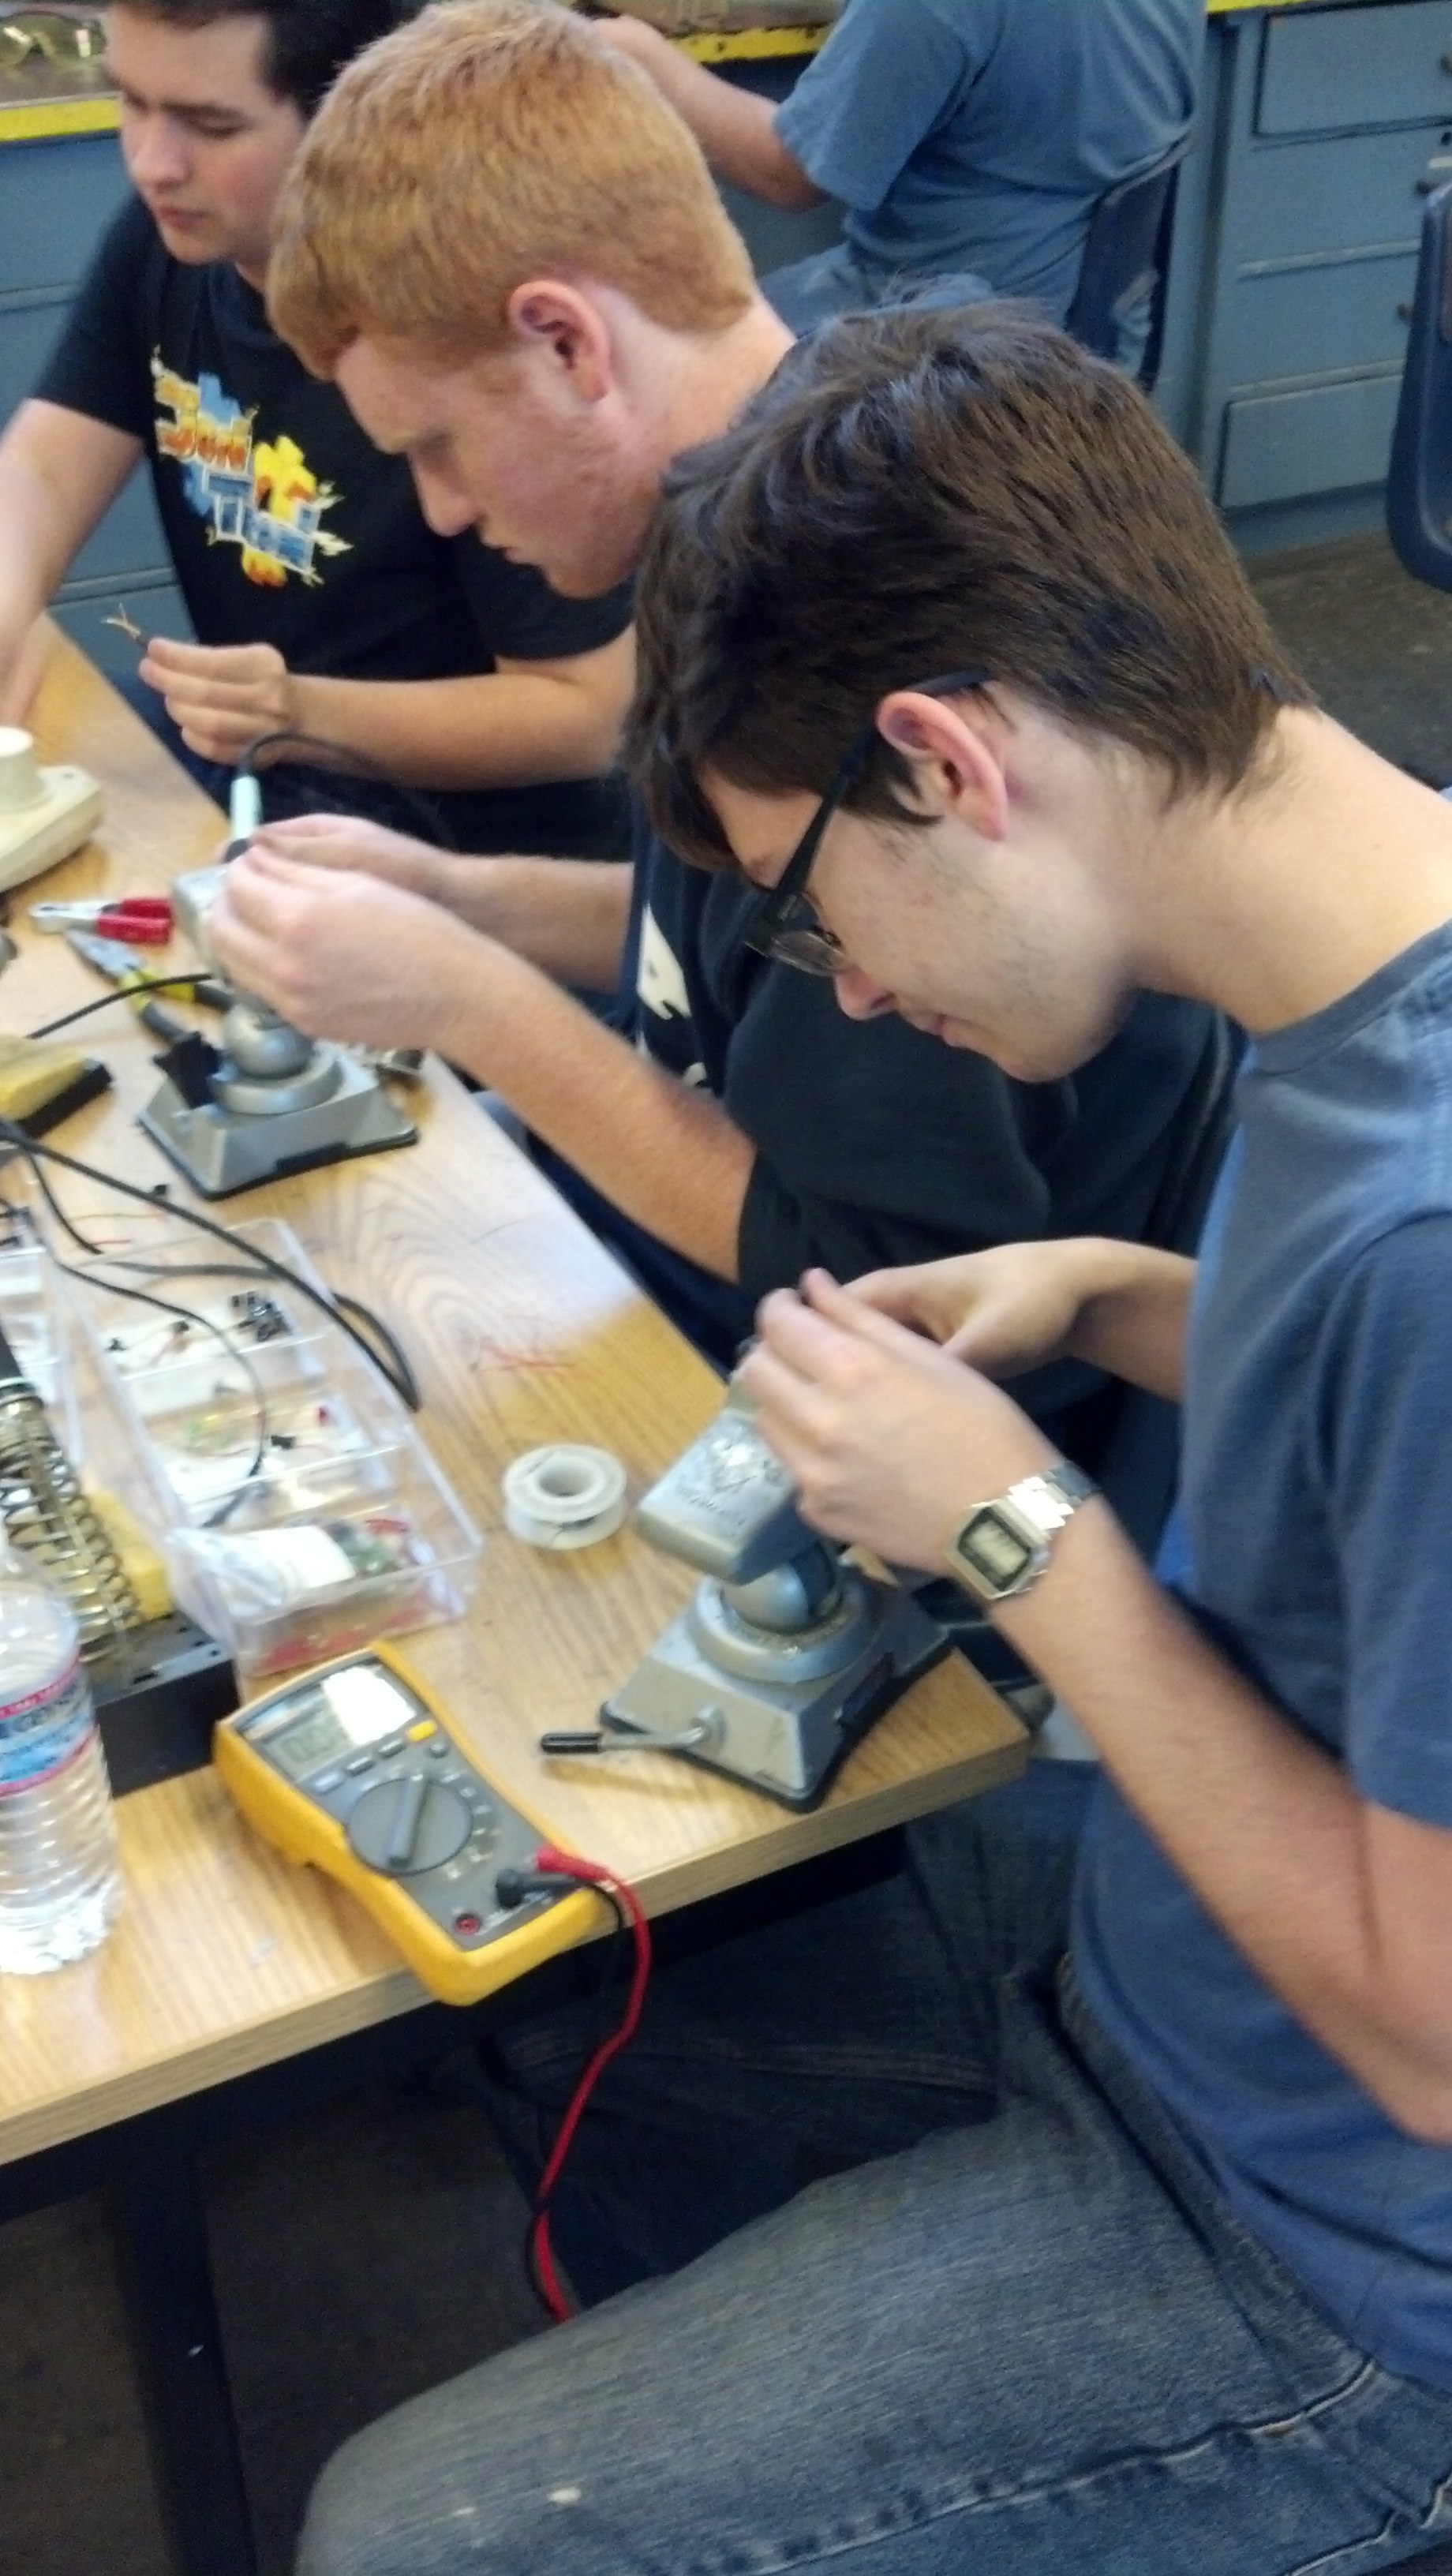
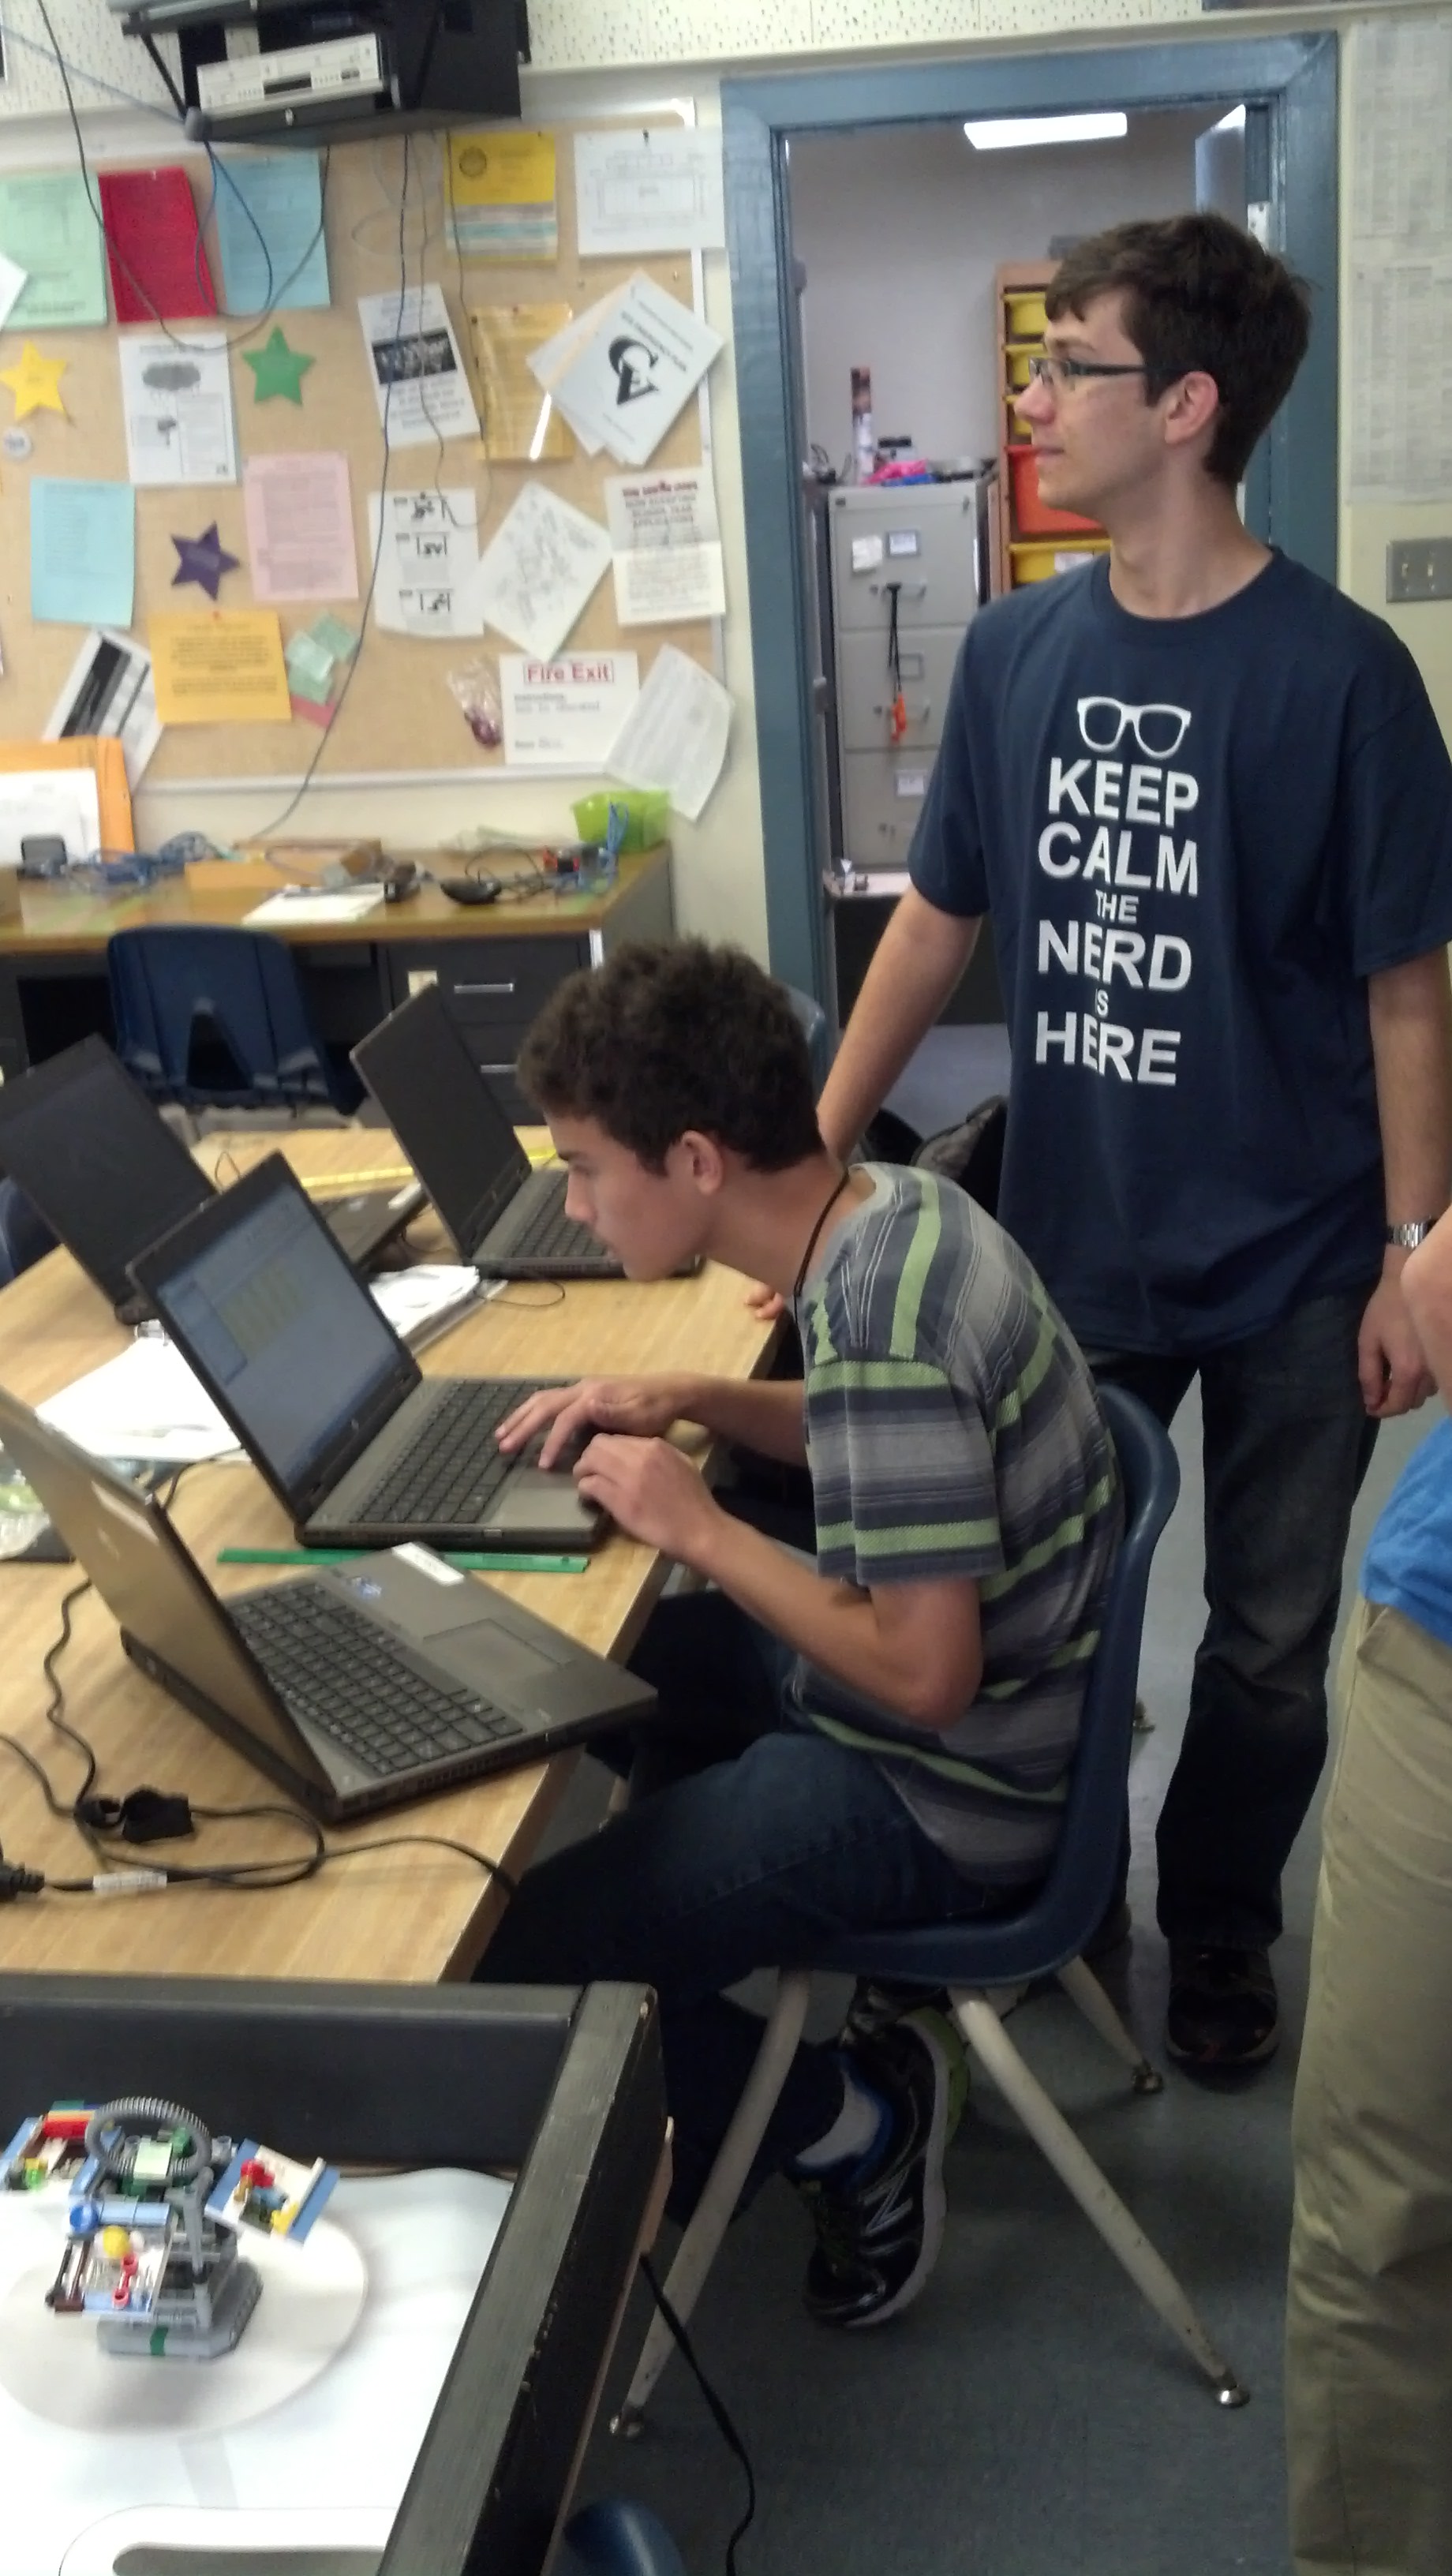
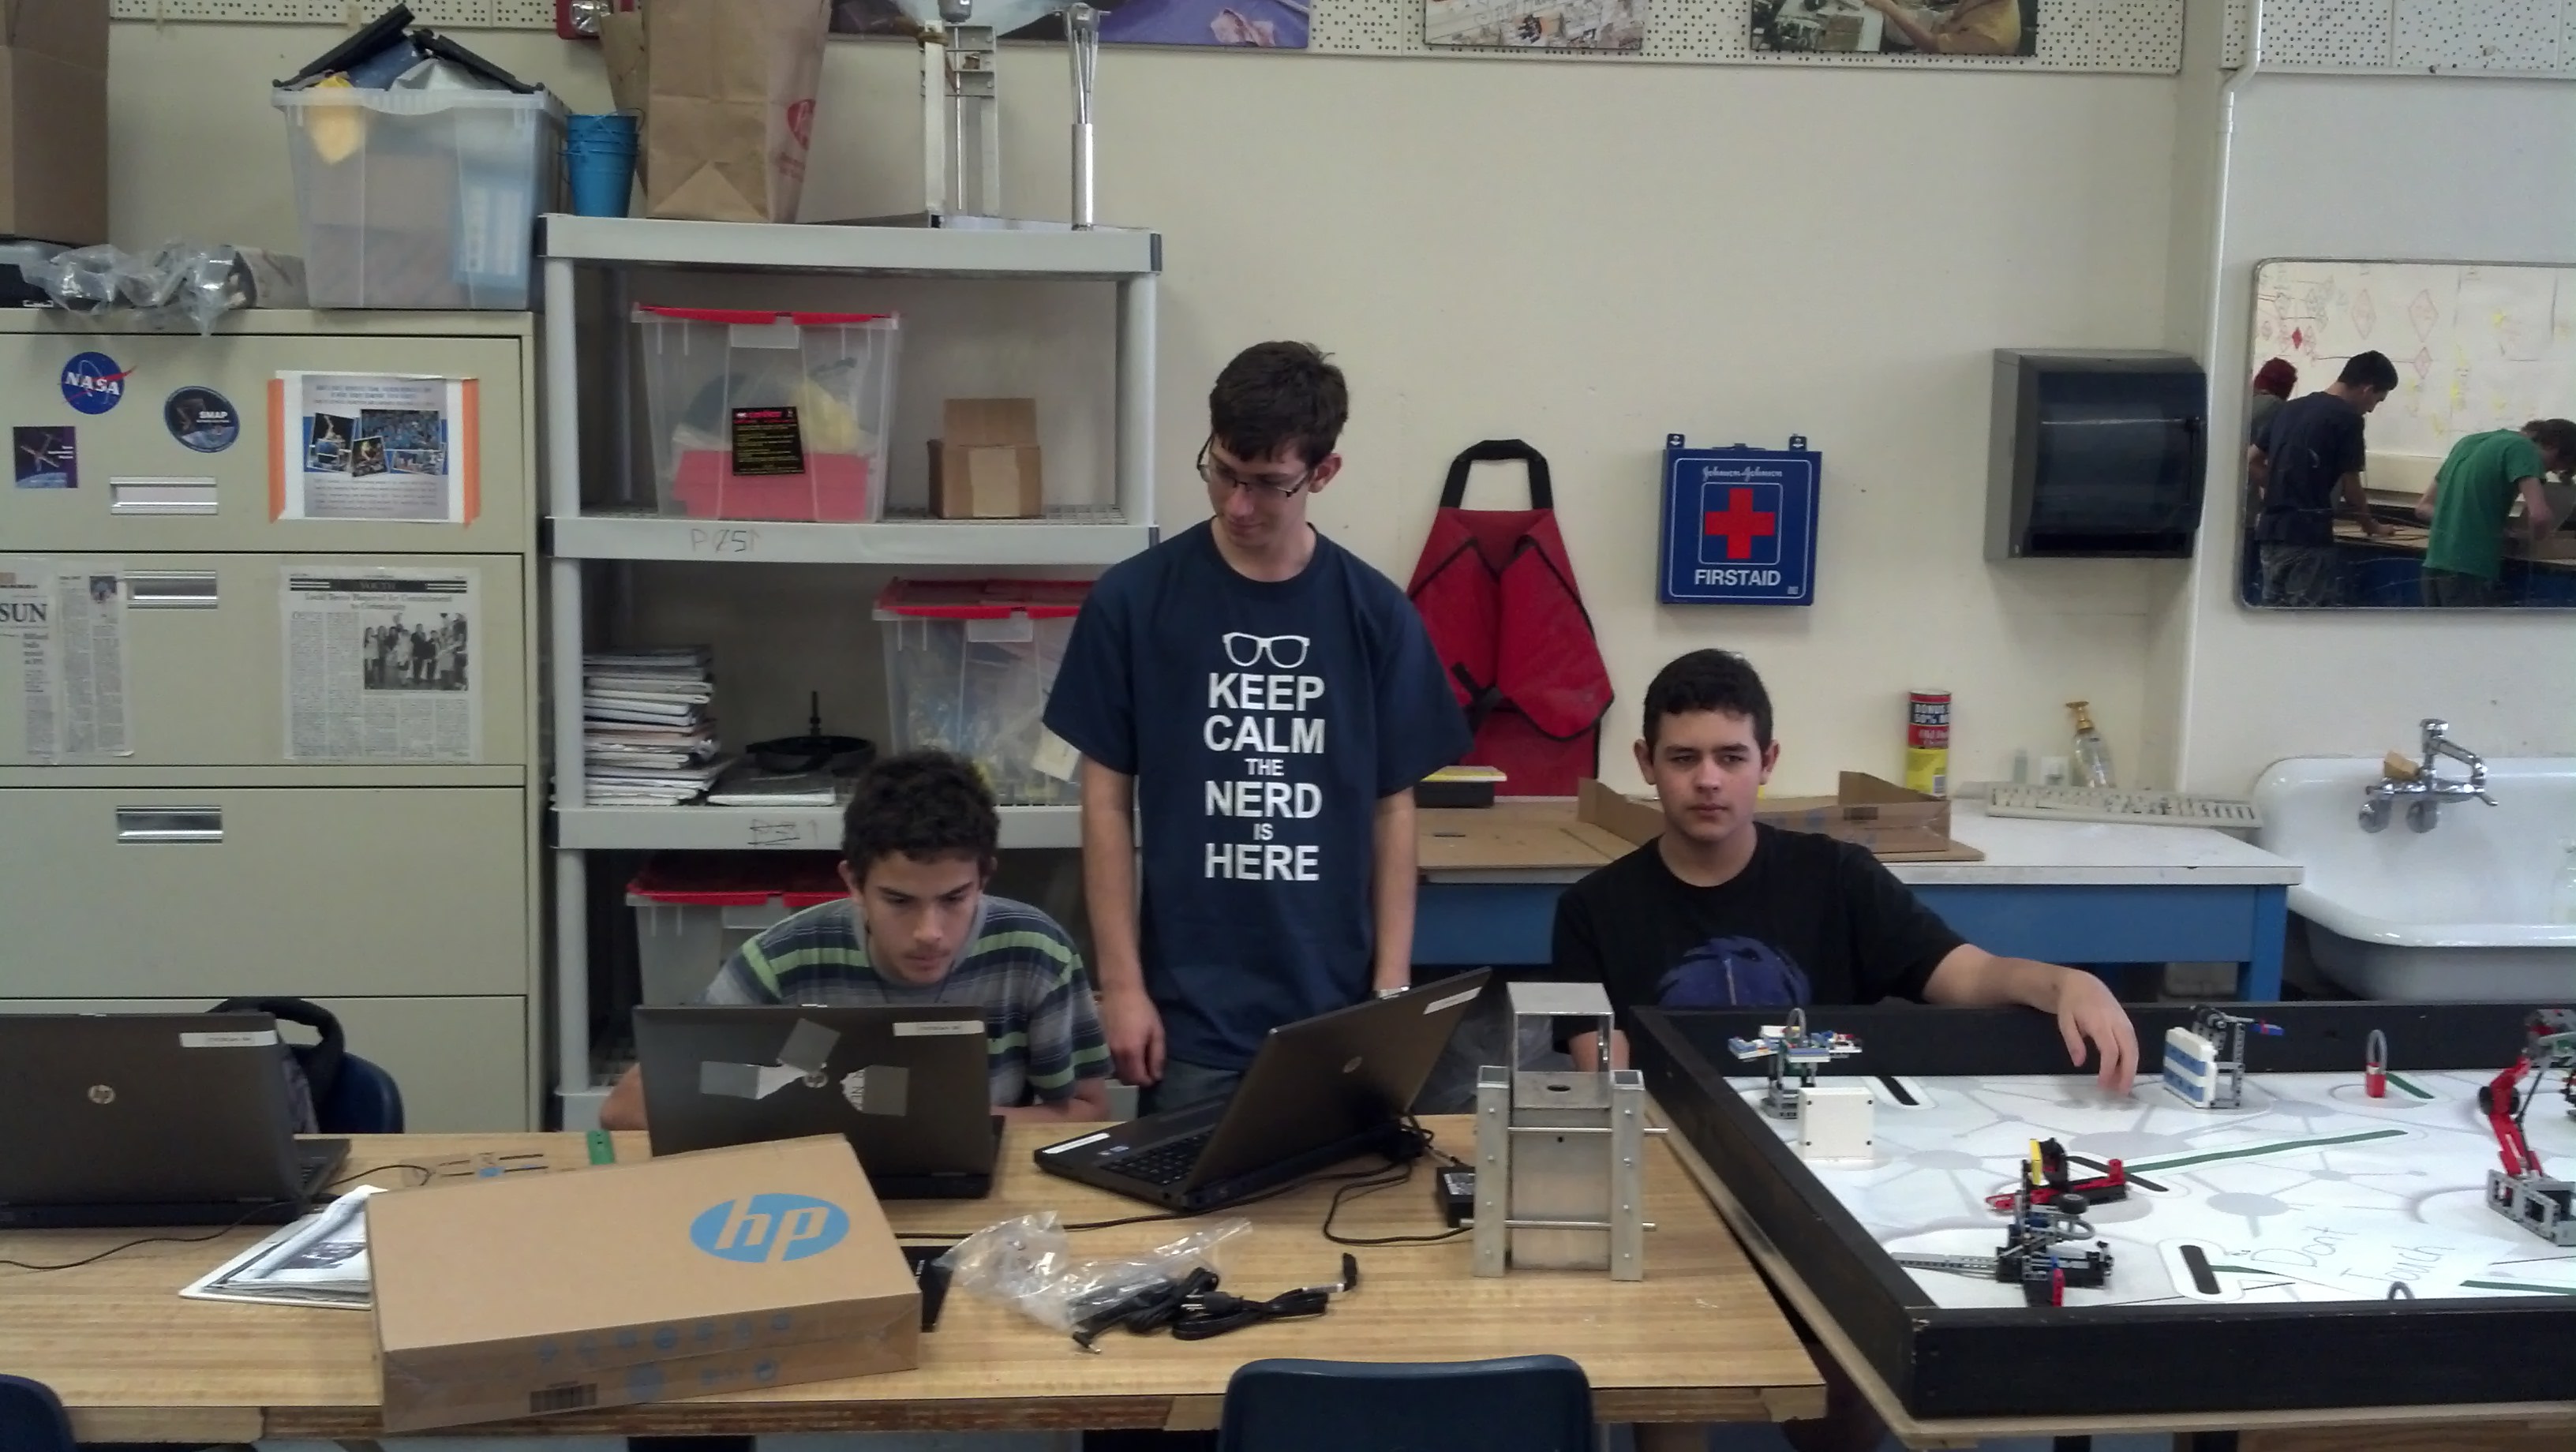
I finished the electronics for the second 589 tote today. It went much quicker because I built a special tool for holding the LEDs.
The funding sheet is still not finished since I am waiting for a few prices from Cole, but the preliminary sheet is here.
5/14/15
Today we heard the rest of the presentation for yesterdays Wednesday challenge, and we were able to decide on a winner. The idea
seemed to be to somehow block the sunlight from driving the reaction.
5/13/15
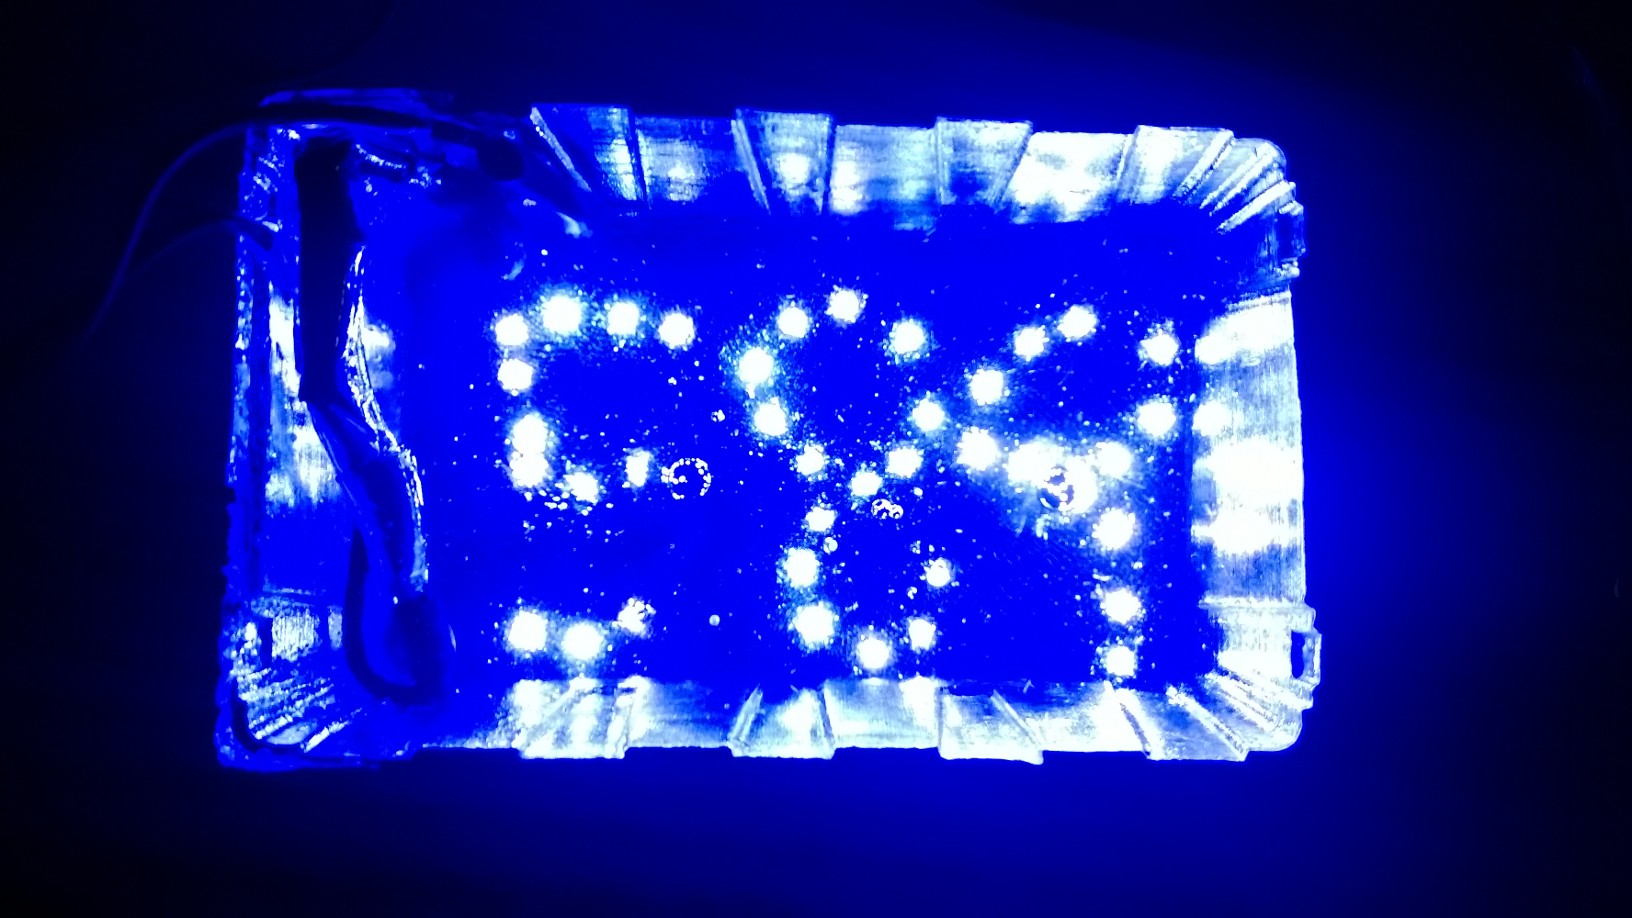
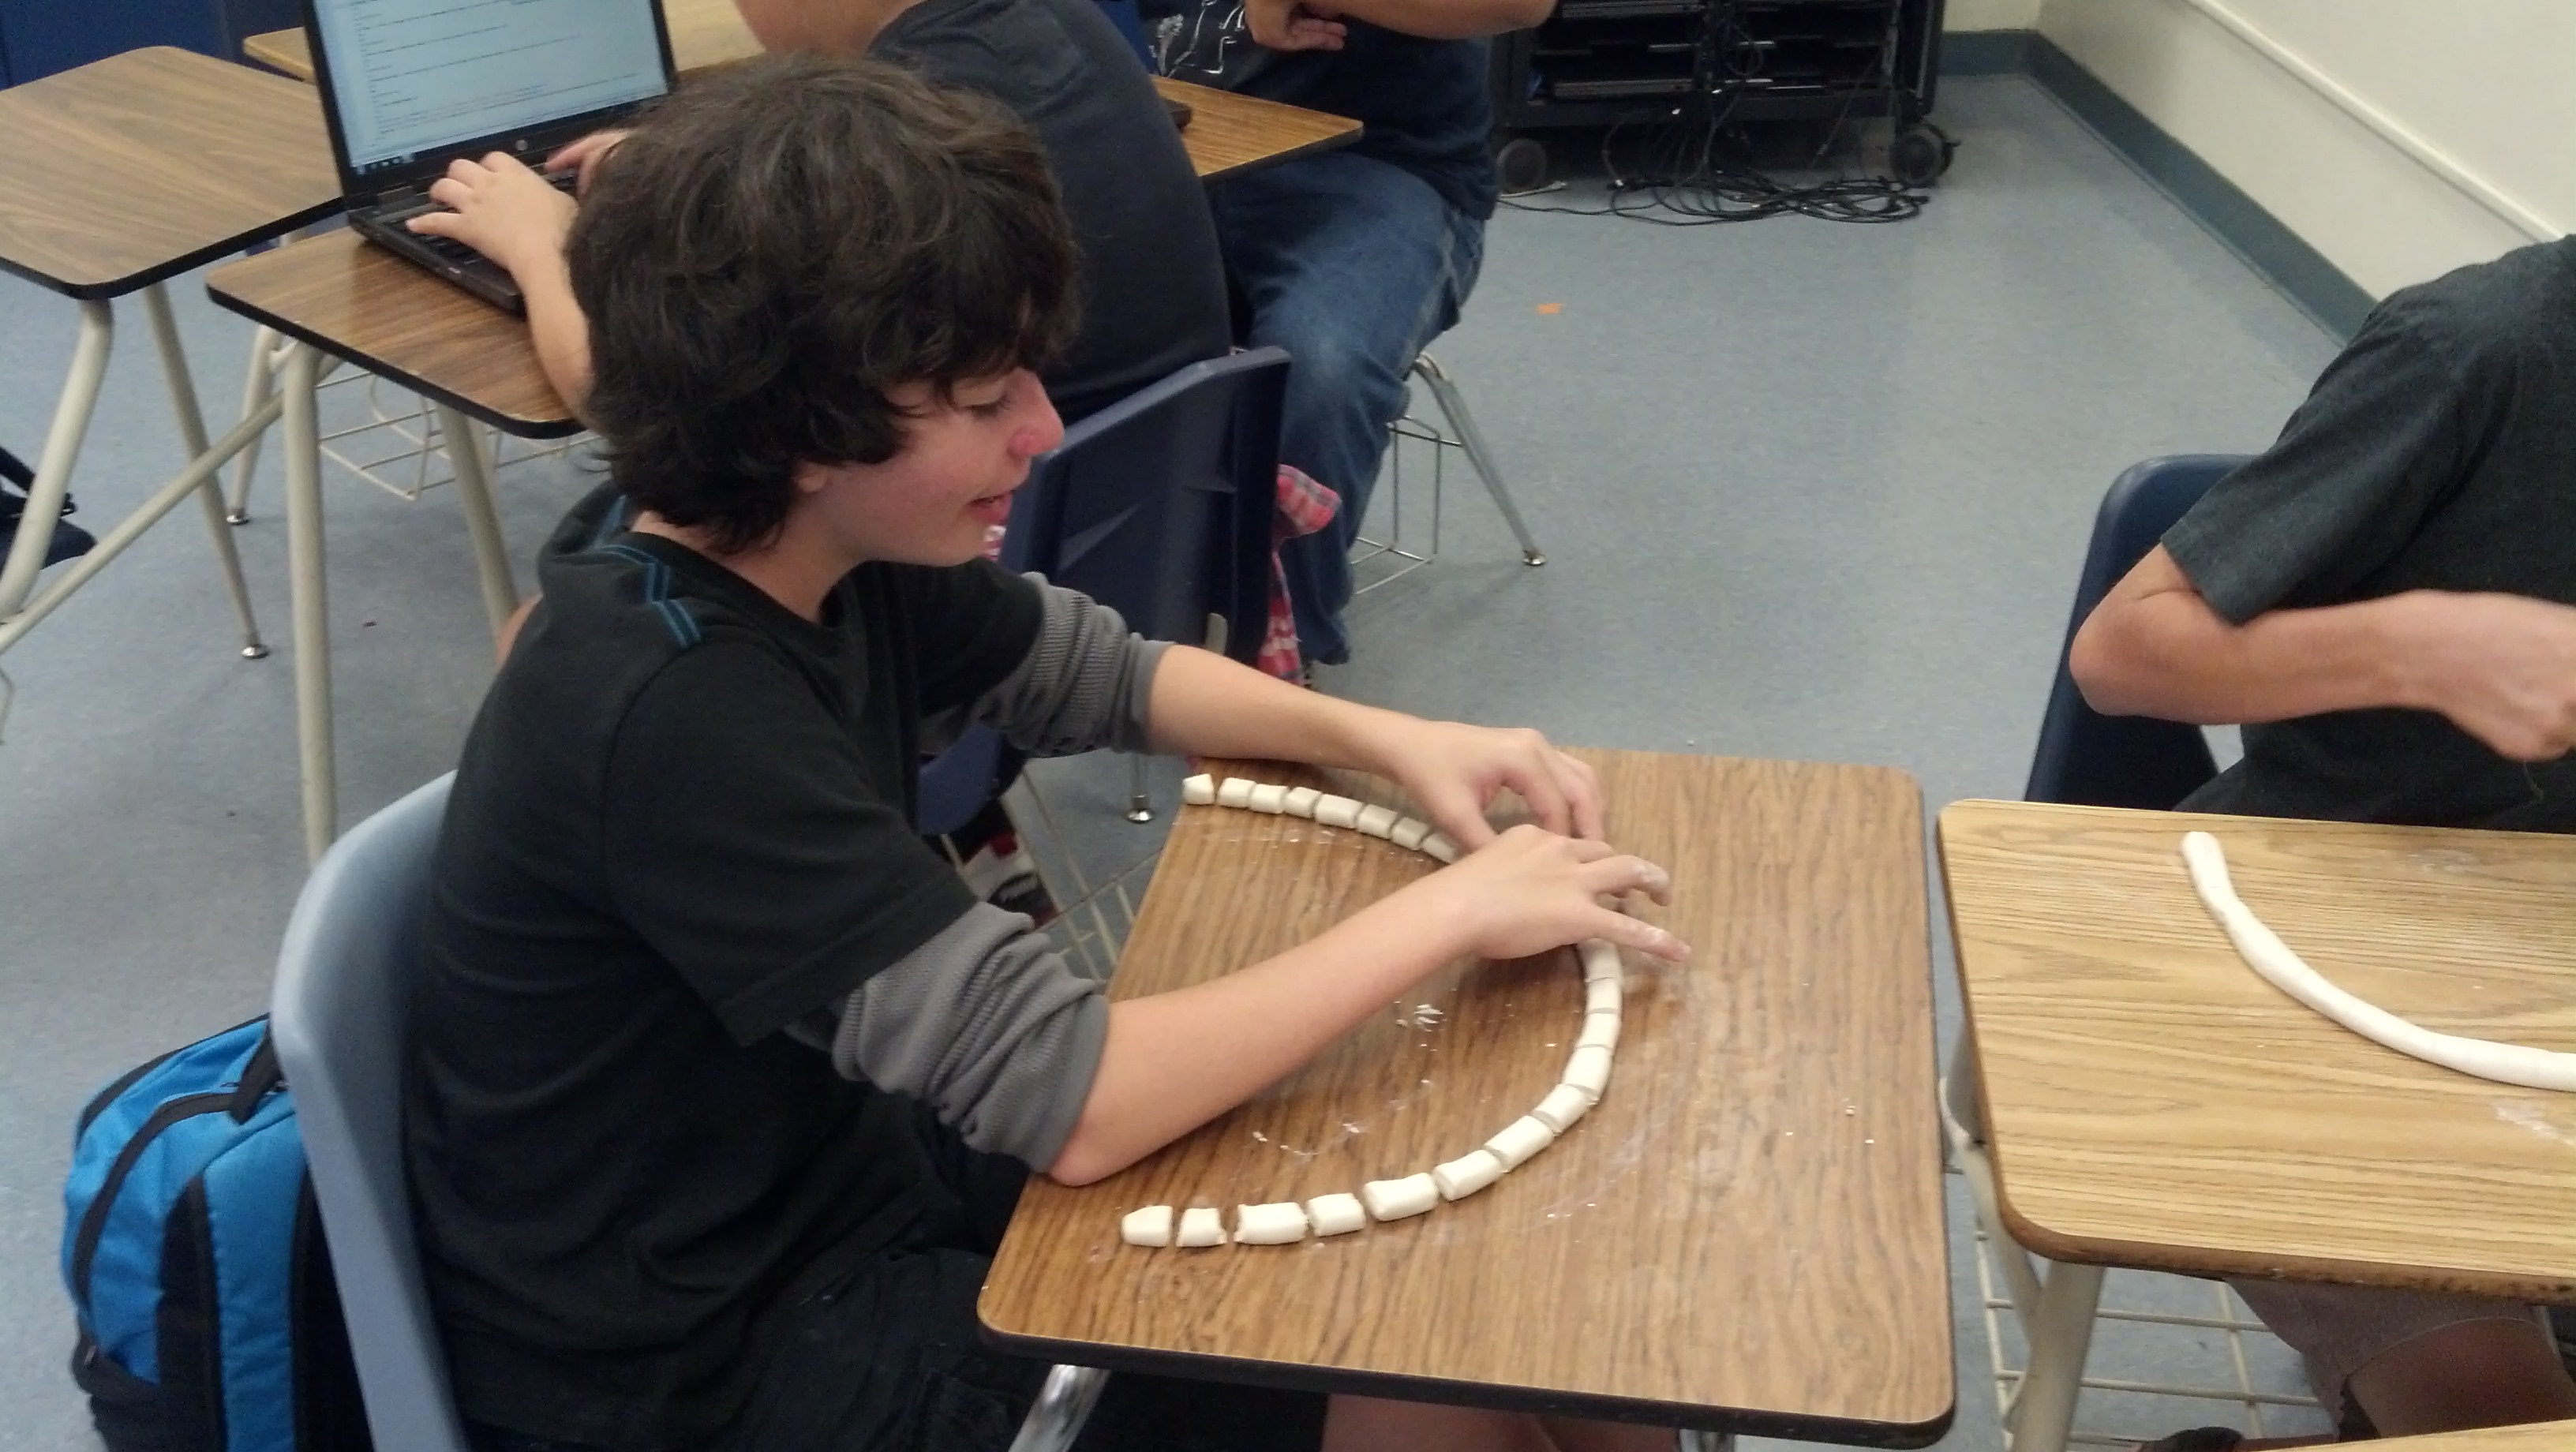
I started working on the second 589 tote today since they were well received. I am doing a different style, the numbers will
resemble an alarm clock style layout with no curves, this makes soldering easier, and still makes it possible to revert to the
old style at the end if still required. I also ordered a new set of LEDs since we are almost out. The class also did a
Wednesday challenge today on how to prevent the build-up of bromate ions in drinking water. See the Wednesday challenges tab for
results.
5/12/15
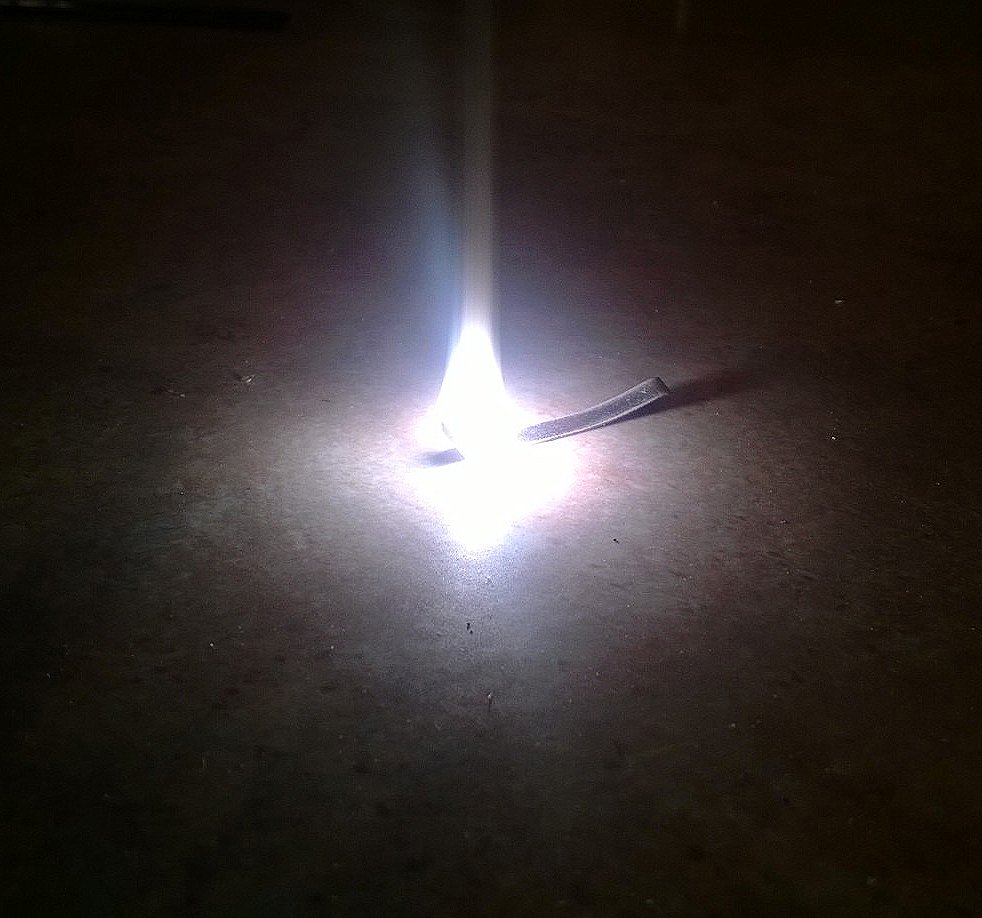
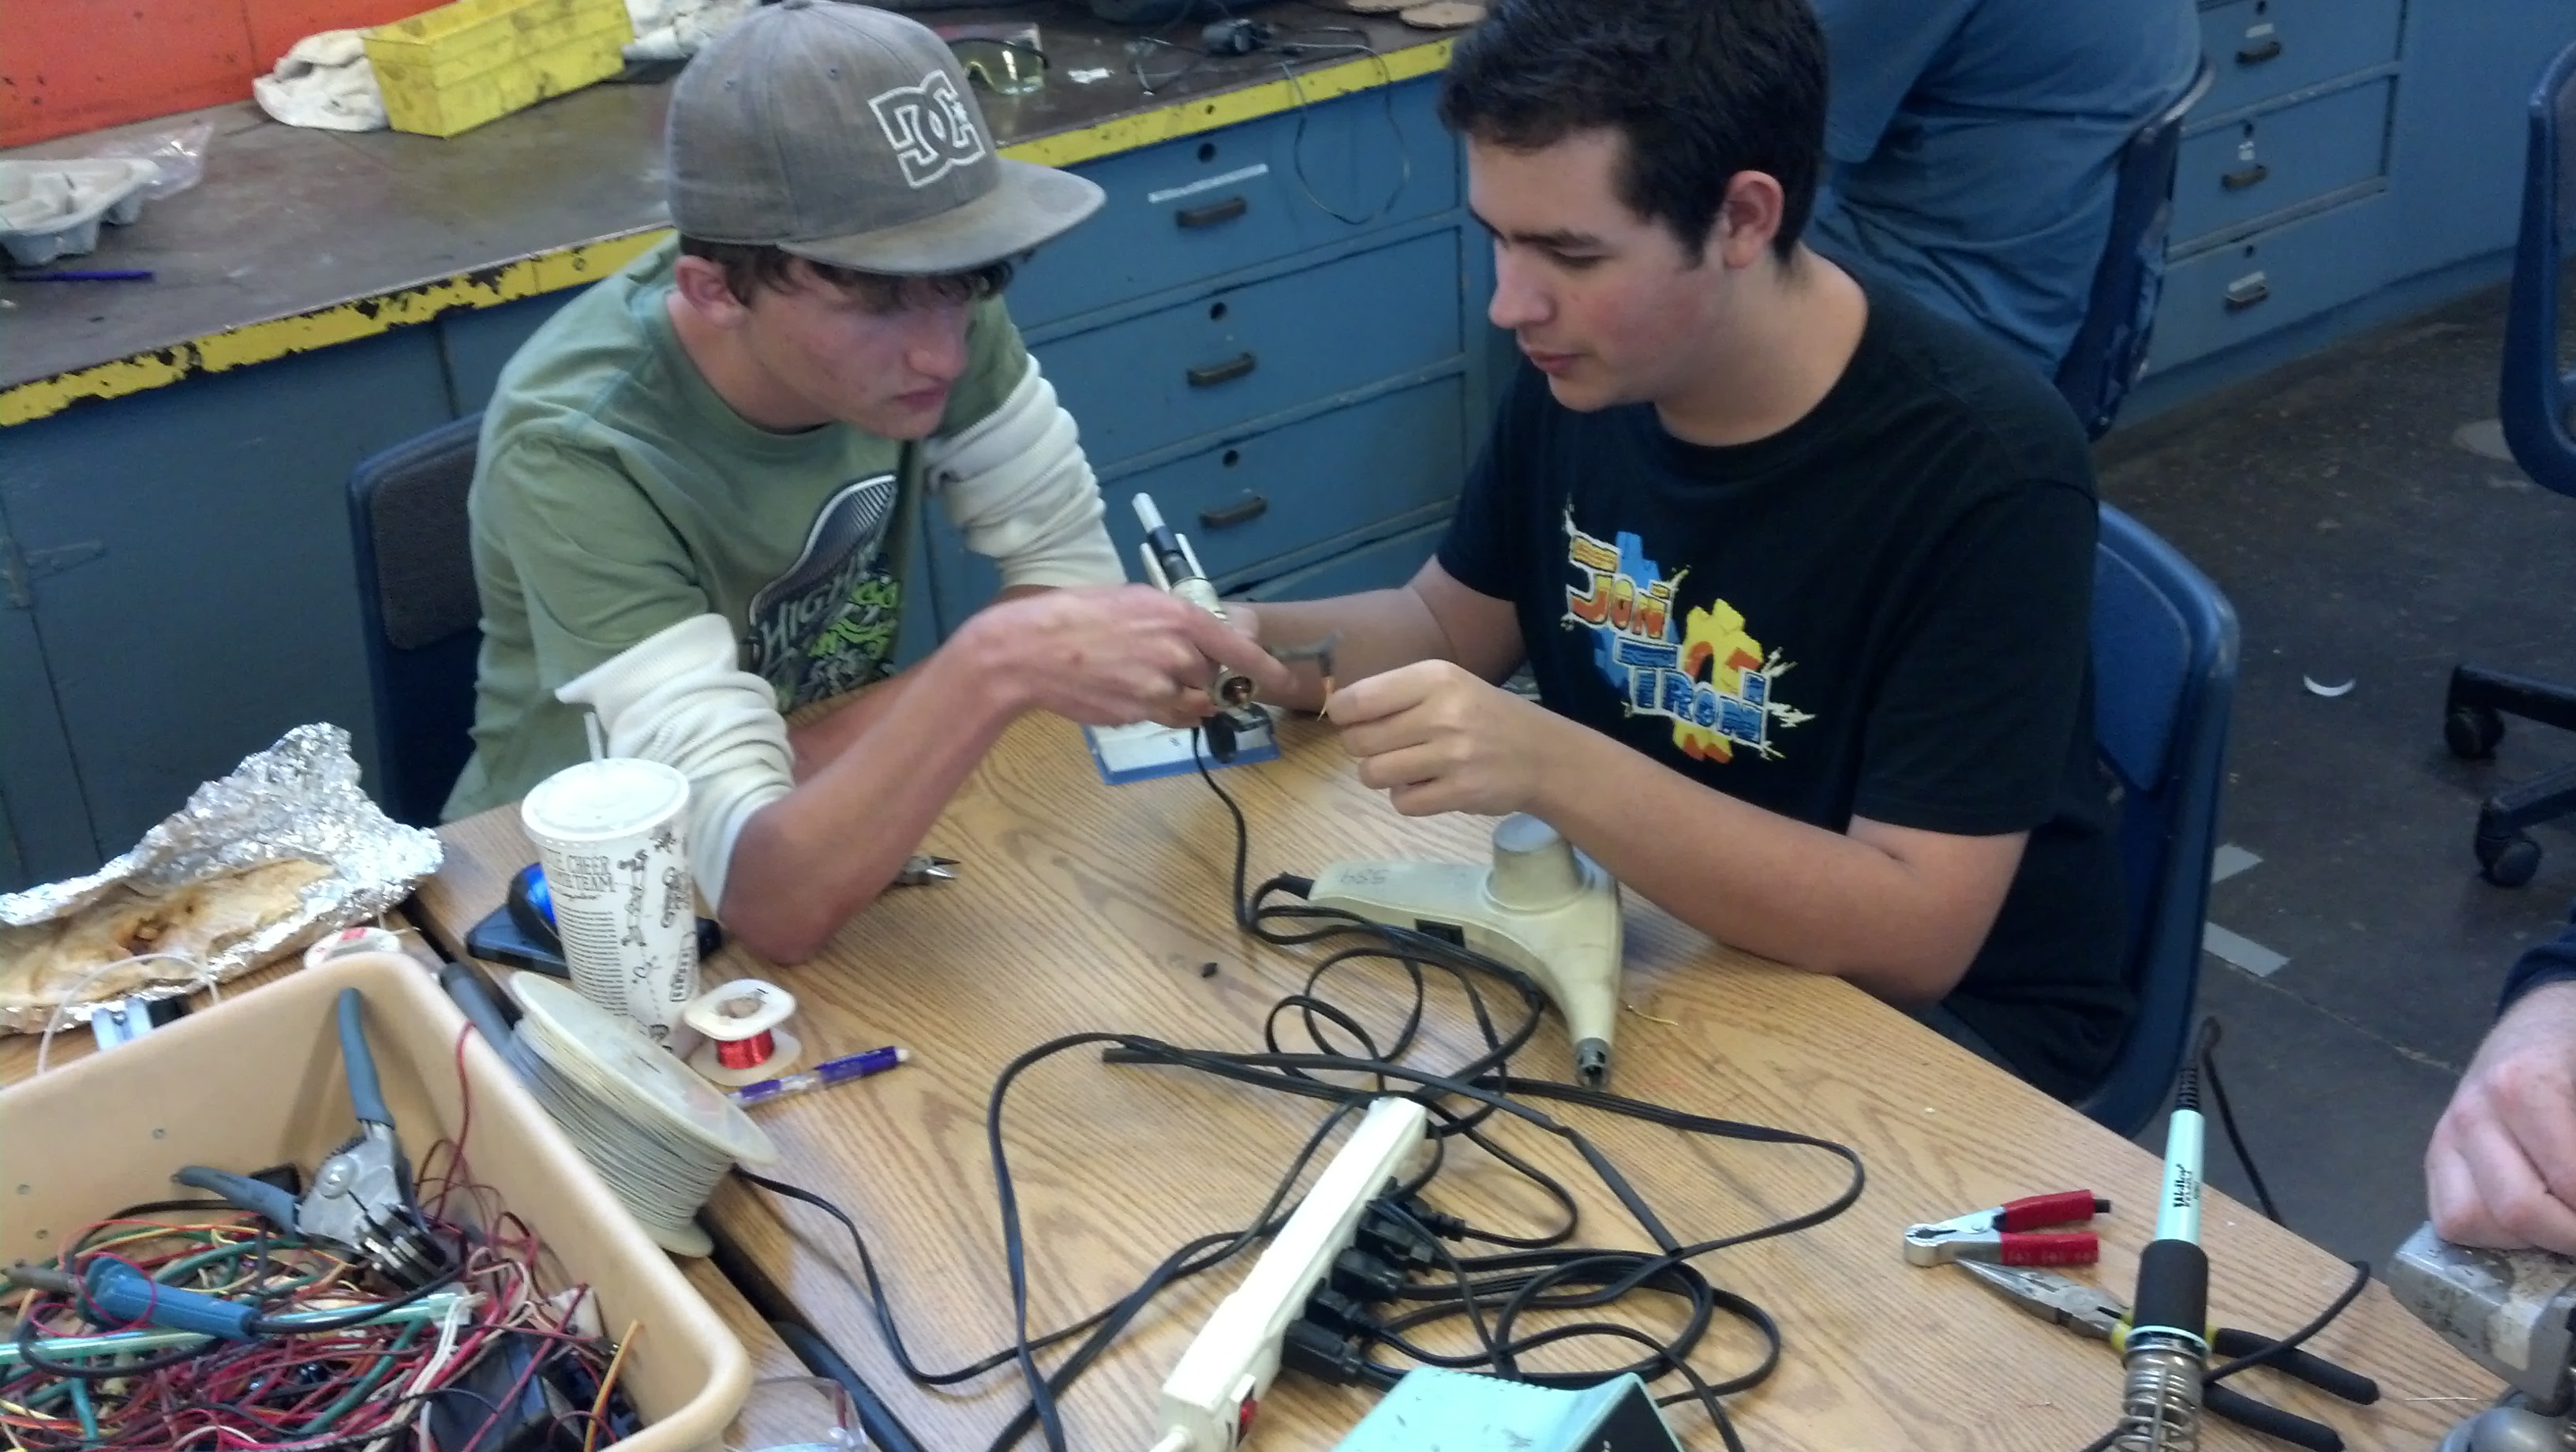
With the help of Josh I was able to fix the three broken LEDs in the tote. He used the mill to expose the LED leads
through the acrylic which allowed me to test and determine which LED is broken. Then he milled out the LED and I was able
to solder on a new set although I had to pull power from a different set. Still, vied from the top, the tote looks
just fine.
5/11/15
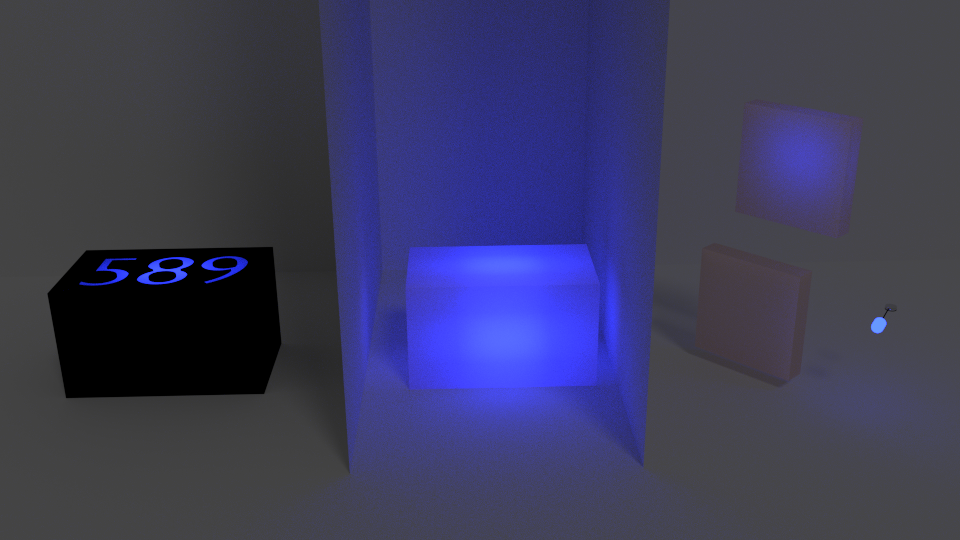
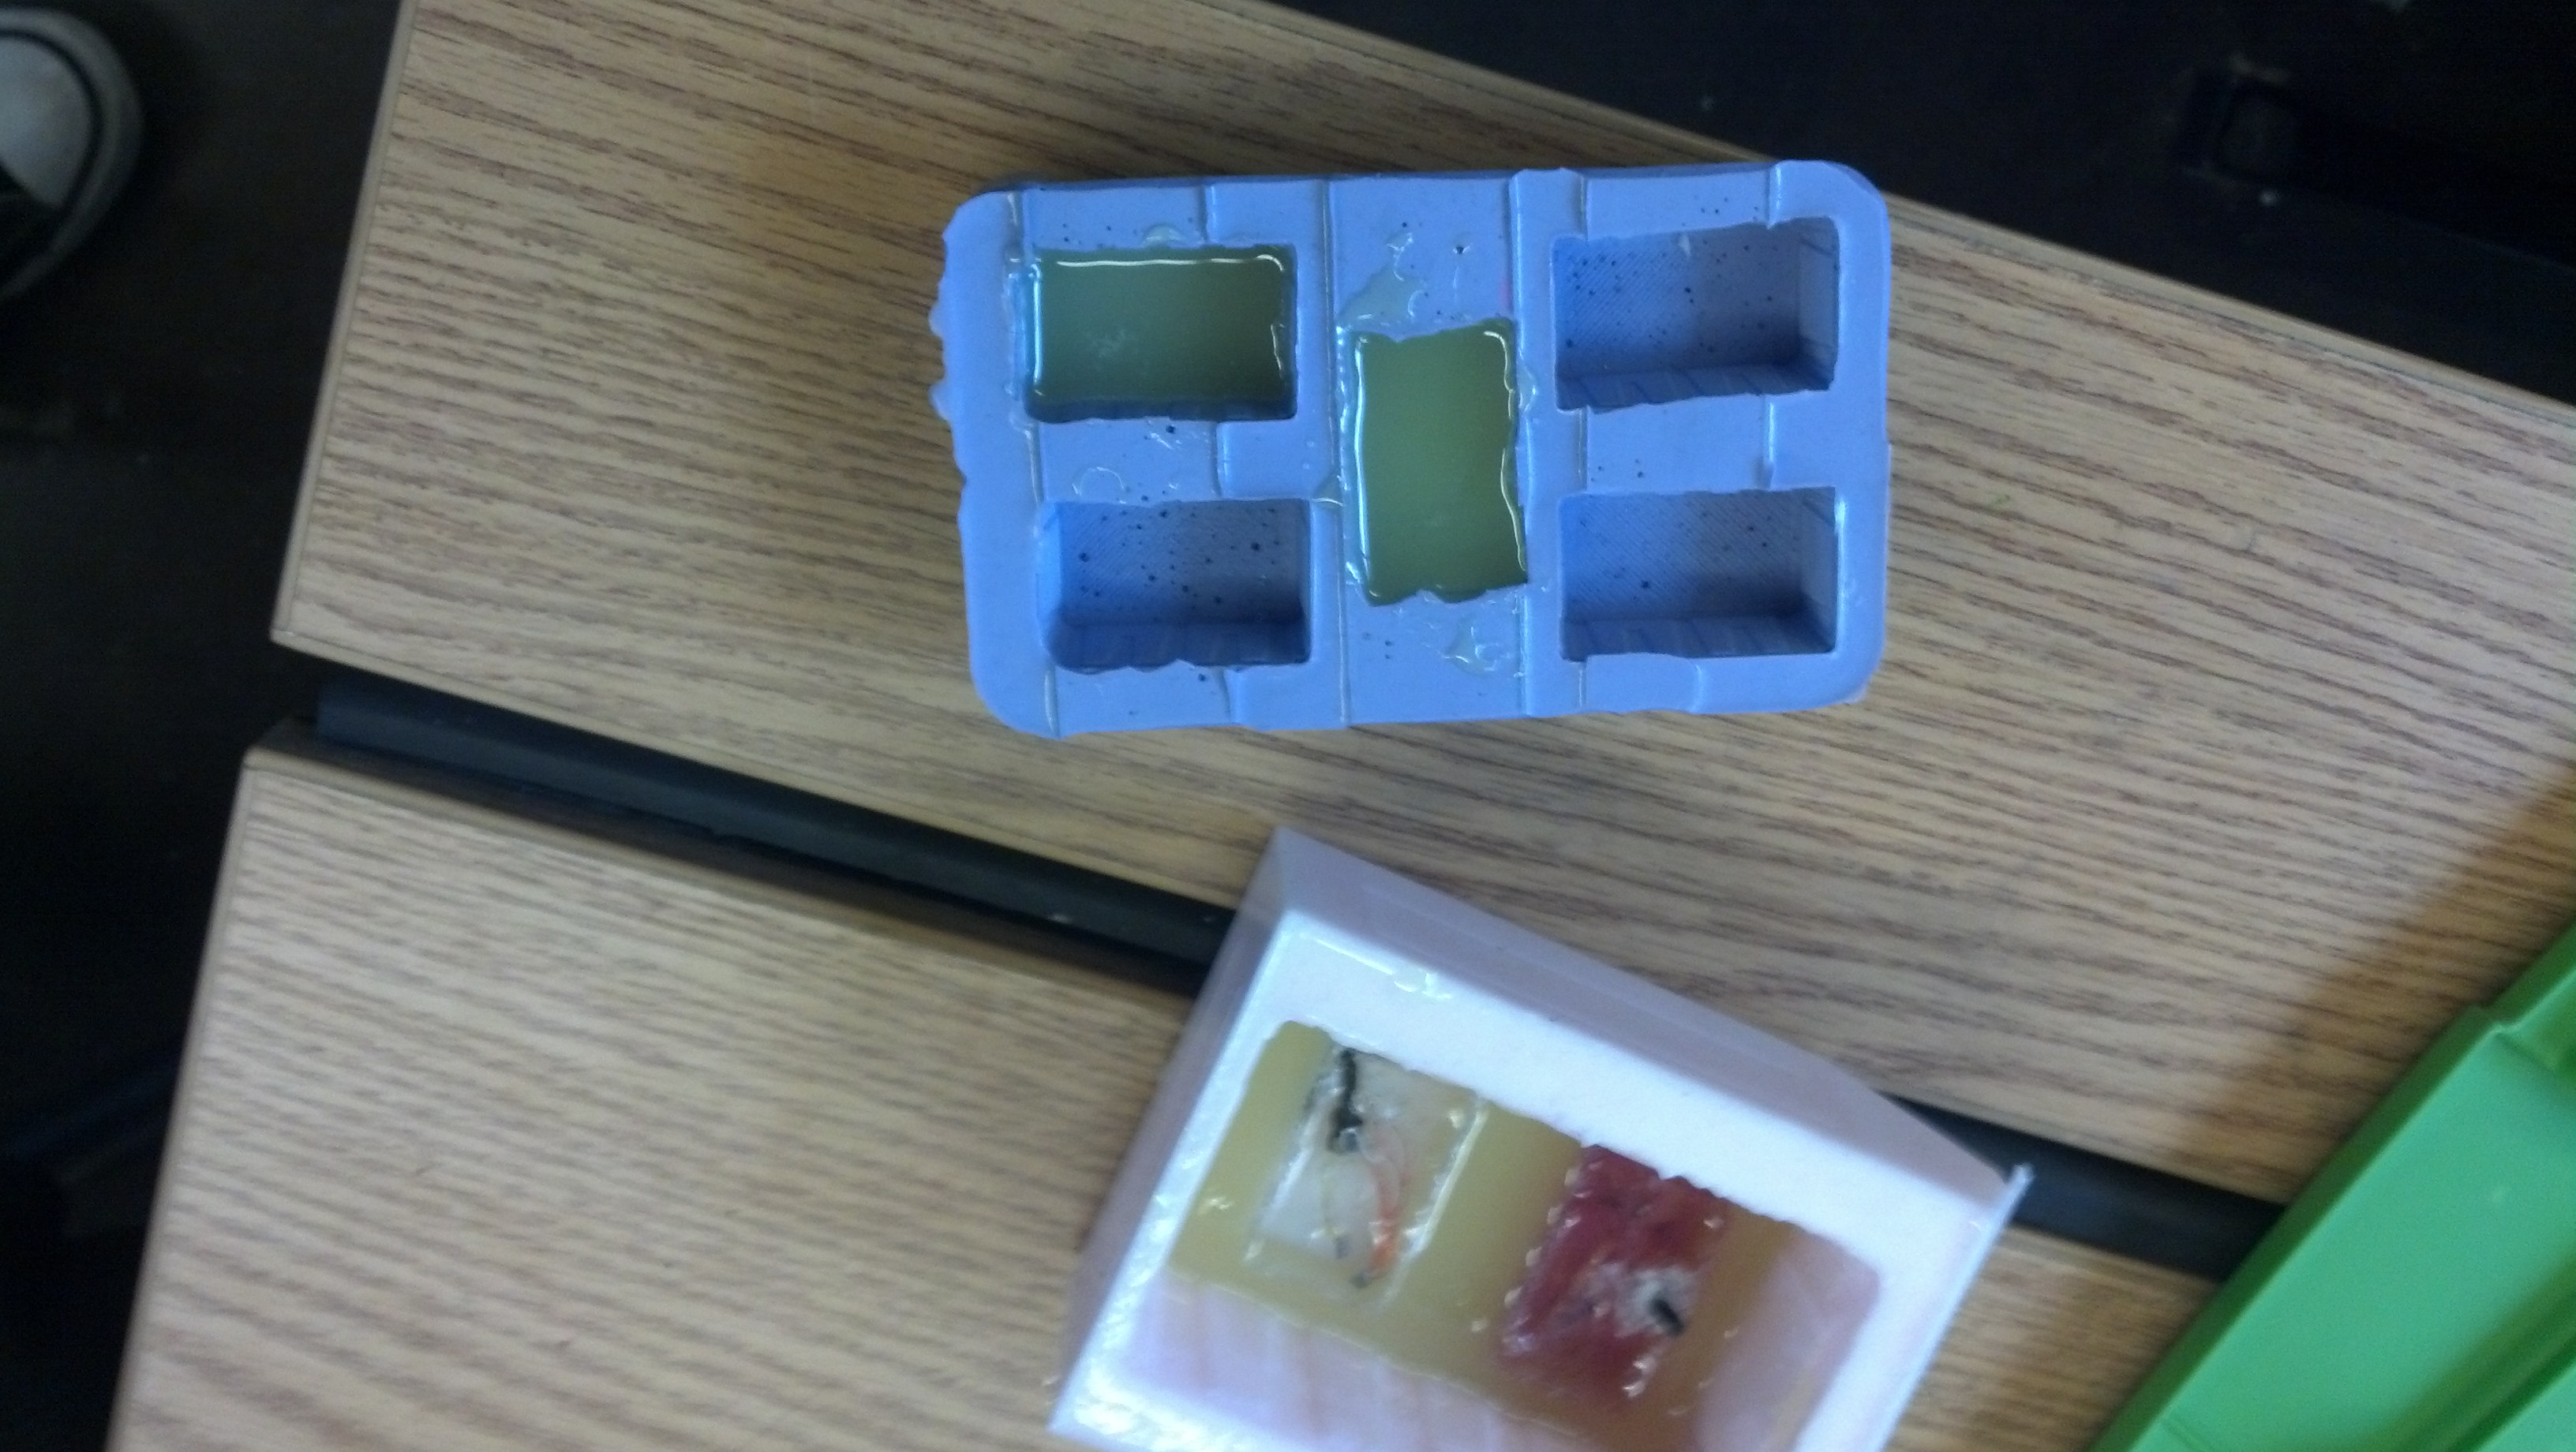
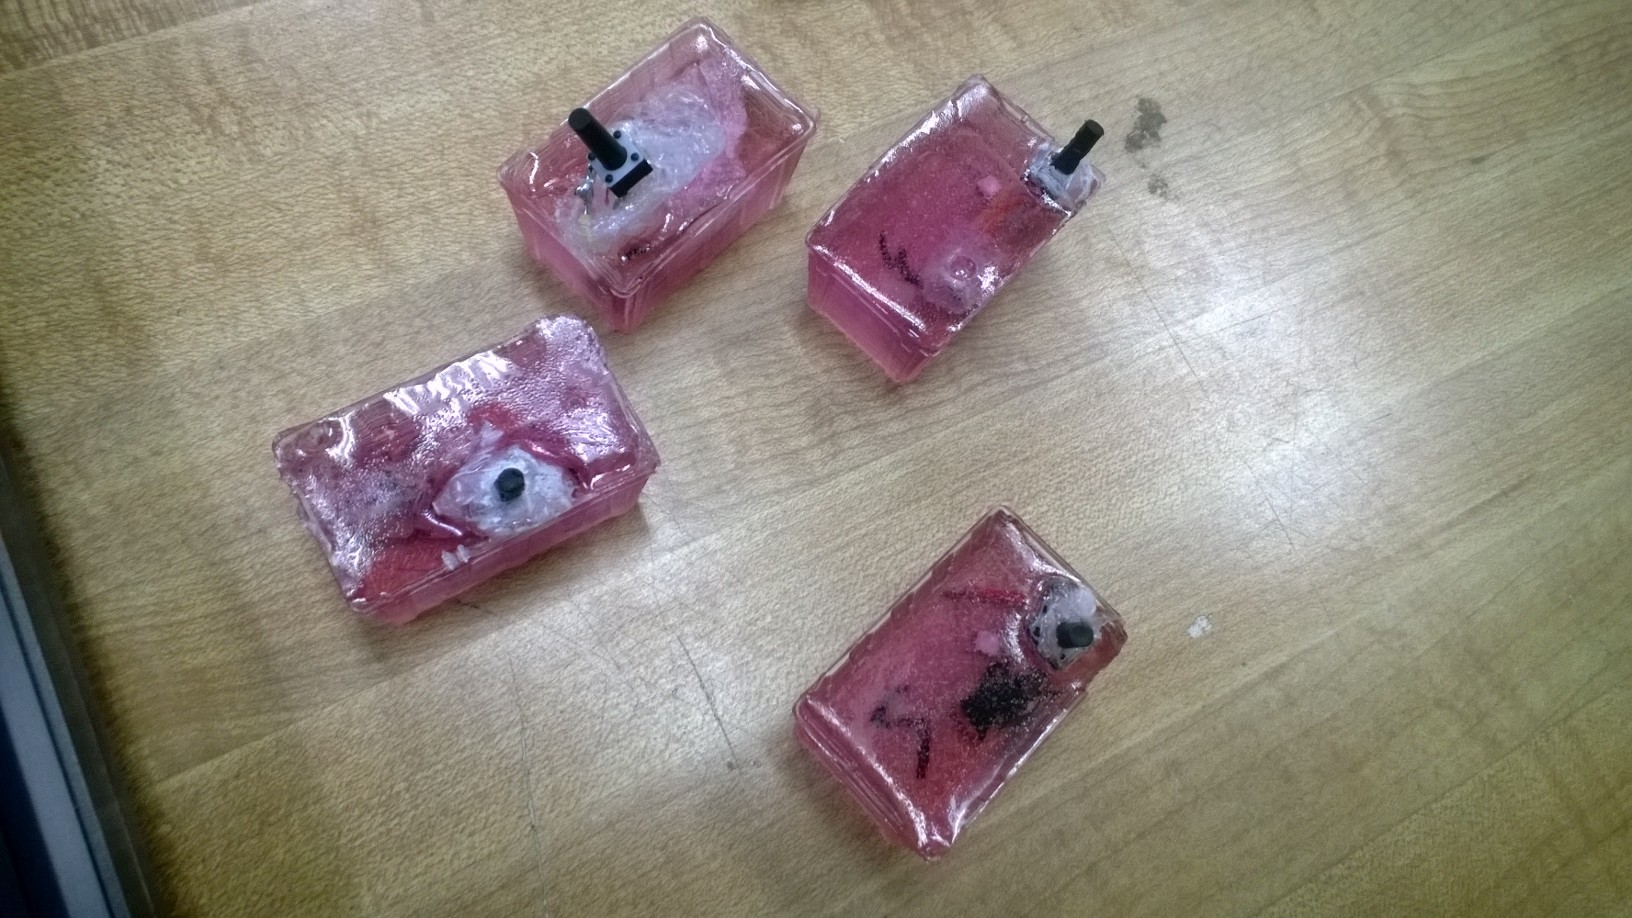
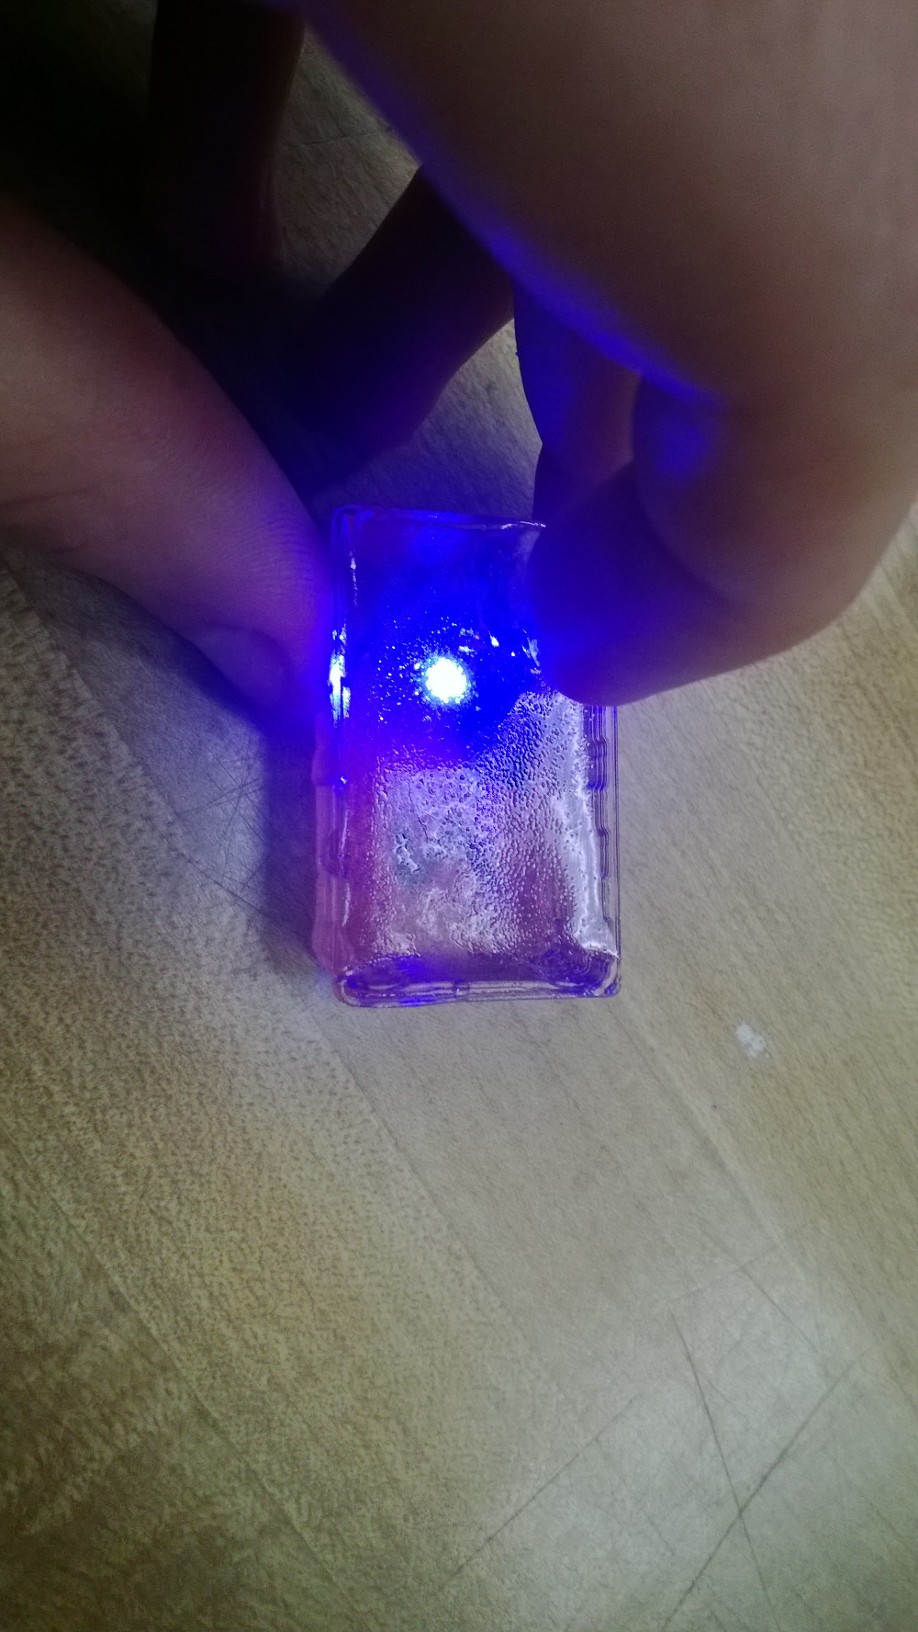
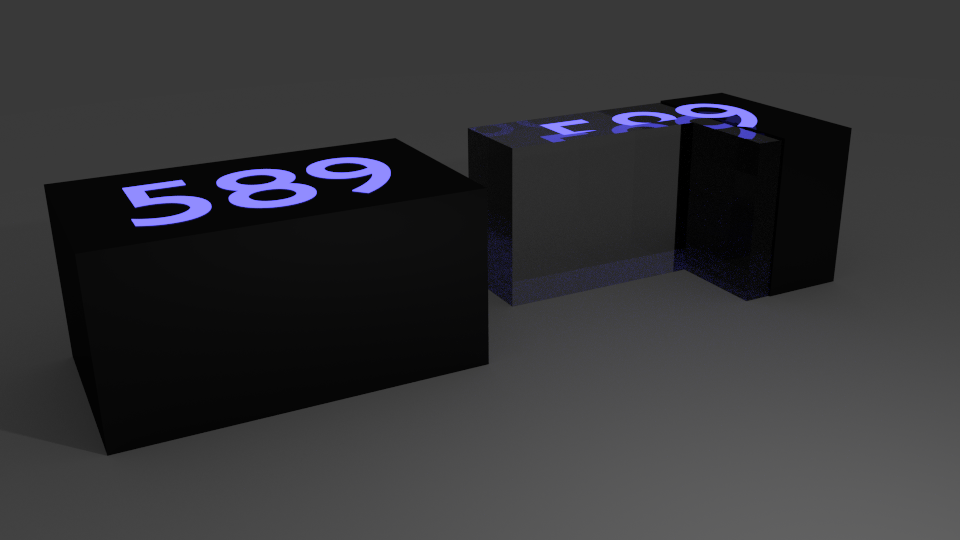
Today we casted the 589 tote. I took it home this afternoon since no one picked it up. It works quite well although
it has a few problems. First off two bubbles on the top kind of subtract from its attractiveness, but in the future this is
an easy fix. Simply watch it as its curing and when a bubble appears, pop it. Another minor problem is there is a crack at the base,
but it is virtually invisible unless you are looking for it. The biggest problem is that a set of three LEDs burned out, or one
burned, resulting in the others to fail. So the number 5 looks like a strange symbol instead.
5/8/15
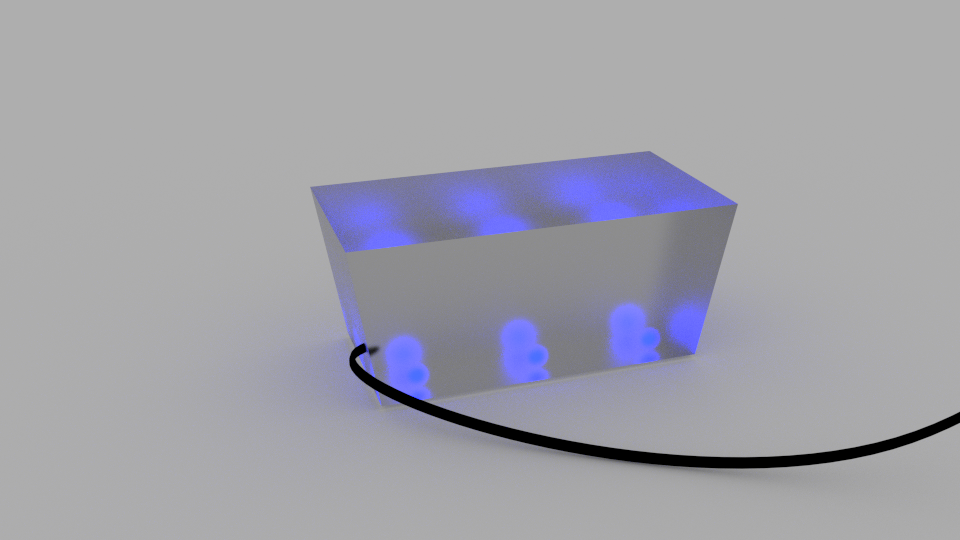
Today I continued to work on the 589 box. I finished the letter 8 and 9 today, it lights fine and in unison is bright enough to
reject looks from anyone. However aside from that it looks quite nice. Picture coming soon!
5/7/15
I continued the 589 box, I think it will be finished next Monday-Tuesday. I was able to finish the 5 and start the 8. I'm also starting
on a comprehensive list of estimated and actual prices of the tote project. Estimated to be finished next Friday.
5/5/15
I continued working on the 589 tote today, progress is kind of slow, the process is kind of annoying but it works. Since each
LED needs 3V, and the power source I have is 12V with a resister on the end, the way I've set up the numbers is there are three LEDs in series and then those
sets are in parallel to one another, so in the end the wiring will look like a mess.
5/4/15
Today I started making a special tote for Dr. Neat. It is a single large tote filled with LEDs that spell out "589." I've estimated that this project
will require around 40 LEDs and quite a bit of soldering. I've already printed out a template, which is just 589 at 180 font, that size is
perfect because it fits right into the mold. Then with the help of Gaby and a few others we cleaned up the shop.
5/1/15
Today I spent the period updating my journal.
4/30/15
We cast the tote today. We straightened out the robot, cut a hole in the mold and ran the wire through it. It took a while to get
the resin ratio right, but in the end it worked. The problem was we added just a bit too much catalyst and it ended up cracking. Another
problem was resin got into our switch which hardened, so I had to cut it open and solder the connection together.
4/29/15
Gaby and I improved the little robot today, we added transistors for the wheels, a little circuit board for the electronics,
and we cast the yellow tote which will go into the robot. We also added 6 LEDs to light it up. A red one we used was a flashy
type, and when we put two others in series they flashed as well.
4/27/15
Today I started building the little robot. I had the genius idea to make it out of solder, so everytime the soldering iron
touched it, it sliced through. I used to little plastic tubes for the pressure compartment. It will be finished by thursday.
4/24/15
Today we thought of an idea for Mr. Wilton's gift. We made a list of things to buy, and we will start building it next week.
4/17/15
Today we worked on the mentor handouts, it seems period 4 was able to get some of the fat LEDs working with phone chargers,
using various types of resistors. Although this method works, it wastes a lot of power but also requires either a lot of
trial and error or math. The easier way is simply to put a few LEDs in series, the voltage divided by three gives the exact number.
We did this with nine LEDs and they looked quite nice. Apparently the mold material has already been ordered so the next step will be
to cast prototypes.
4/15/15
Today we did a Wednesday challenge in which the objective was to approximate pi using an object. See the Wednesday challenges
tab for more details.
4/14/15
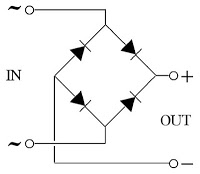
Today we discussed the progress of the mentor totes. We need to find some way to bring the voltage down from 120AC to 3DC,
I was thinking a transformer with a bridge rectifier, and maybe a voltage regulator. Period 4 has decided to use phone chargers,
which are easy to use, but they have brand names on them, and the don't hit 3 volts exactly either.
4/10/15
Today I spent the day updating my journal.
4/9/15
Today Gaby, Josh, Daniel and I discussed the mentor handouts that we will be making. So far we have a
brick sized tote out of acrylic, with eight LEDS, two in each of the top corners, one facing in, one out.
We might add stuff to the resin for additional apeal. We each have something to take care of this weekend,
I need to find a 40:1 transformer and a bridge rectifier.
4/8/15
The class had a Wednesday challenge today, concerning ideas about the mentor handouts. A few useful ideas
did come out, namely a USB drive tote, but in the end I do believe we will stick with a nightlight tote.
4/7/15
Me, Gaby and a few others discussed the current plan regarding mentor handouts. We want to create a tote
that does something useful.
4/6/15
Today Dr. Neat discussed grades, journals, and grades. I seem to be doing fine and will likely continue
my current project in totes.
4/3/15
Today I spent the day updating my journal.
4/2/15
Today I spent the day updating my journal. In the future I plan to do a little more work with the totes,
hopefully we will force them into working sooner or later.
4/1/15
Today we had a Wednesday challenge, the details and results can be observed in the Wednesday Challenges tab.
We lost by a minute, but in the end we succeeded in completing the task.
3/31/15
Today me and a few others decided to clean up the shop for visitors tomorrow. I was also
able to convince Dr. Neat in banning food in the shop, I will try and make signs to make sure
food presence becomes contraband.
3/30/15
We watched the FRC videos today and learned about the competition scores, outcomes,
and what it was like experience wise.
3/27/15
Today Dr. Neat wasn't here again so we watched a movie and updated journals.
3/26/15
Since all the circuits with straws worked that is what we did today. We made 14 straw circuits that worked and they will be casted later today.
3/25/15
The circuits we made today were made with electrical tape and straws, right now that biggest thing is just to keep the resin from touching
the batteries.
3/24/15
More circuits were made today, with electrical tape.
3/23/15
Today Dr. Neat wasn't here again so we watched a movie and updated journals.
3/12/15
Both circuits from yesterday worked, so 100% for the first time. Today we spent the period updating our journals. Dr. Neat was at the competition, good luck to them.
3/11/15
Another one broke somewhere between yesterday and today, only 2 of the 5 are working. We cast two more totes, I made both
the circuits and tried something new. I wrapped both batteries with a small amount of electrical
tape and made sure to seal the entirety. Both worked later today so it may be that the simplest fix is the most effective.
3/10/15
Only one of the thirty circuits worked, although disheartening we will continue to try and make this happen. We tried five new things today
and casted them, after school when I checked back only 3 were working, so let's see if we can keep 3 working tomorow.
3/9/15
Today Josh and I made 30 circuits with the batteries from last friday. We are expecting a near perfect success rate due to the insulation
in the batteries.
3/6/15
Today we spent the period updating our journals. The success rate has gone down yesterdays cast. See Wednesday challenges for results.
3/5/15
Today we made more circuits, we tried making them out of only magnet wire today to see if that would benifit success rates.
After school, we made more circuits and casted the ones we made. We have quite a few molds now too.
3/4/15
Today Daniel helped us make circuits. We are trying a new thing which could benifit us in the success of these totes. We are creating a small
loop at the end each wire going into the batteries. Then a drop of solder on top. This creates a solid mass that the heat shrink can clamp onto.
We still have not gotten a 100% success rate when casting totes, but that's something to look forward to.
3/3/15
Today we got the class involved in determining the problem in the totes. We determined a few things, mainly the battery needs help in surviving.
The switches are also problematic and need to stay above the resin surface.
3/2/15
Today we simply made more circuits, same design as last week.
2/27/15
Today we spent the period updating our journals.
2/26/15
Today I continued making more circuit, Gaby finally got the hang of making batteries and I can consistantly solder the tiny LEDs now.
All this considiered we were able to make 6 very sturdy circuits. I was also called up to the counciling office to update my classes.
2/25/15
Today I continued making more electronics. This idea may actually end up working if we get lucky. We discovered the switch may be to blame for
the failures, and we should start considiering insulation for the components.
2/24/15
Today, like yesterday, and likely like tomorrow I made more of the little circuits. I don't mind because it's good practice and also
allows me to update and optimize circuits as I see fit.
2/23/15
Today we made more of the circuits, we are able to produce a constant 8-10 a day. We started trying different things with magnet wire and
condensed wireing.
2/20/15
Today we spent the period updating journals, but because I forgot my flashdrive I had to write everything onto a text file
and then upload it at home.
2/19/15
We spent today making little those little circuits. We decided to stick with the idea of the tiny LEDs and heat-shrink
tubing for the batteries. With the four of us, we were able to make around 10 functioning circuits. Apart from the tiny LEDs being
tricky to solder to and the batteries not wanting to stay in contact with wires, it is really quite simple. See Wednesday challenges
tab for pictures.
2/18/15
Today Daniel, Gaby, and I discussed how we were going to build the tiny circuits we will put into the acrylic boxes.
The debate was whether to use heat shrink or steel plate for the batteries and weather to use 5mm or surface mount LEDs.
We ended up using heat-shrink tubing for holding the batteries and the surface mount LEDs.
2/17/15
Today I presented the idea for electronics and the little glass prototype I made to the class. The LEDs are rather
tiny and may be difficult to solder to. However I am hopeful as they are adorable and quite easy to work with, once you know
how. The glass prototype looks good as well, the only problem with it, is that it's not a box.
2/13/15
Today I spent the period updating my journal. Additionally I was successful in spot welding some sheet metal together.
Hopefully we will be able to spot weld the sheet metal to the batteries.
2/12/15
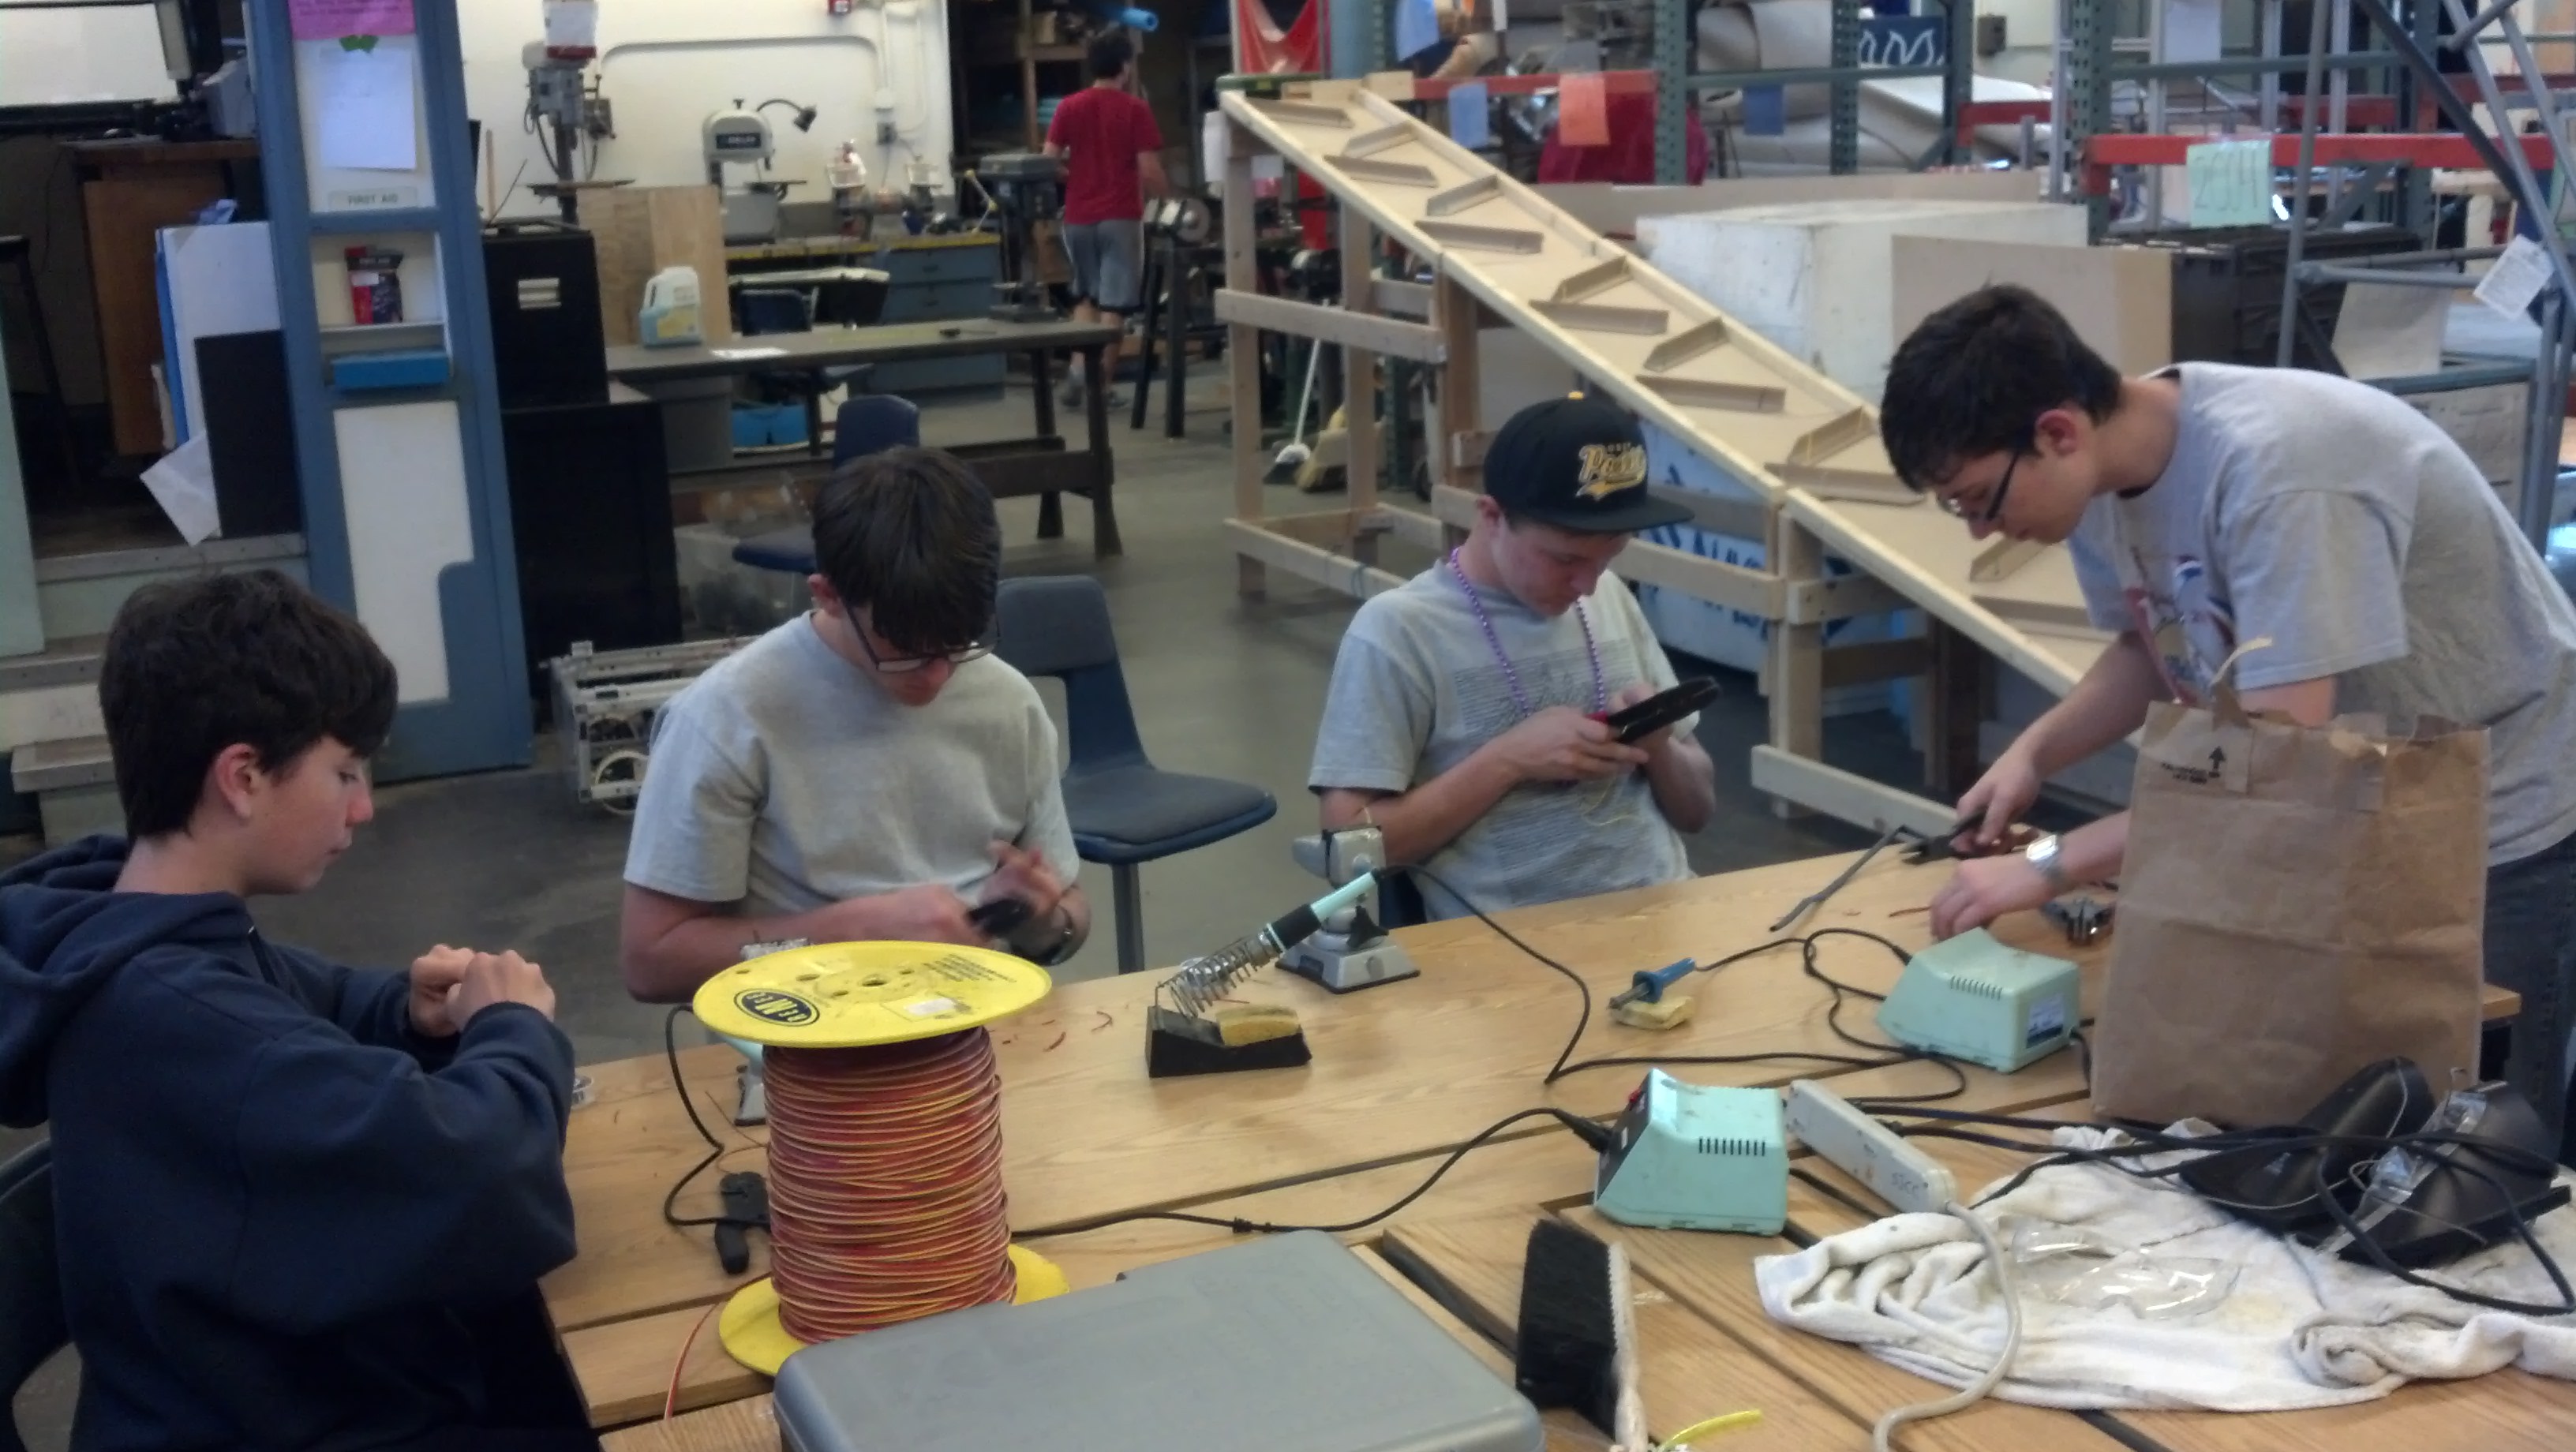
Today I started teaching electronics to my first group of three. Nathen, Xander, and Kirk were each taught how to
strip wire and solder. Soon I will teach them the basics to current and components, and then they should be able to
devise a simple circuit, then create it.
2/11/15
Today we had a Wednesday challenge in which we discussed possible solutions to the FRC handout that we want to make.
There are a few major problems with our original design, one is that the LED light is too focused, and one is that
we don't know exactly how to get or make the acrylic and whether it be hollow or solid. Almost all the ideas were
regarding the LED and a few ideas were to use plastic to diffuse the light, to use mirrors, and to use sandpaper to
frost the LED.
2/10/15
Today I Worked on the FRC handout with Gaby. We decided they are either going to be hollow or solid.
2/6/15
Today the scores were presented to the class and the remaining period was spent updating the journals. I also discussed the
specifics of the tote trinket with Gaby and Daniel and we settled for using electronics in acrylic.
2/5/15
A Thursday challenge occurred today, designed to inspire cooperation. Every team designed the letter "E" on Google
sketchup and then handed in the laptops which were places on the counter. Every team was assigned to build an "E" dimensionally
accurate to the one on the screen. The one with the lowest error was declared winner. I was the judge and was mainly
responsible for directing each team where to go as well as report numbers to Kevin who did the recording.
2/2/15
Today we made a sketchup of a wheel. I learned how to use sketchup with a few different features. I still think it is a pretty underpowered
software though.
1/30/15
Today we updated journals and we got a presentation on SMAP a satellite that is designed to monitor moisture levels in
the soil around the planet. I was at the front and presented the videos. Tomorrow we have a science bowl competition, so I
am quite nervous.
1/29/15
Today we updated journals and got everyone online and uploaded to filezilla.
1/28/15
Today we though of ideas to what we can hand out during the robotics competition, see the Wednesday challenges tab to see what
we came up with.
1/27/15
Today we updated journals.
1/26/15
Today I learned how to use google sketchup and I made a clock that has
turning arms. You can find it in the Wednesday challenges tab. Personally
I like blender more, but sketch has the ability to use units so it's more
for cadding while blender is more for animation.
1/23/15
Today we updated journals and got everyone online and uploaded to filezilla.
1/22/15
The Models from Monday were assessed today. Aside from that we updated our journals.
1/21/15
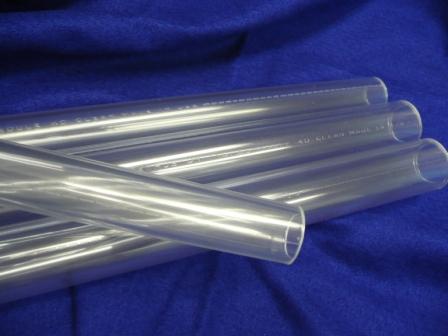
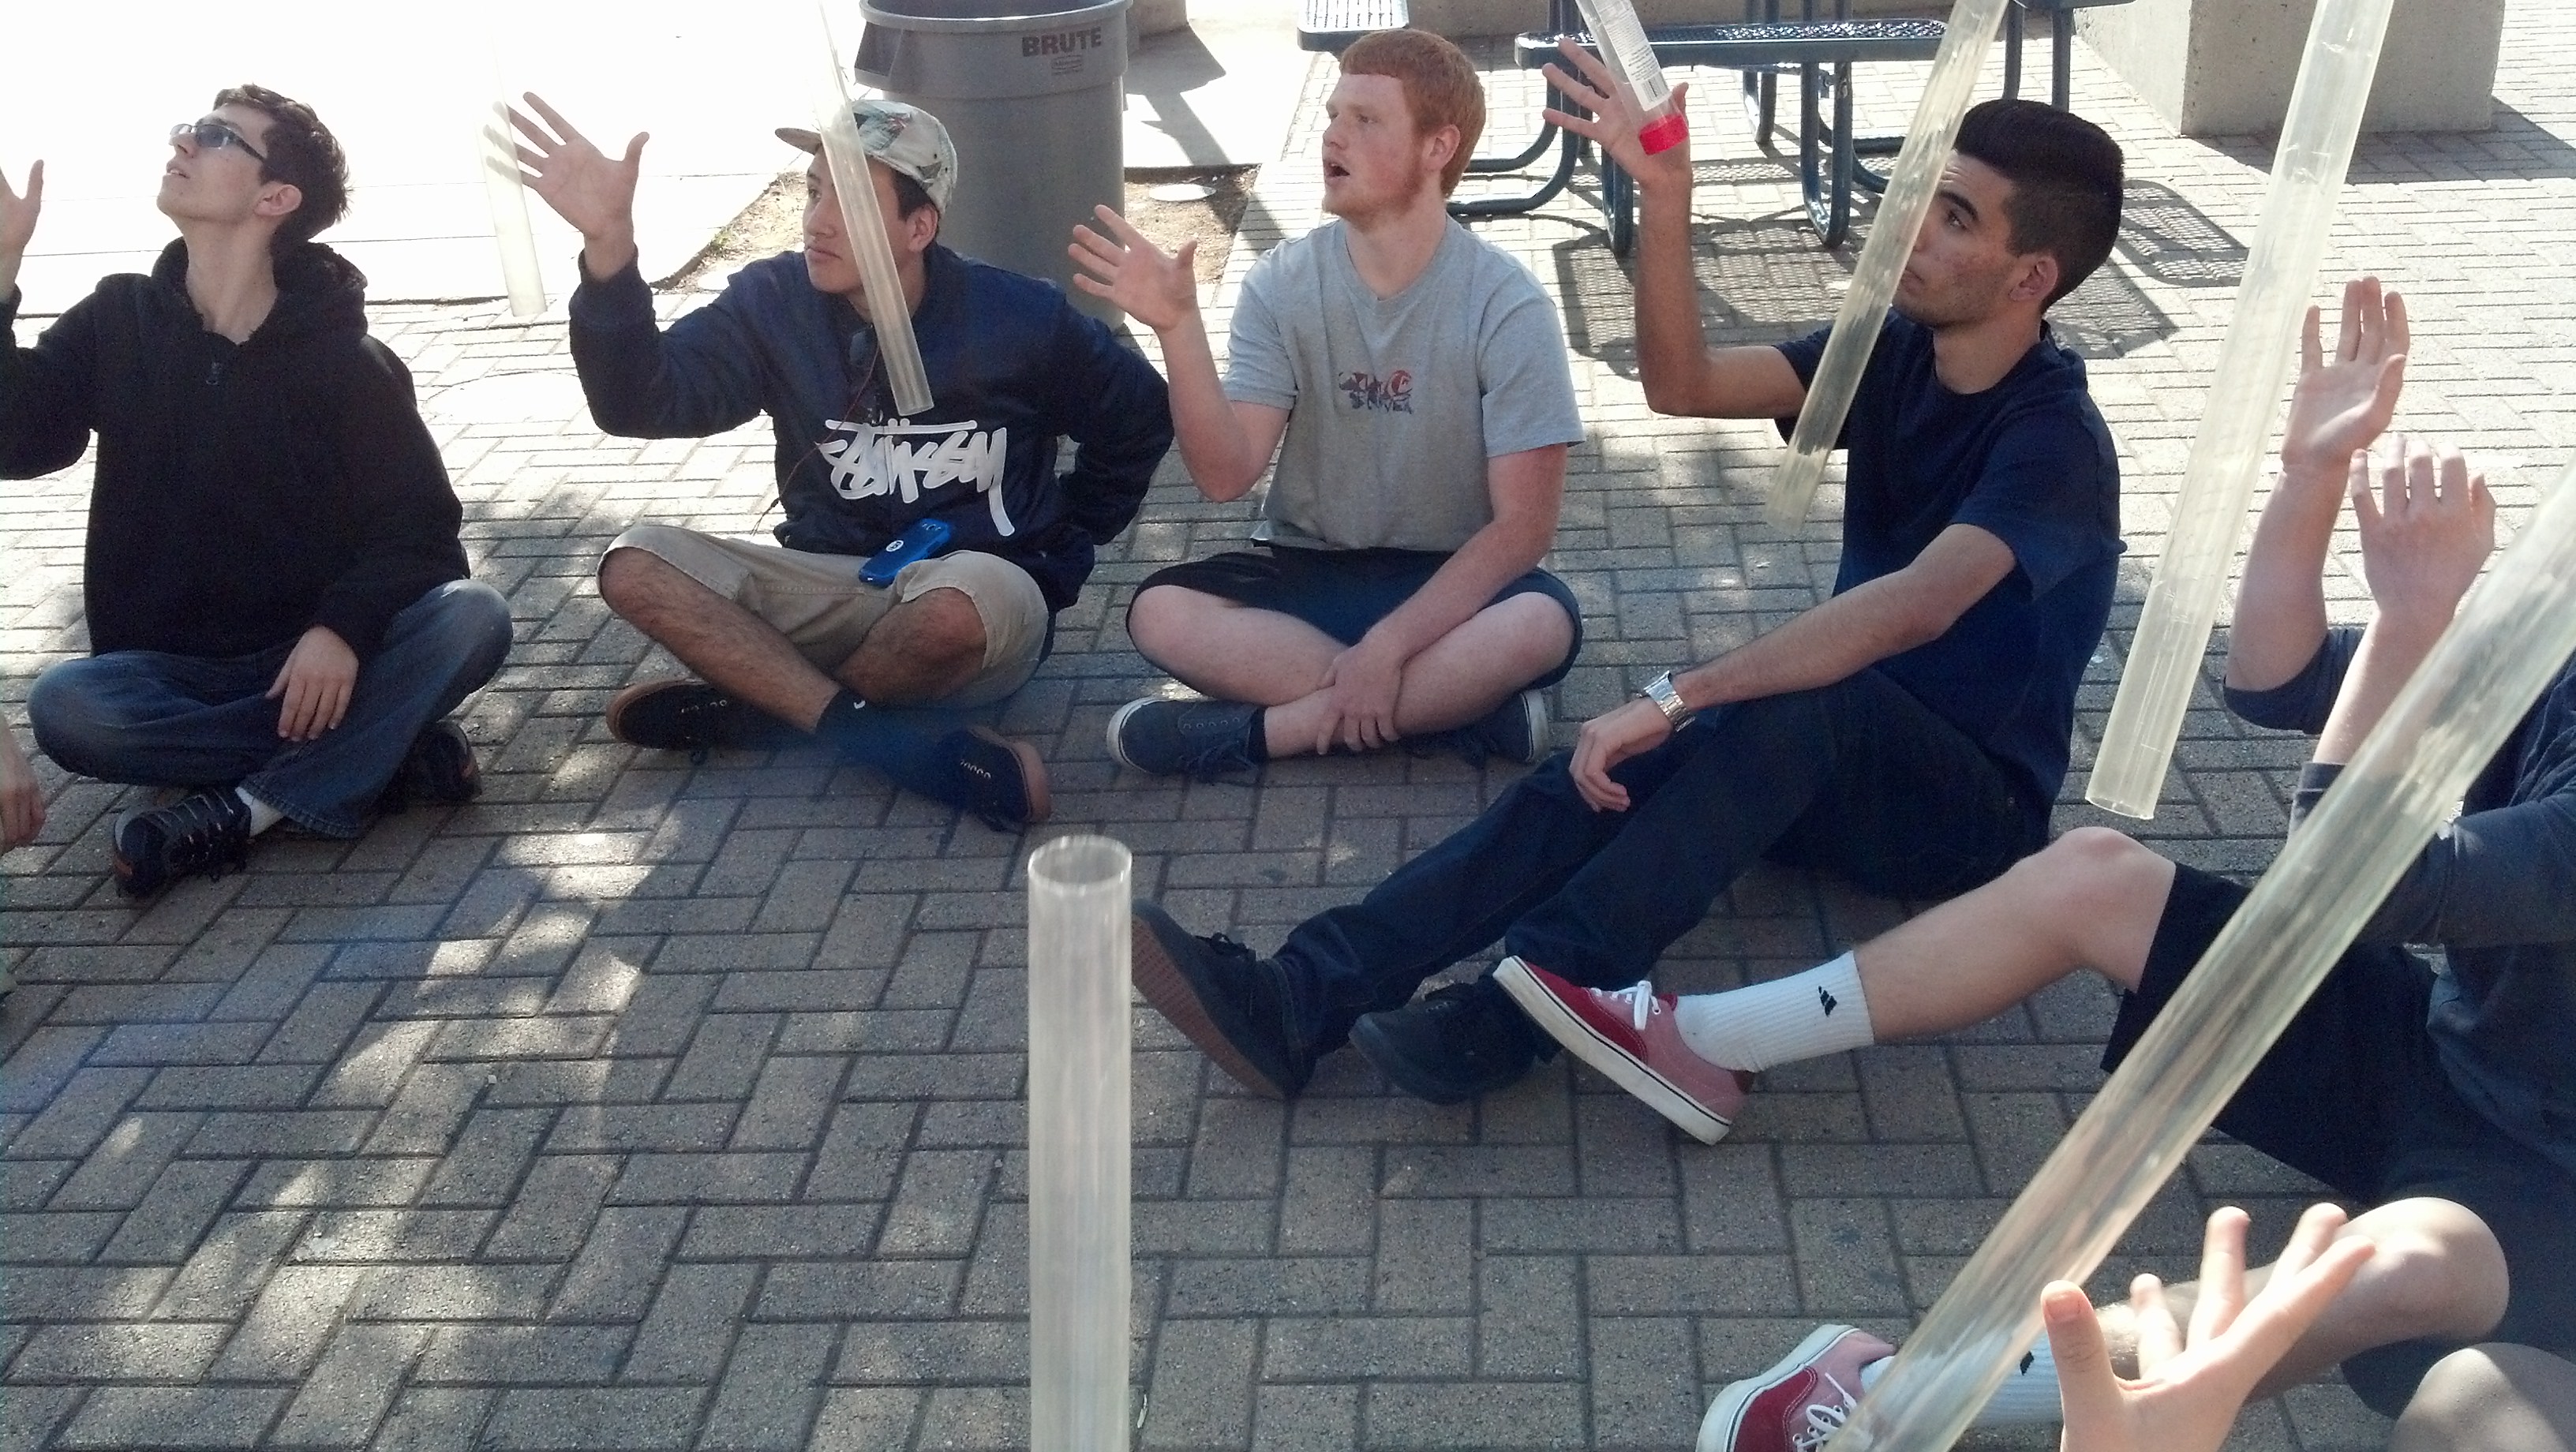
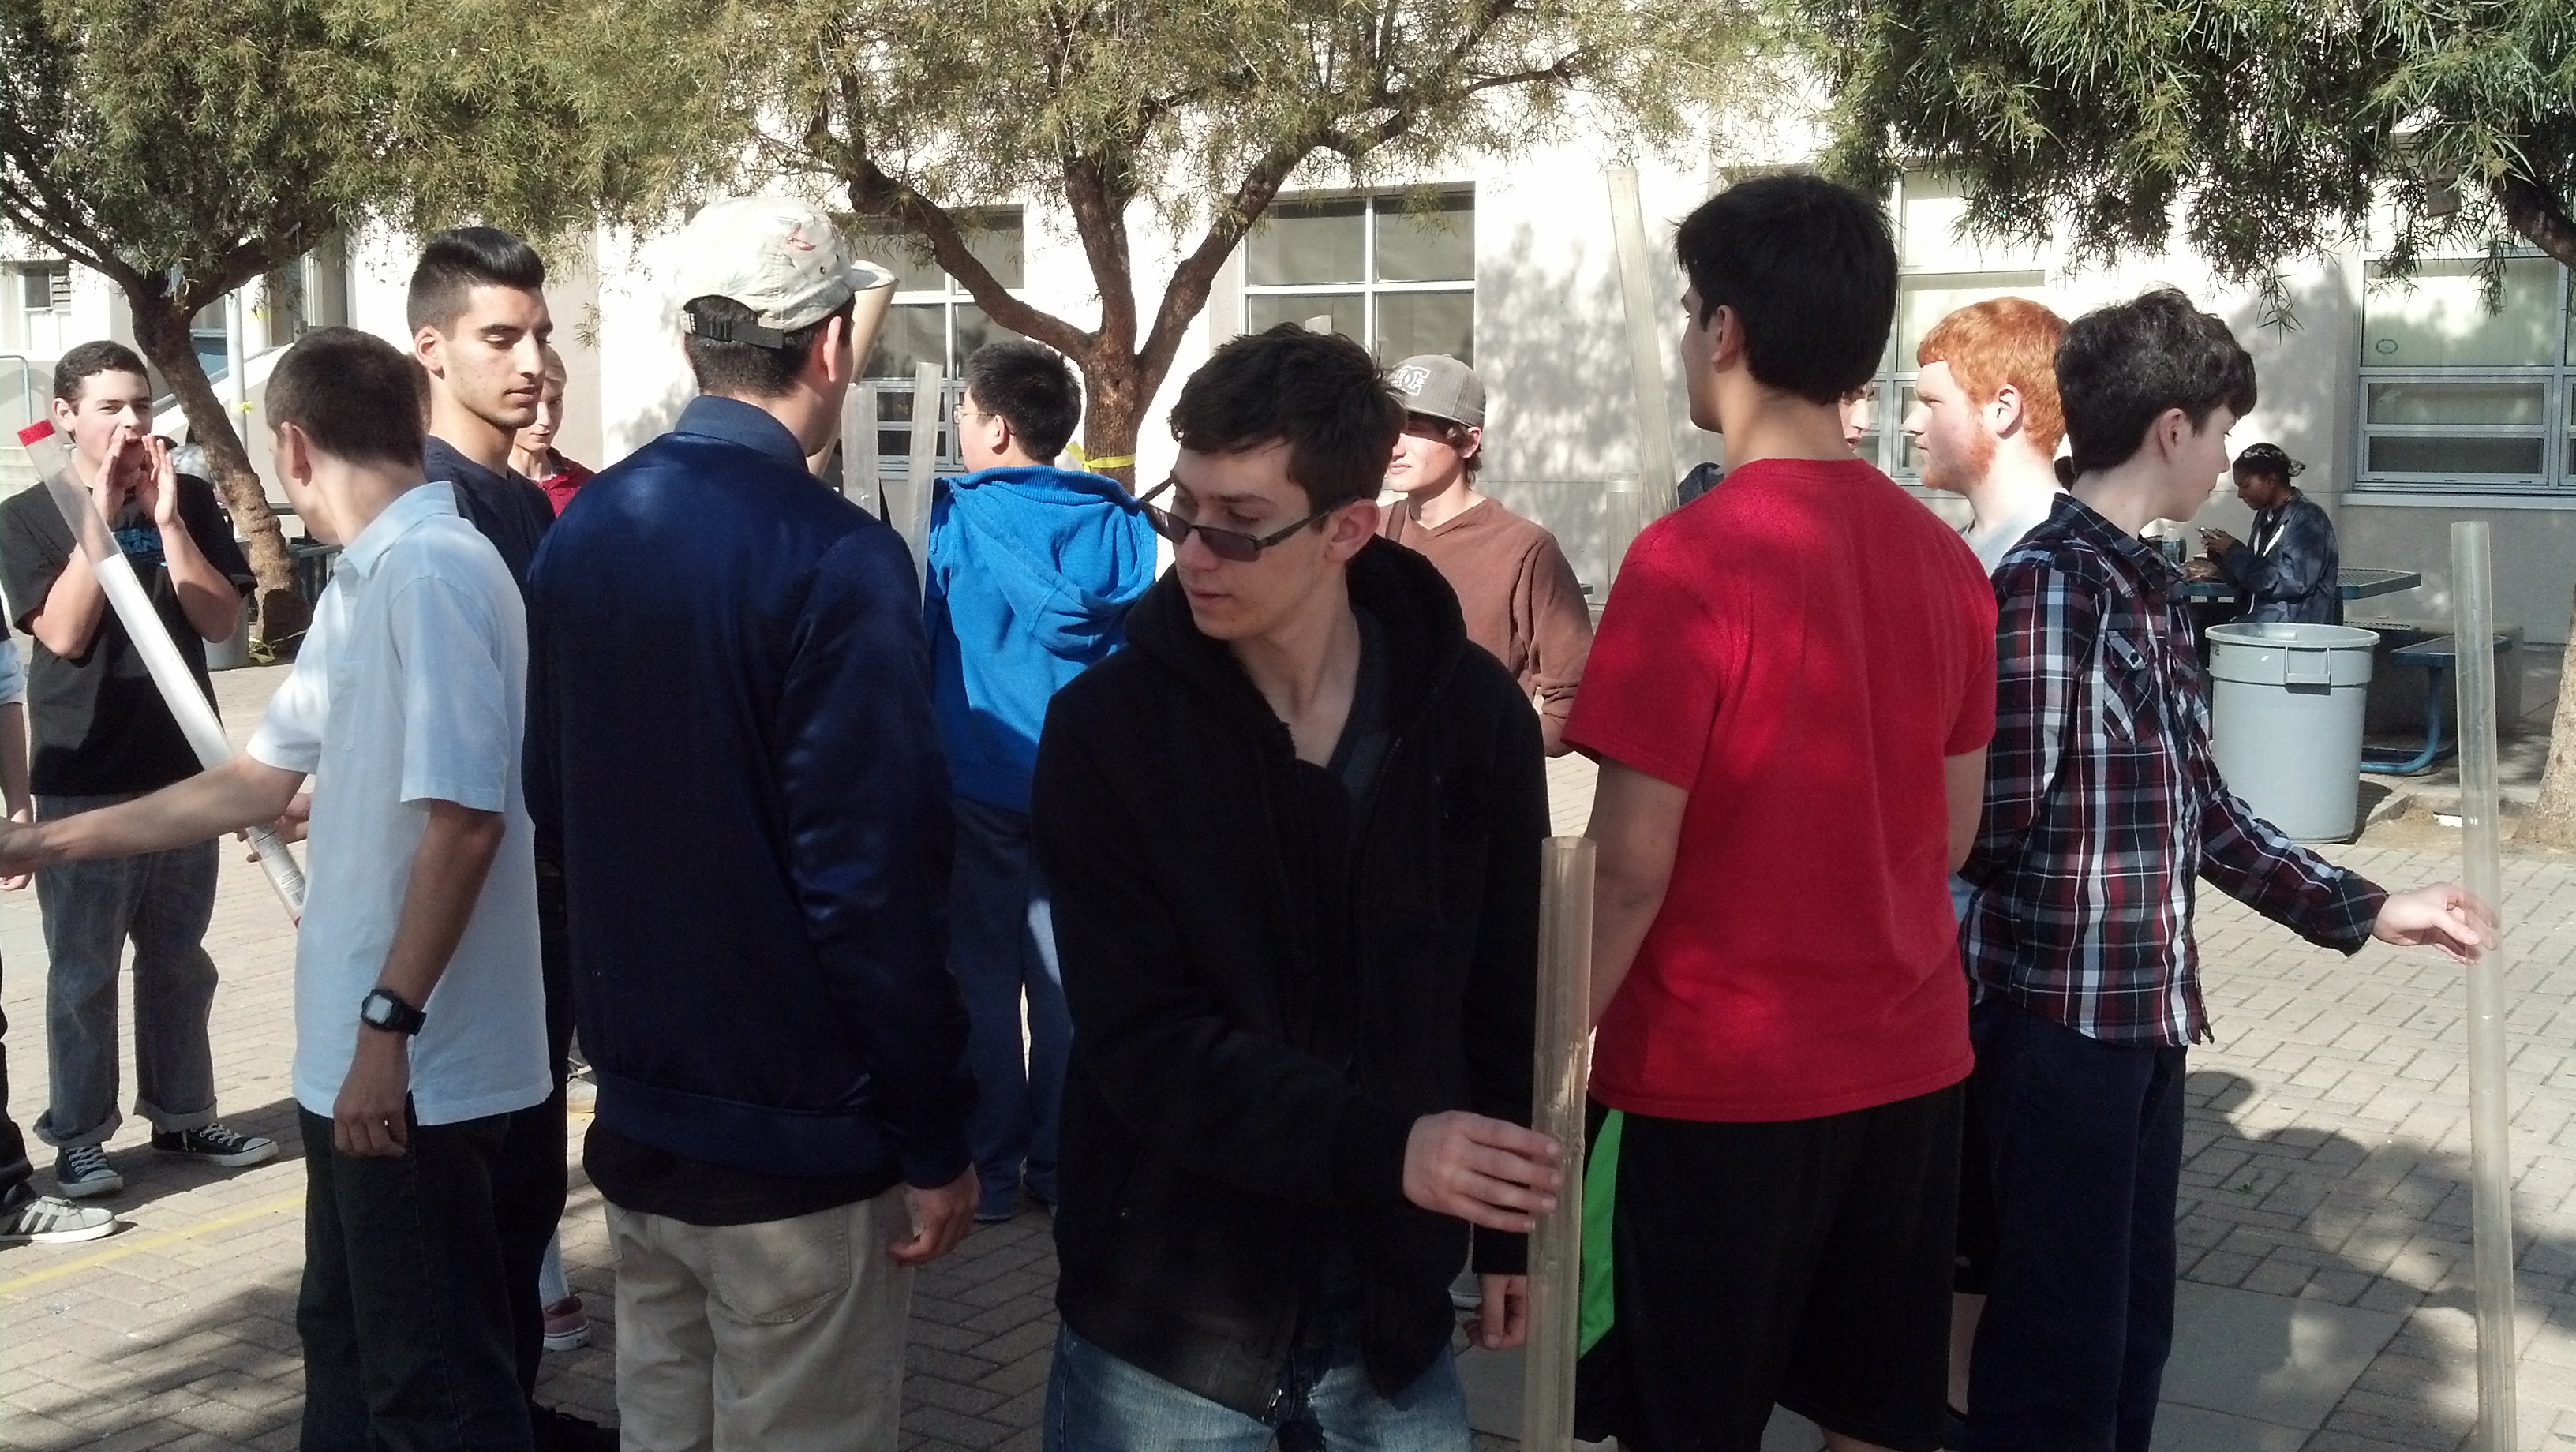
We had a Wednesday challenge today which included tossing clear acrylic tube in a circle. See the WC tab for more information.
1/20/15
Today we worked with Google sketch-up to create a replica of the box dropping machine. I did mine on blender because I wanted to add a
physics aspect to it. As soon as my laptop regains functionality I will upload the file in this week's Wednesday challenges section. These
models will be reviewed Thursday.
1/16/15
Dr. Neat was not here today so we watched a movie and updated journals.
1/14/15
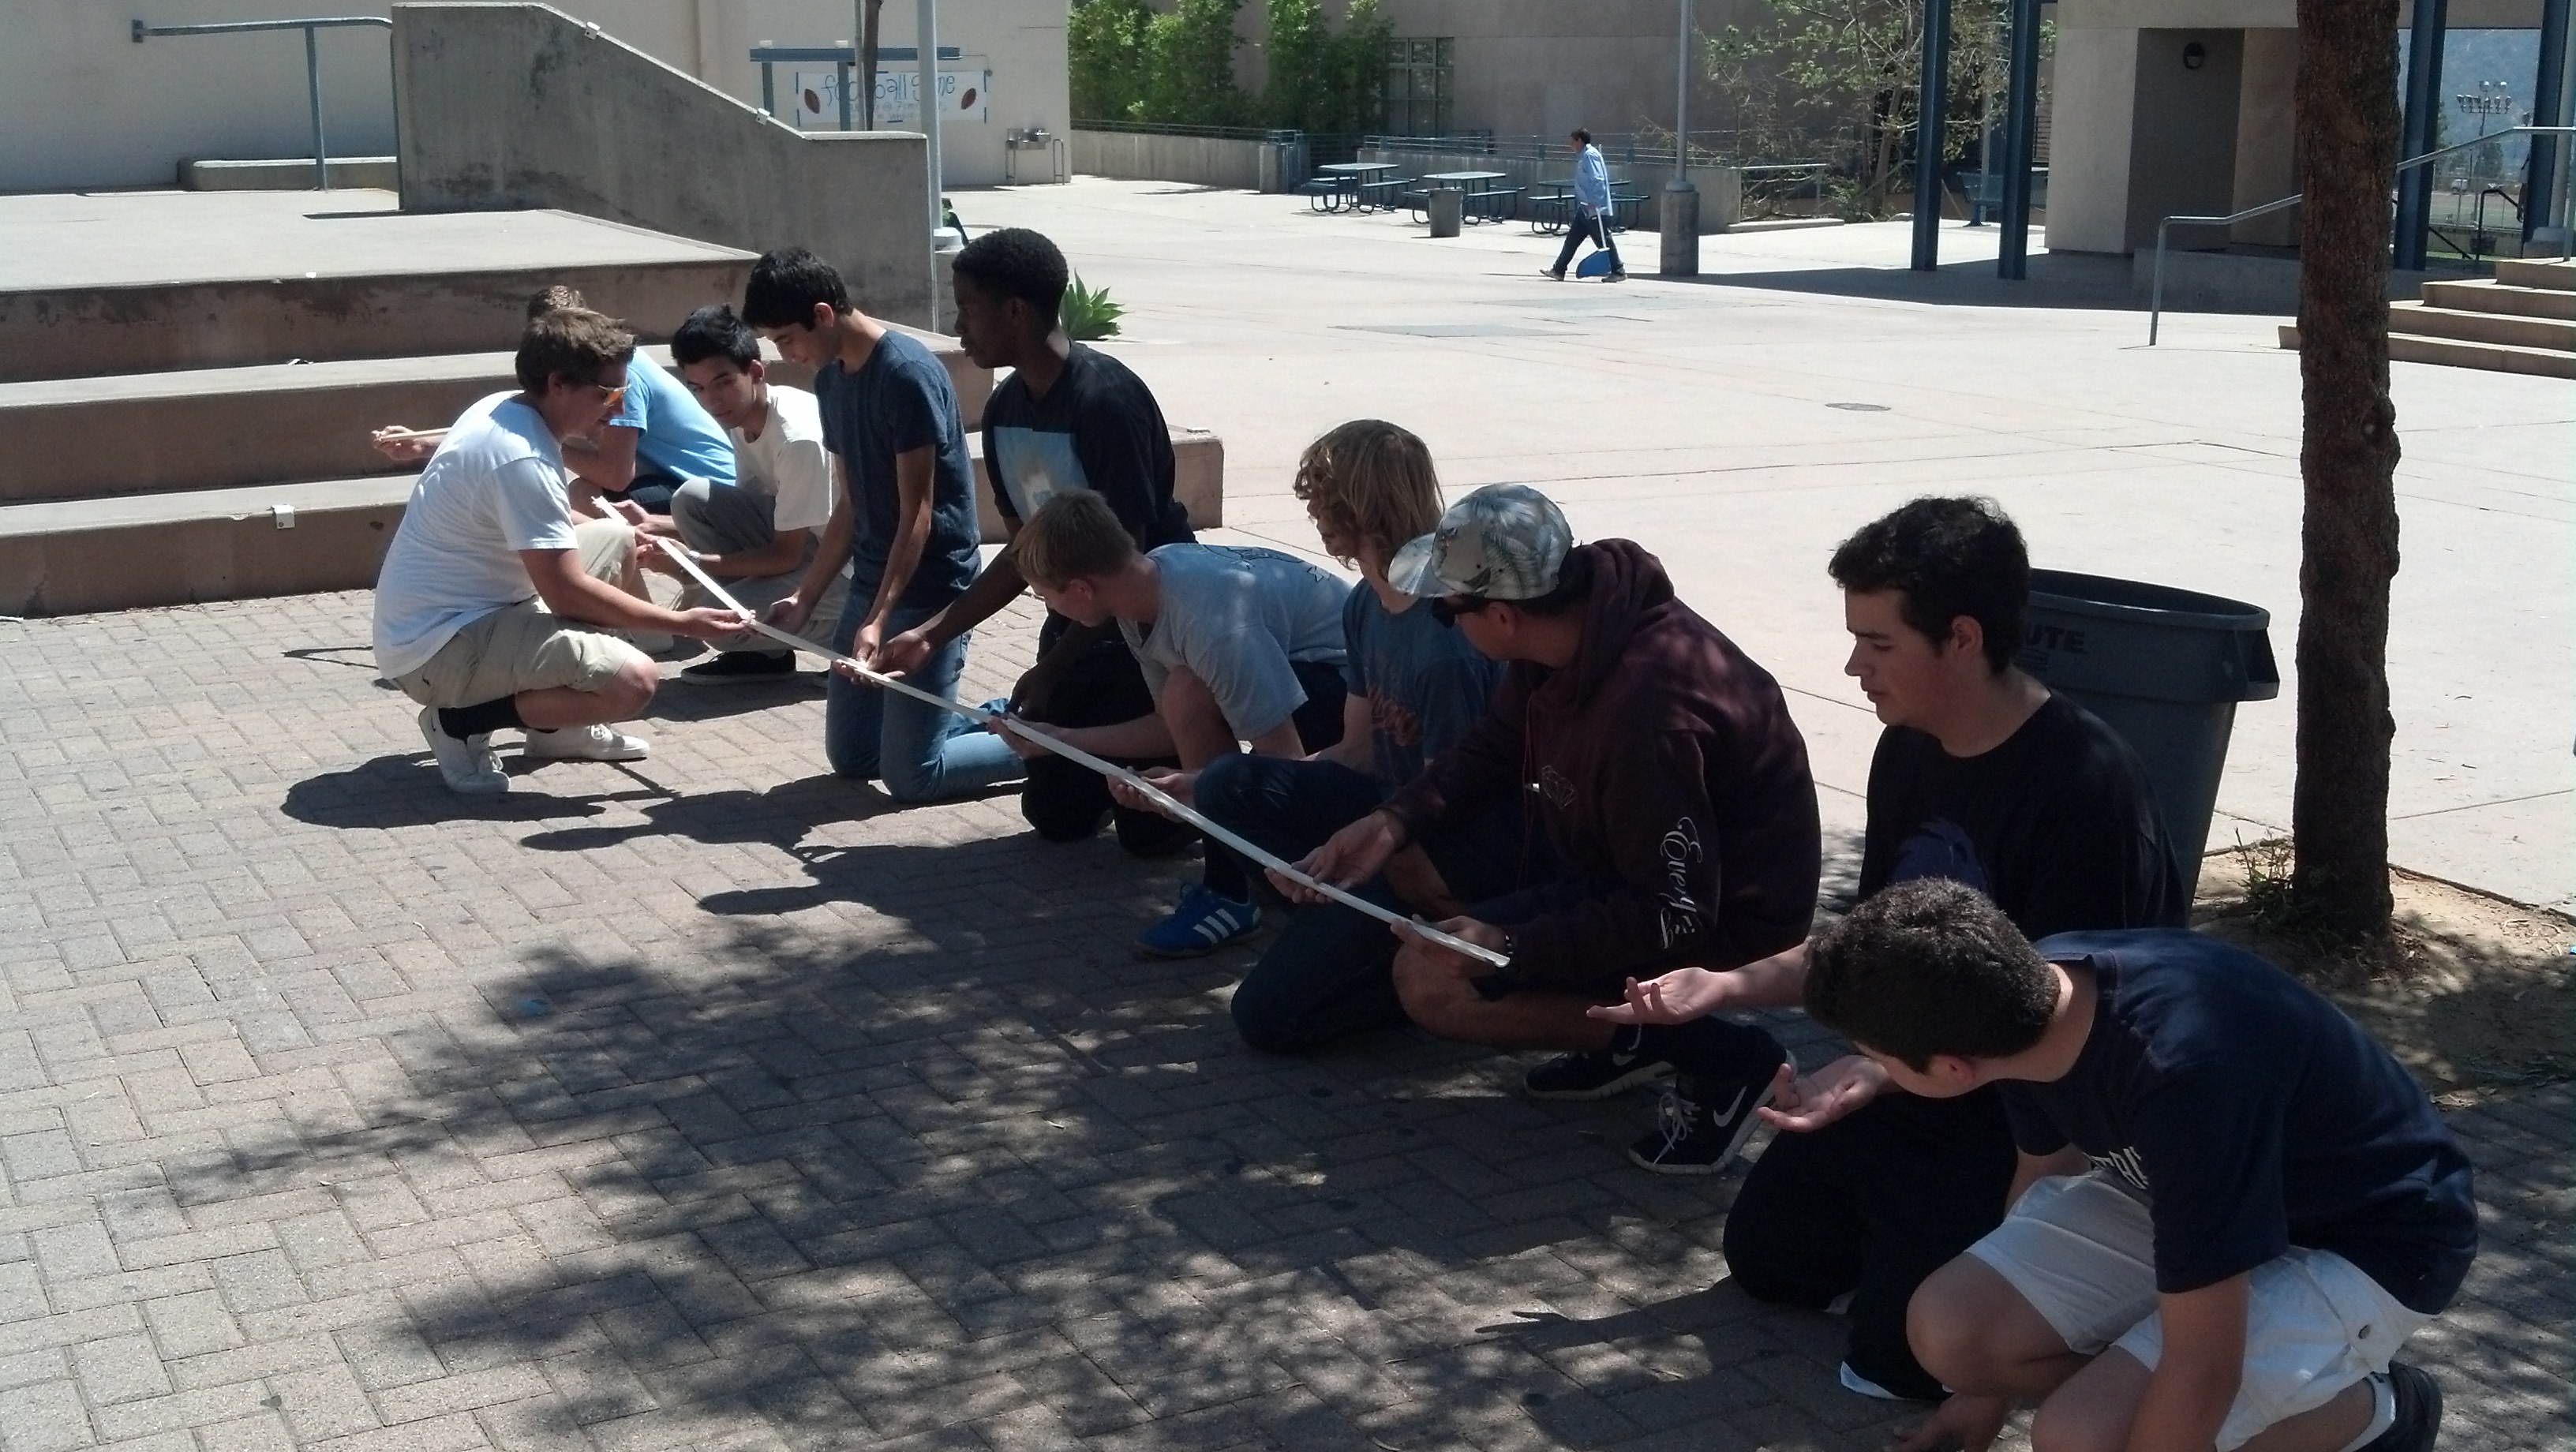
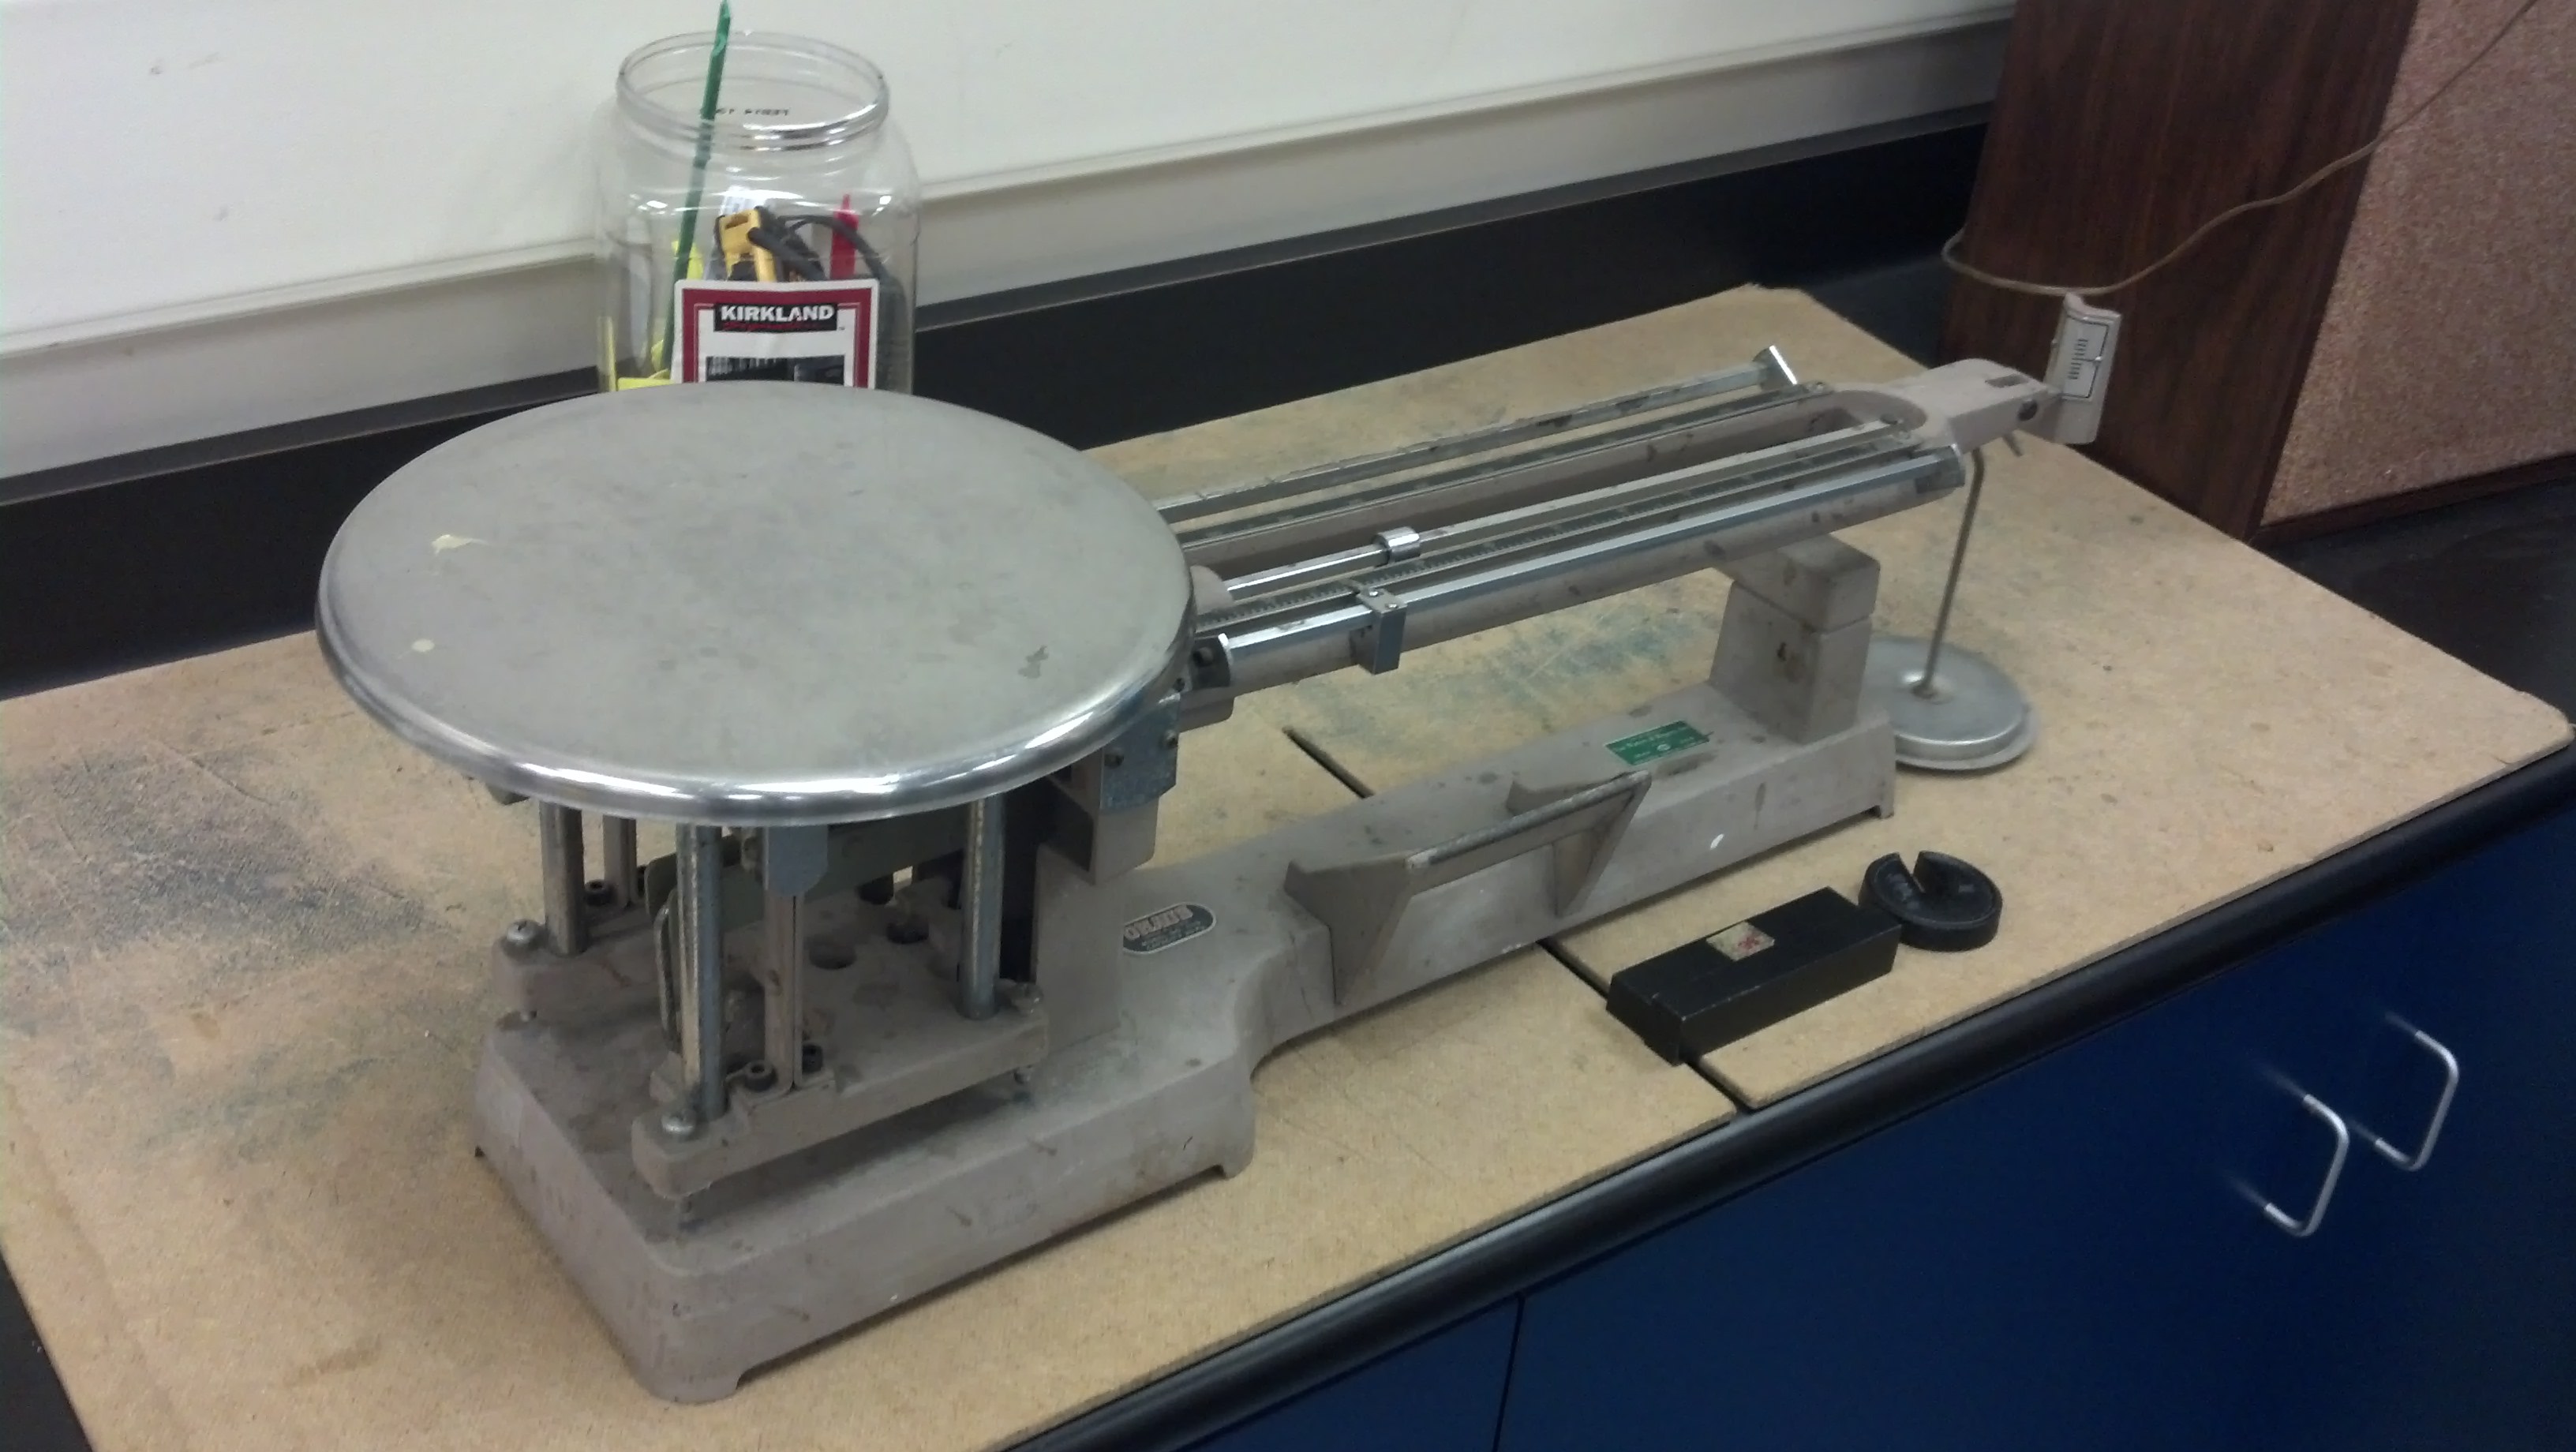
We had a Wednesday challenge today where we learned how the classroom's triple beam balance works. I was the timer and made sure
people understood the problem of why the 1kg counterweight did not weigh one kilogram. Every team was given three minutes but a few were
given more time. See WC form in the Wednesday challenge tab.
1/13/15
Today I was at Science Bowl so I wasn't at robotics.
1/12/15
We continued working on our journals today.
1/9/15
We continued working on our journals today.
1/8/15
Today we went over the scores and worked on our journals. We got partners and learned how to compress images to decrease loading time for our journals.
1/7/15
Today was a Wednesday challange in which we were to score a scenario of this years FRC. I was part of the judges and help score the
scenario. Basically people played robots trying to gain score, then at the end the class had to guess what the score was. Go to the
wednesday challenges tab to see the results.
-Semester transition-
12/18/14
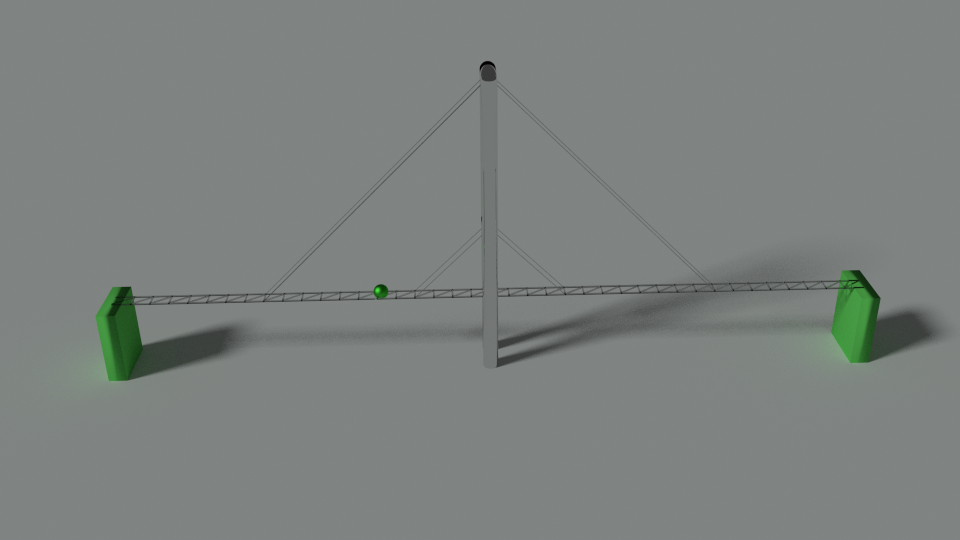
Yesterday I stayed after school to finish sewing the second tower to the bridge and finished that. Then I tied a string from each tower to
a third way to the other side. I figured it still had a difficult time supporting itself so I brought two two-liter bottles that we will fill and use as end support. It held up quite nicely. We had the longest length,
94 inches and it could transport a billiard ball all the way across. However the one string Dr. Neat chose to cut was unable to make the entire bridge
collapse even though it did buckle.
12/15/14
We made a lot of progress today. We finished the entire middle section sewing together all three sections of the middle. We also made two towers
by forcing water bottles into each other and weighting the bottom-most one by filling it with water. We built a small cardboard base for both
towers to keep them from falling over. We started sewing one of the towers to the main bridge but were not able to finish.
12/12/14
Today we got the bridge we need to build. The powerpoint is viewable in the Wednesday challenges page. Due to our
perplextion at the given instructions we had to improvise and interpret in a way possible to build. We ended up
making a long rail out of cardboard which we will sew together later.
12/11/14
Today we basically started and finished our powerpoint, go to the Wednesday challenges tab to see more about it.
12/10/14
I brought my laptop and started working on modelling a bridge for the duration of the period, I finished modelling it later tonight. I also
went with our JPL group and Dr. Neat to get ice cream and take pictures, which served as a nice break from doing work.
12/9/14
Today we were given our final assignment. We had no time to really work on it today but we were told how it works. We need to build a
suspension bridge based on recycled materials, bottles string, cardboard, etc. The only fastener we can use is wood glue, which, excuse the
term, but is fairly crappy at glueing anything but wood and cellulose based materials. My group consists of Jason, Ryce, and me. Then we need
to make a powerpoint of our design and it will be given to another group to try and build as we build someone else's.
12/8/14
Today we presented our device to the class, explaining how we did at JPL and what we did.
12/5/14
We went to the JPL Competition today and got 2
nd place with a score of 0.106 seconds. Like Mr. Wilton said,
it is a lottery, so to say, as you are relying on human timers and the slight variability in the machine. None the less,
there is a saying each to his own, meaning you get what you deserve. if we won today, we did something right in building this machine.
Aside from that JPL was pretty and expensive looking, there are some nice pictures in the JPL tab.
12/4/14
Basically, the entire day today was spent resetting the machine over and over again, tweaking the code here and there to hit
close to 20 seconds. We ended up reverting to the regional code as that worked and whatever we were left with today didn't. Dr. Neat
also suggested the use of a servo and although it is too late for that I agree that would have been beneficial. Either that or a stable power
supply as we found the battery charge played a big role in engine speed and turnout time. Maybe an outlet adapter would have worked.
12/3/14
We thought our Arduino was inaccurate so we tried some different ones and we stuck to one that was better. We also attached a new sound
system as the previous siren we had weighted a couple tons. Now it's a little tiny buzzer that is still 100 decibels. We attempted to time
it internally for a bit, however we gave up on that because that was even less accurate than human timing.
12/1/14
We tried implementing the more accurate code as well as replacing the PWM, however the one we had before worked better.
11/24/14-11/28/14
Thanksgiving break
11/22/14
We went to the competition today, when we actually got up there our device performed perfectly. However we got scared a while before when we
tried upgrading the code and it stopped working, but we reset it and found out a wire was unplugged and that fixed it. To my understanding we
received a 20.3 which put us in 4
th place. When we come back from school we want to improve a few things to help us zero in the time
we want. We want to implement Gaby's more accurate code and add an internal timer.
11/21/14
Tomorrow is the actual event and although our device is functional we were able to much improve it. We condensed the wiring into a more manageable bundle
and wired a switch to the siren, allowing easier on/off action. We were also able to make a makeshift battery plug, meaning we don't have to manually hold it to the
battery, which is good.
11/19/14
Today we attached the switches to the device, meaning it is physically complete and only needs to be programmed. We tested the effect angles would have on our ceonveyor. Our data:
At a relative 0
o:
Trial 1: 11.03s
Trial 2: 11.08s
Trial 3: 11.05s
Average: 11.05s
At a relative 7
o:
Trial 1: 11.18s
Trial 2: 11.20s
Trial 3: 11.29s
Average: 11.22s
Which means that even a fairly small change of seven degrees could impact our score by 0.1s, however if part C functions
as planned this should be of little concern.
11/18/14
Dr. Neat was not here today so the class watched a movie. However Mr. Miller was here so we were able to work on our device.
11/17/14
Today Daniel and I tinkered with part A, I thought of an idea and we nearly finished implementing it.
11/14/14
Dr. Neat was not here today so the class watched a movie. I updated my journal but will not be able to upload until tomorrow due to me not being home
until late at night.
11/13/14
Today we got part C running, the conveyor belt spins and will pull a ball along the pipe without slipping. The time it takes at maximum speed is around 10-12
seconds. This is perfect because parts A and B take 7-8 seconds, meaning we can slow the engine down and be in the perfect range. I took part A home today
to see if I can completely finish it over the weekend. All that is left after this are the electronics.
11/12/14
Unfortunately we did not get very much done today. We spend the most of the time trying to re-cut the pieces for part C. Last time we cut them we got the
measurements right (6 in) but we cut all the pieces wrong (5 in). Once that was all cut and ready we used the rest of the time to think about how we would
assemble it.
11/7/14
Today we presented to Mr. Wilton. Unfortunately our schedule has not been met, instead of being finished as we should, we were barely starting with
part C. However we have a plan to fix the broken part A, and this time instead of glue we screwed the PVC pipe down, and we will use a different
triggering mechanism for the release. After school we also started constructing part C, we cut the next PVC pipe lengthwise and screwed it down for part C.
We noticed that it cut much smoother with the new blade. Instead of melting the PVC it produced fine hairs and no deposit, meaning the previous blade was
simply dull. We also discussed engine speeds, we calculated the maximum speed to be 17.7 cm/s. And the time constraint for the ball to be between
10 and 54 seconds. Meaning the engine is able to traverse the ball 1.5m in a time frame adjustable between 10 and 54 seconds. I also plan to add pictures
soon, although I would rather update them once a month, because it means turning on the school laptop.
11/6/14
As Gaby and Conner made progress with the electronics, Daniel and I worked on fixing part A. We think we will use a fence gate lock
as those are relatively stable and easier to release.
11/5/14
Gaby and I spent a large portion of today fixing and cleaning the band saw. Mr. Miller hypothesised that the PVC we cut lengthwise was being
melted onto the wheels causing additional tension. We removed the residue with a chisel. After we added the new blade it took some adjusting to get it
to run quietly. While we were testing time differences with angle change we discovered that even small angle changes have a huge impact on ball's velocity, ergo
its time. While doing this testing we also managed to break part A.
11/3/14
The majority of this period was spent building the gussets. By cutting pieces of wood into triangles we were able to reinforce the perpendicular
joints greatly. As for part C, Gaby and Conner have begun looking for an engine, and are starting the electronics for section C.
10/31/14
Today me and Daniel finished the second half of part B at snack. Mr. Wilton was here today and he told us we need to focus to part C so as to not fall
behind on schedule. Next week Gaby and Conner will focus on the motor and the script, while Daniel and I will focus on the triangulating our part A
and B to prevent collapse. We will also test to see how much of a difference and angled slope will make. Hopefully we will have time to start the supports for
part C so it is ready when Gaby and Conner finish.
10/30/14
Today we ran into a bit of bad luck. We decided not to buy more pipes because we found some more in the back of the shop, and although
they were all to small lengthwise, there were a lot of them so we'll just screw them end to end. Dr. Neat allowed us to make the cut, but what do
you know - the blade snaps. The bad news we didn't finish our cut, the good news is that no one got hurt.
10/29/14
Today we worked on parts A and B again and part A is completely finished and it works! Part B is also nearly done.
10/28/14
We We worked on part A again and it nearly done. We had to cut a small piece of wood to elevate the spring because it was hitting the ball
too low.
10/27/14
Today we made a lot of progress on our device. We were able to complete the base for part A. Although this only consists of three pieces of
wood screwed together, it feels good to have started the actual construction of the device. By the end of the week we want to finish part A and B.
Part A only needs the pipe and the spring device attached, part B needs quite a bit more, the pipes as well as angle cutting that will prove to be
difficult.
10/23-24/14
Dr. Neat was not here today so we watched a movie both days. On Thursday the 23 I spend most of the period updating my journal. On Friday we presented
our progress in the Invention challenge to the class. We were proud to announce that we were actually ahead of schedule for once. The next step will be
to put together a list of parts and proceed to purchase them. I also plan to assemble part A completely early next week since all the pieces are cut.
10/22/14
Today our Invention challenge group cut the 2x4 to get ready for the assembly process. Dr. Neat will not be here tomorrow so assembly will begin the
next date the lab is open. I also think I am going to update my journal to include multiple pages.
10/21/14
Today I updated my notebook in addition to verifying the measurements for the invention challenge.
10/20/14
This weekend I bought four 2x4 and today Daniel and I measured all the pieces that we will need for our device.
We ended up using every piece. It also seems to me that the other teams have come up with "awfully similar" ideas
when contrasted to ours.
10/17/14
Today our group presented our progress to the class and Mr. Wilton. We had made quite a bit of progress, the CAD being completely
done and the belt prototype running. Conner has completed the air-horn section, I only worry that the ball may not have
enough energy to pull the trigger, since it will be moving quite slow due to the conveyor belt. Mr. WIlton encouraged us to actually
start building the device and gave some pretty helpful advice regarding the joints. We may either put two 2x4 face to face and clamp them
or perhaps use a rod to form a kind of locking mechanism.
10/16/14
Today we worked in on the JPL challenge, we got the belt system to work and although it has no speed control it moves the
ball very well. The noise maker also works, it only needs a triggering mechanism. I was also able to get my hands on some
epoxy which allowed me to repair the spring mechanism.
10/15/14
While Gaby continues cadding, Daniel and I managed to cut a 2x4 and the half inch PVC pipe with a hack saw. Completeting part A
with the exception of the screws.
10/14/14
Apparently someone had messed with part A during lunch and had managed to break the previously functioning spring mechanism.
A shopping list and a parts list was also put together and we updated the calendars.
10/13/14
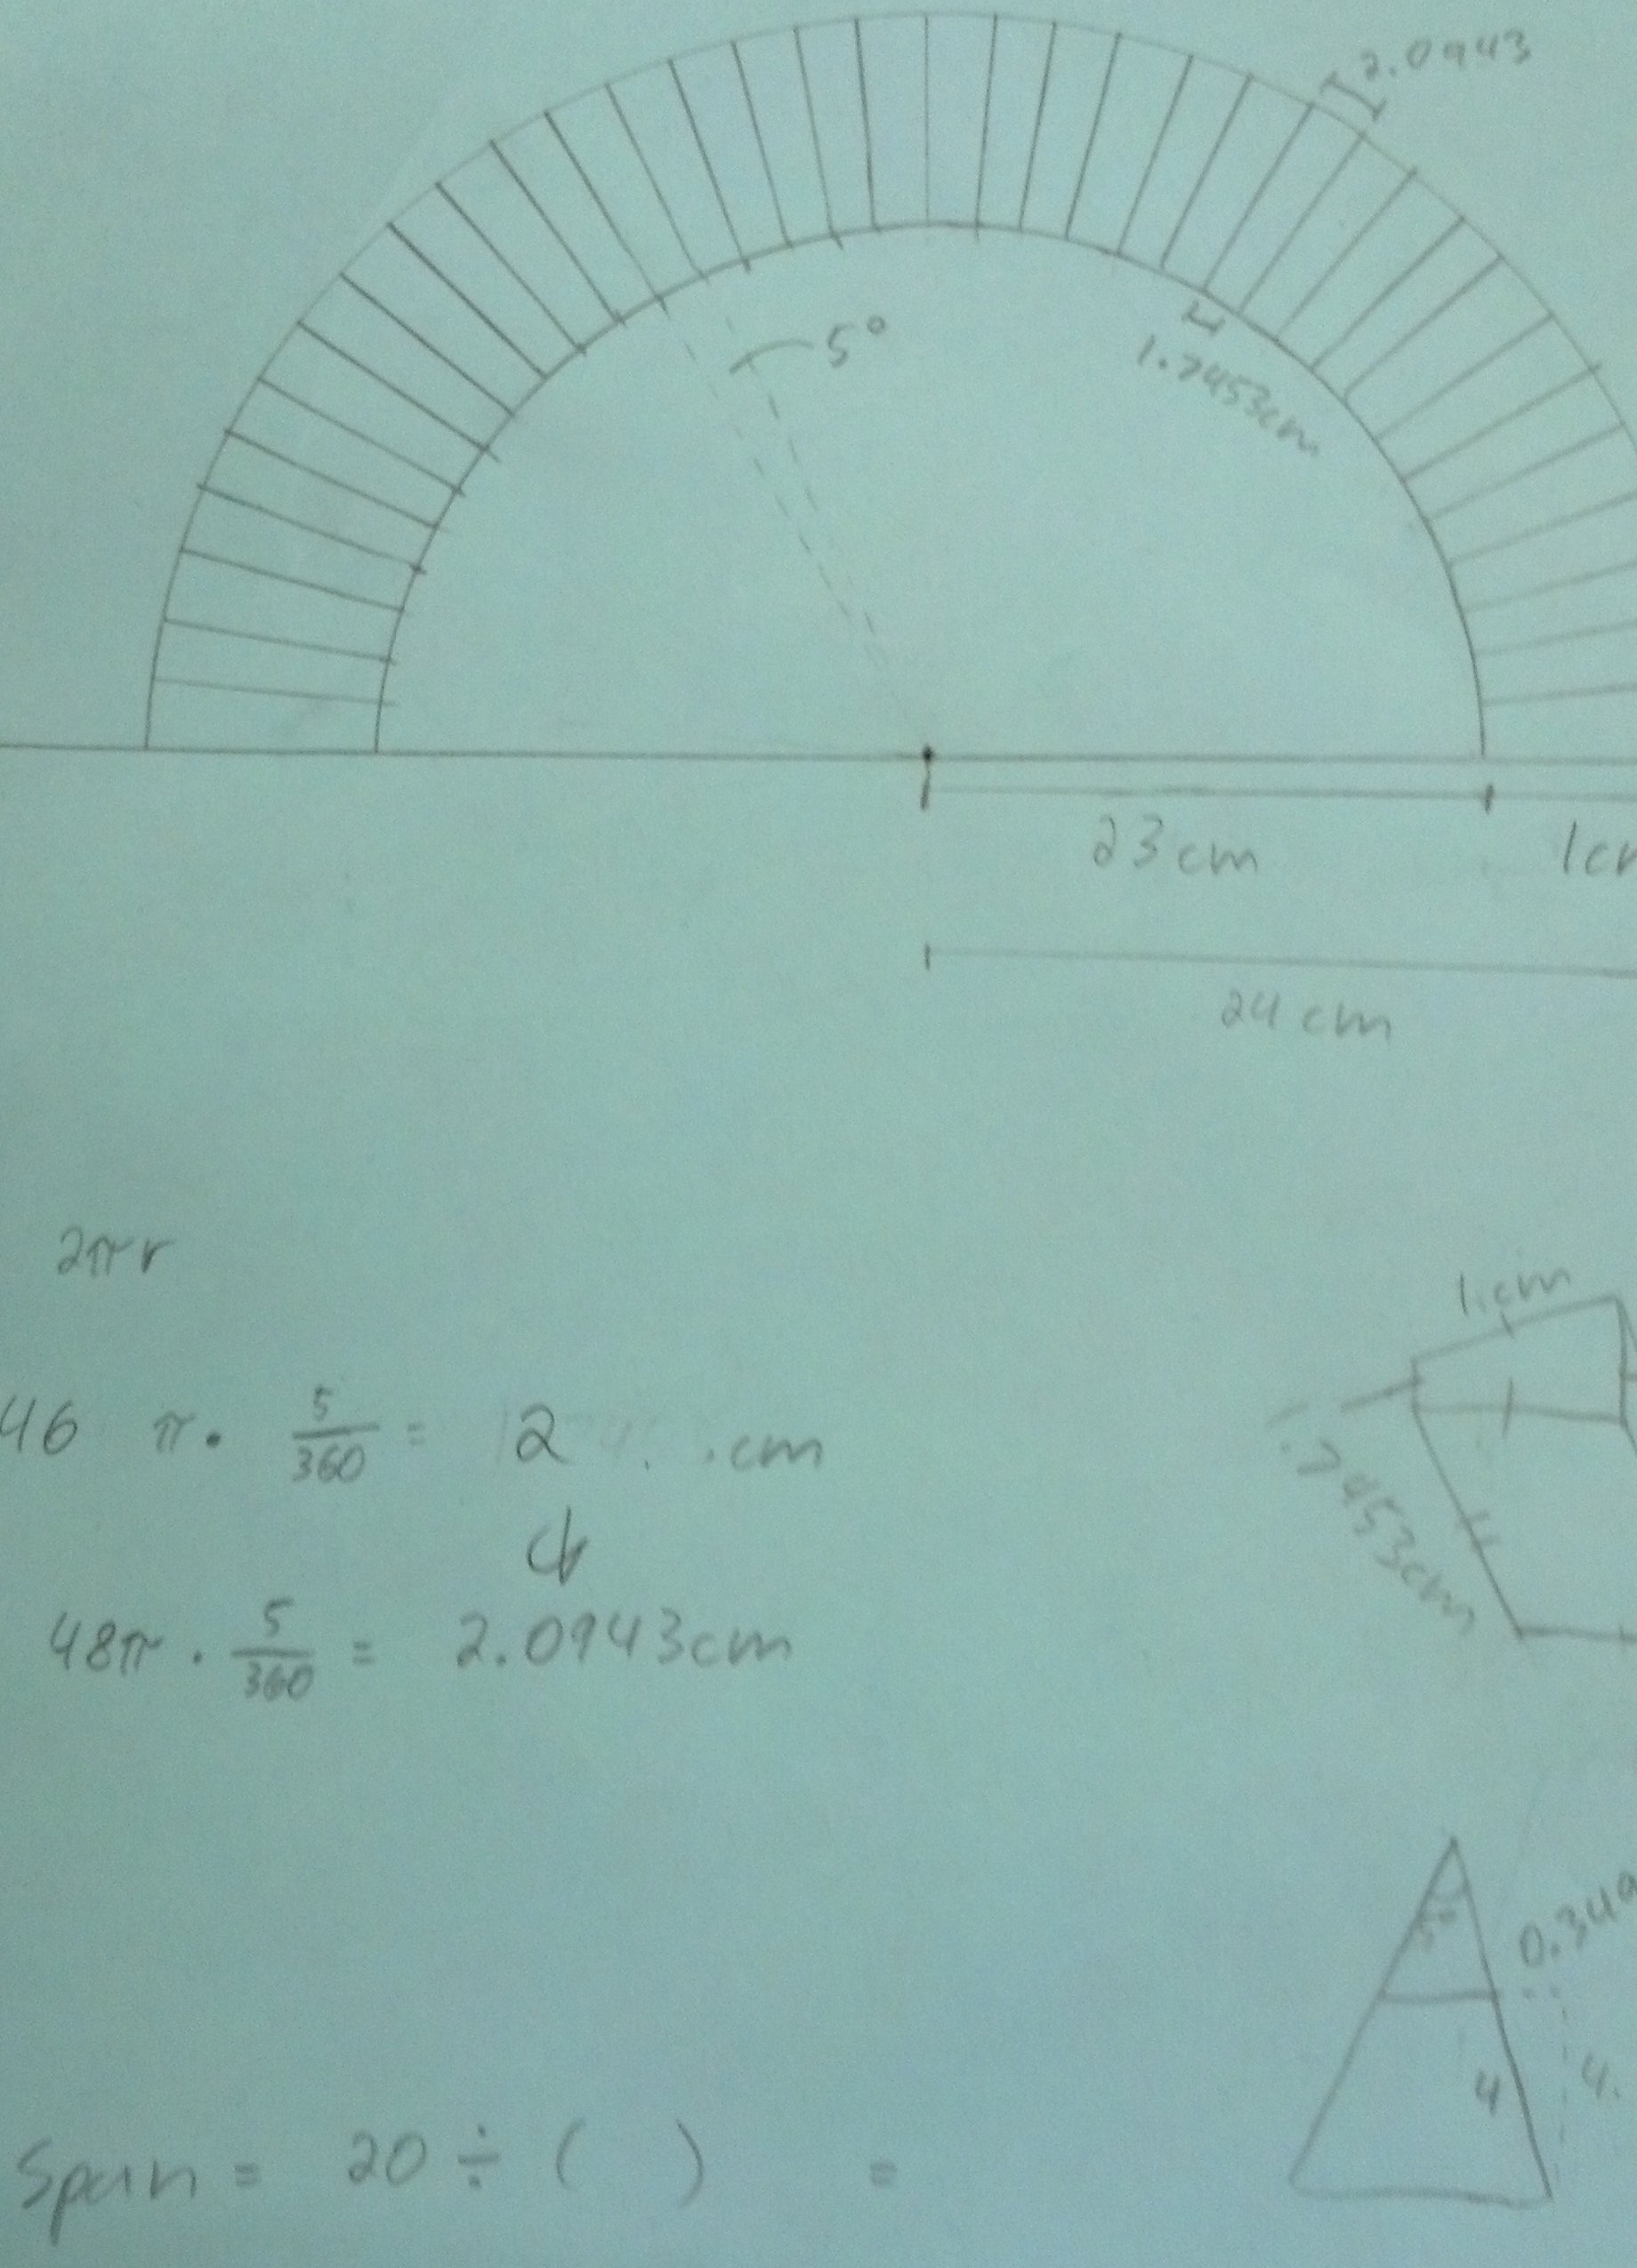
Today we discussed our journals and saw what we had to improve, I need to add the WC form for the Arch bridge challenge.
10/10/14
Today we finished building our Wednesday challenges. Unfortunately the clay was too slippery and uneven, so we had to
shrink our design to form a tiny bridge with a span of 1.5" but the block dimension was 11/16 inches so our score was 1.5 ish.
Due to my not having powerpoint the WC form was not completed. However that shall occur soon.
10/9/14
We tried making a bridge out of clay and then cutting it into wedge shaped pieces after it was aligned perfectly. The clay is drying,
and I hope for the best tomorrow.
10/8/14
Kirk purchased 10lb of air dry clay. We noticed it was abnormally difficult to shape the wedges as they required precision to the
nearest mm. Even after scaling up it proved impossible. However Dr. Neat helped us think of a solution that might be to make a
bridge out of clay and slice it into blocks ensuring a perfect fit.
10/7/14
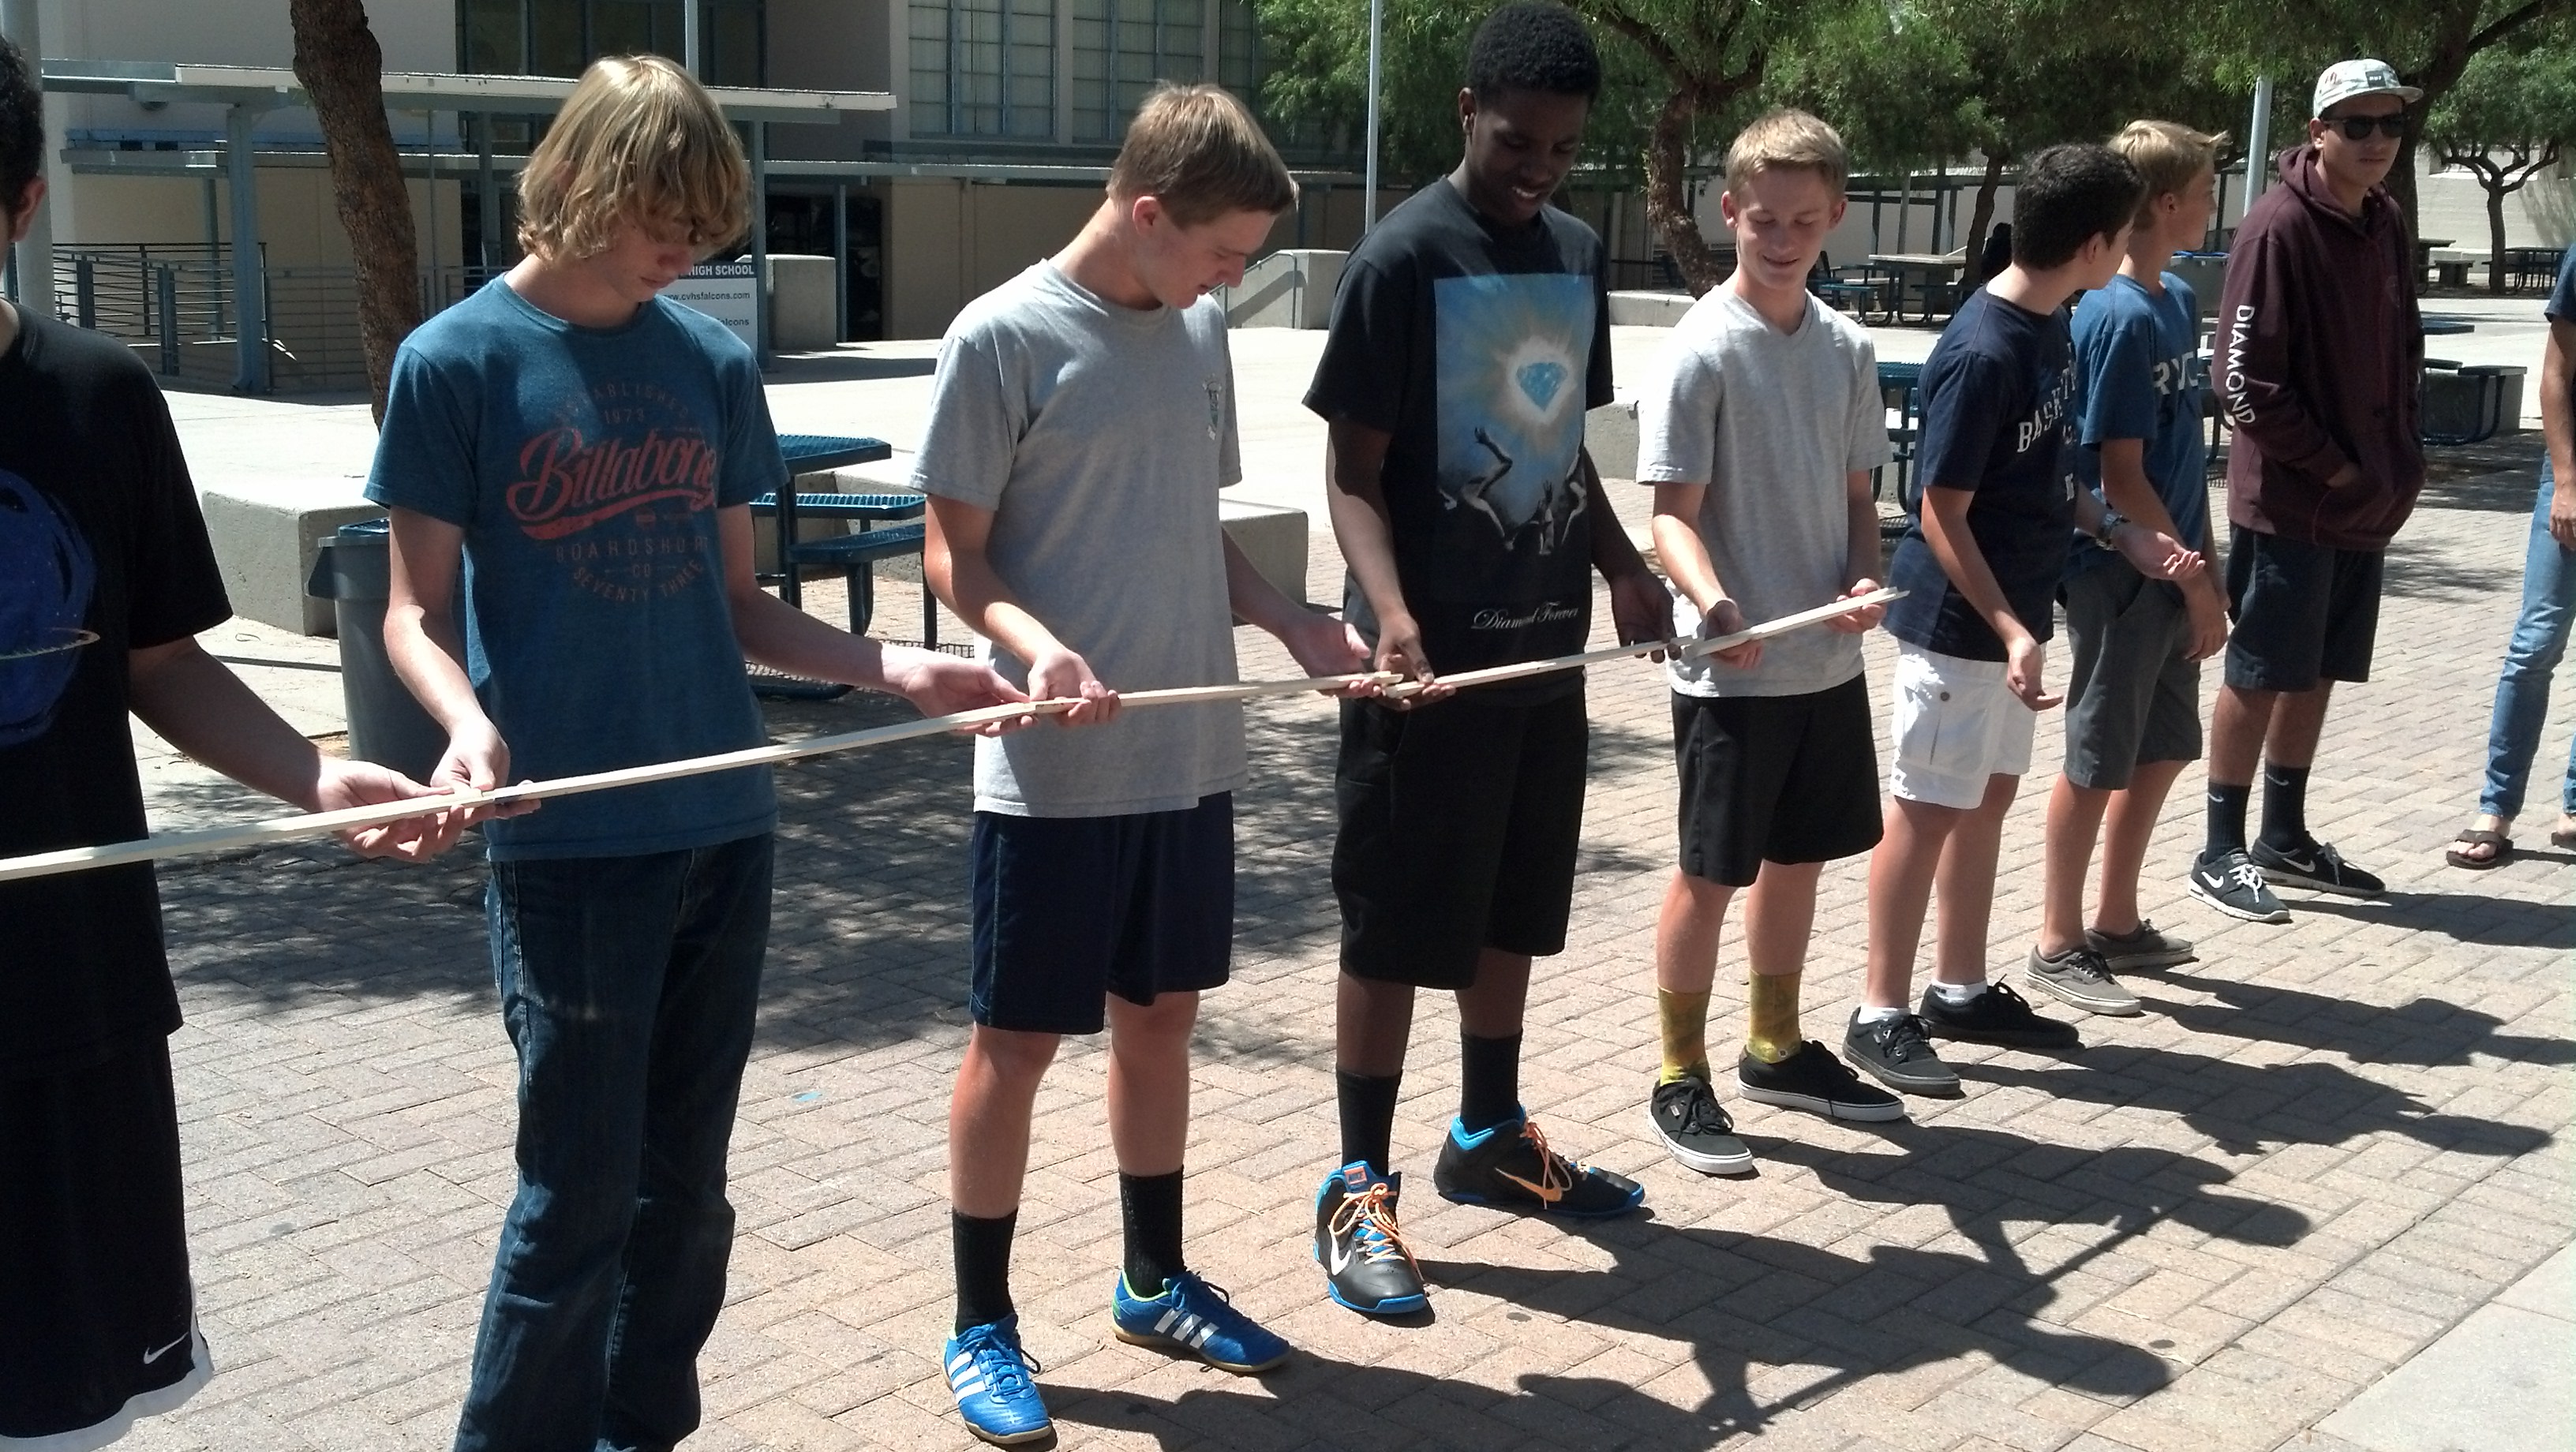
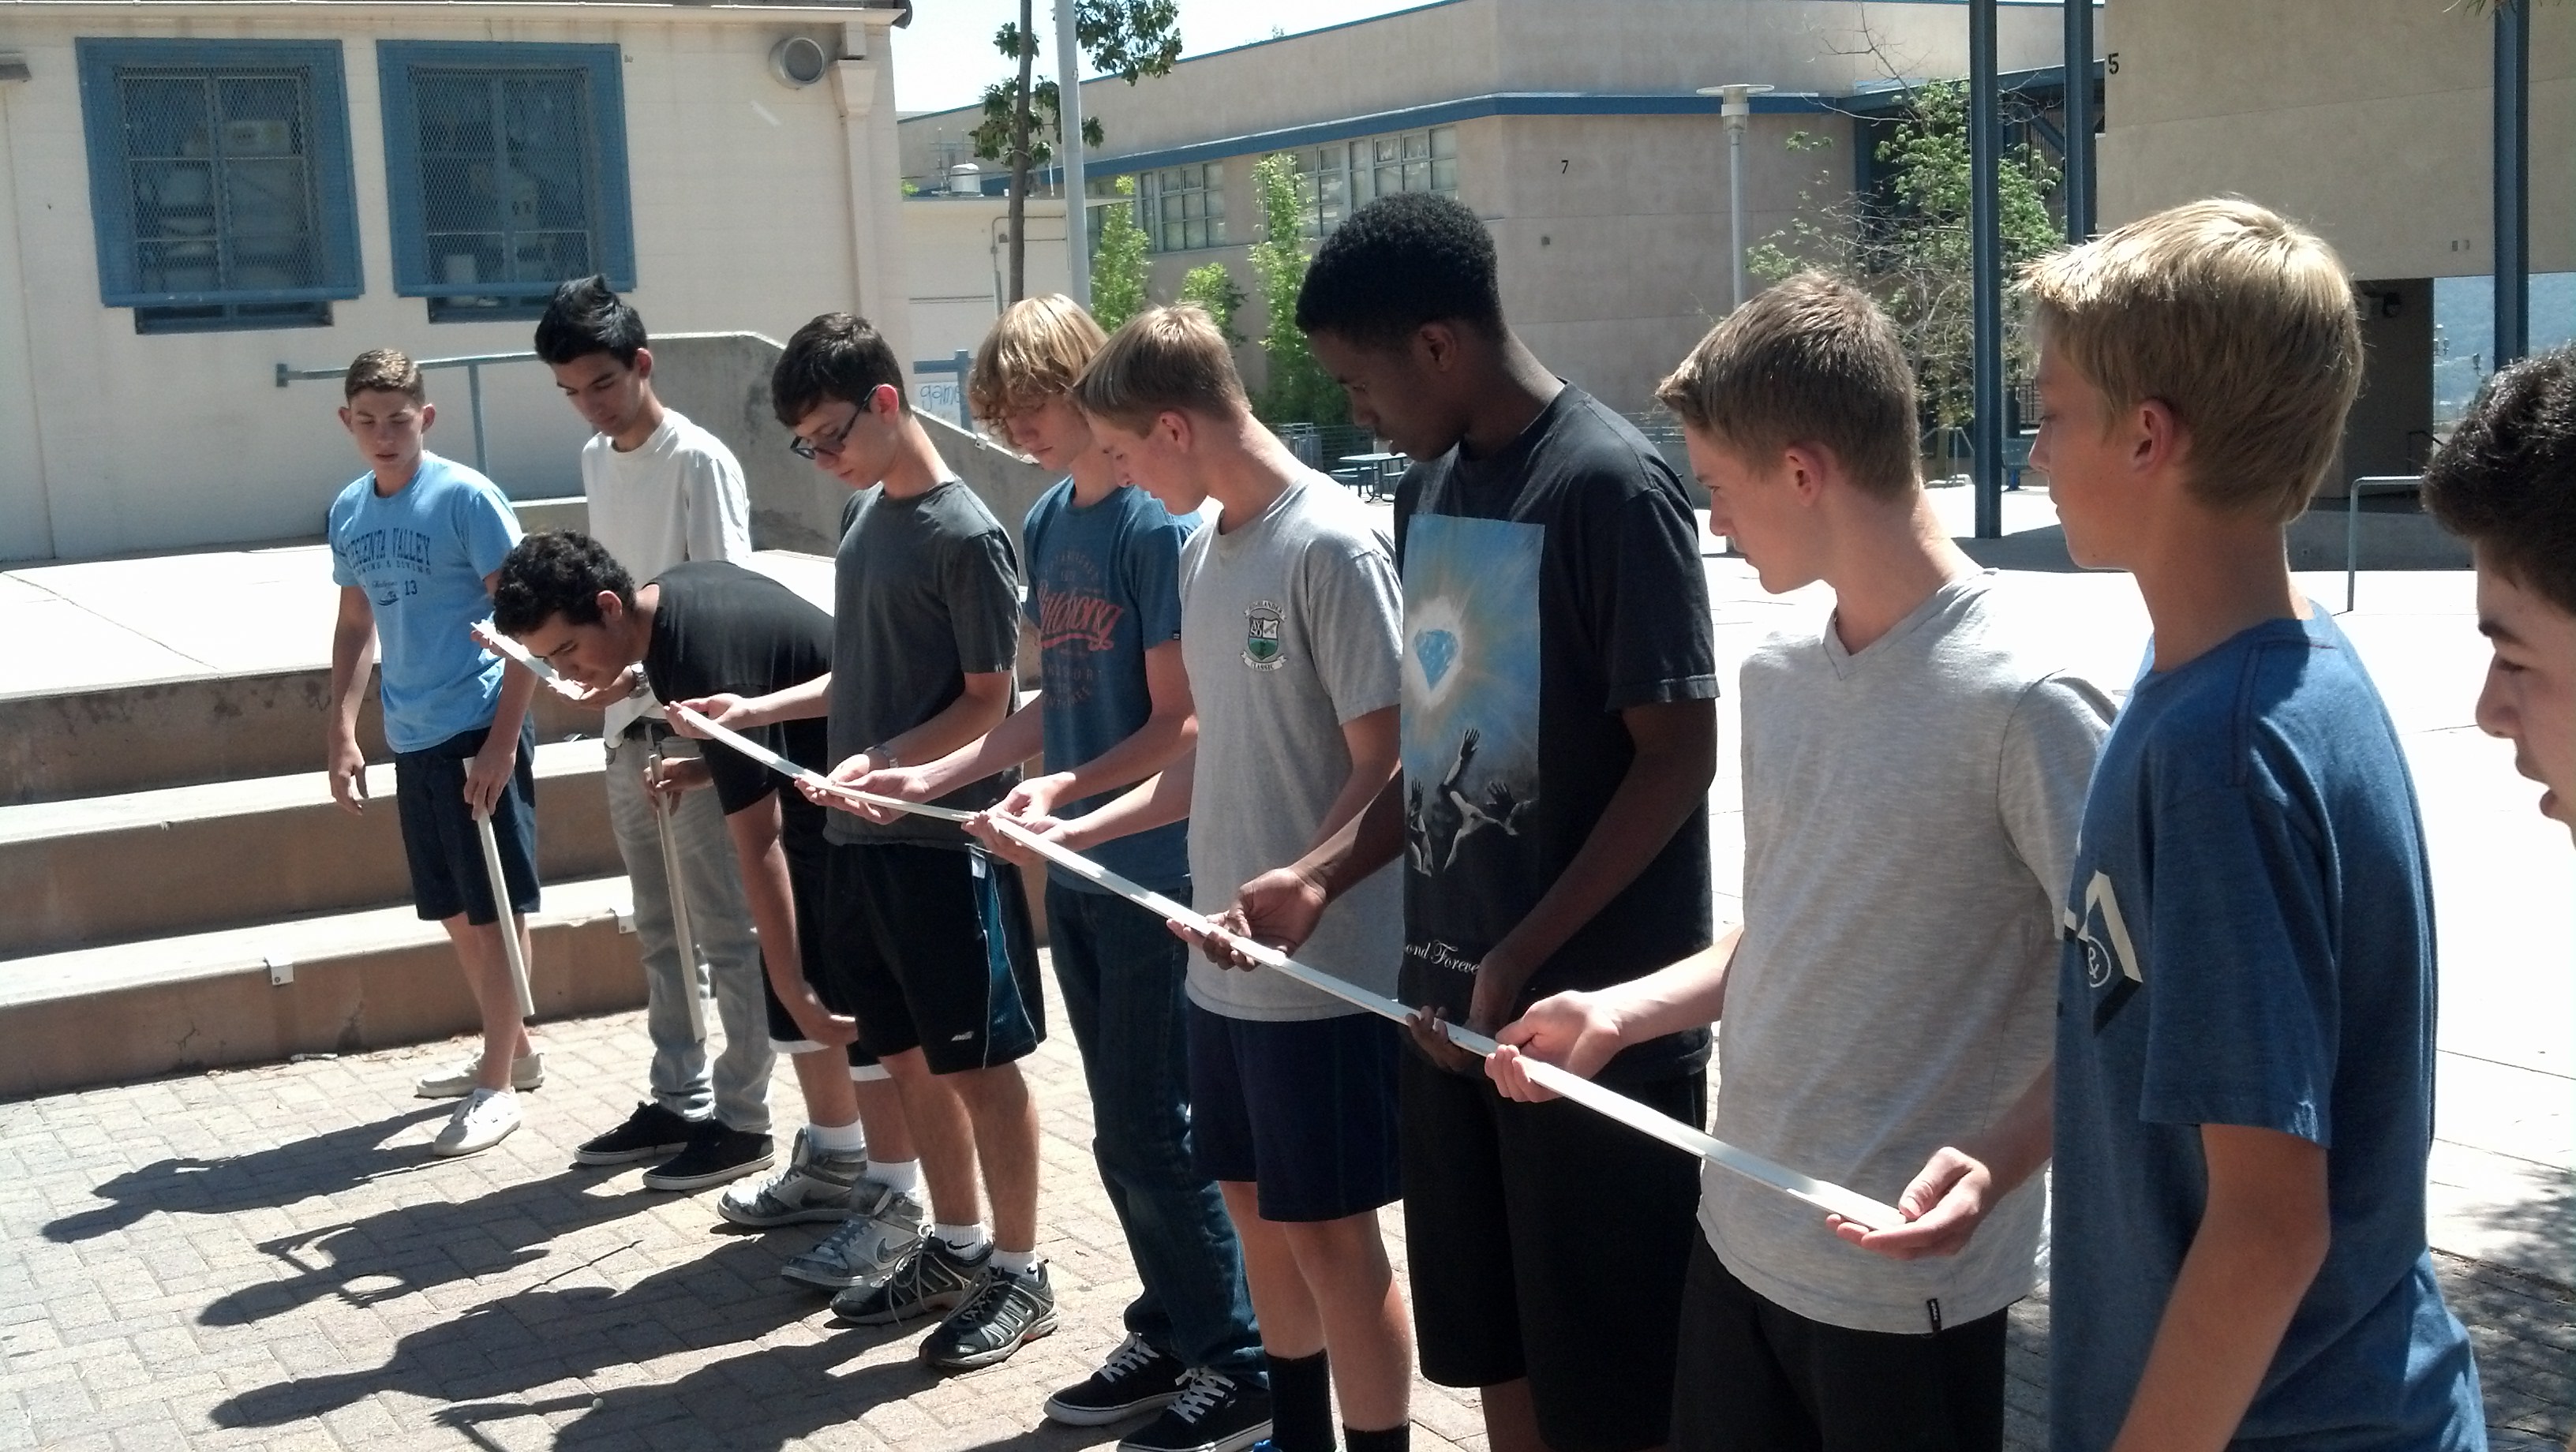
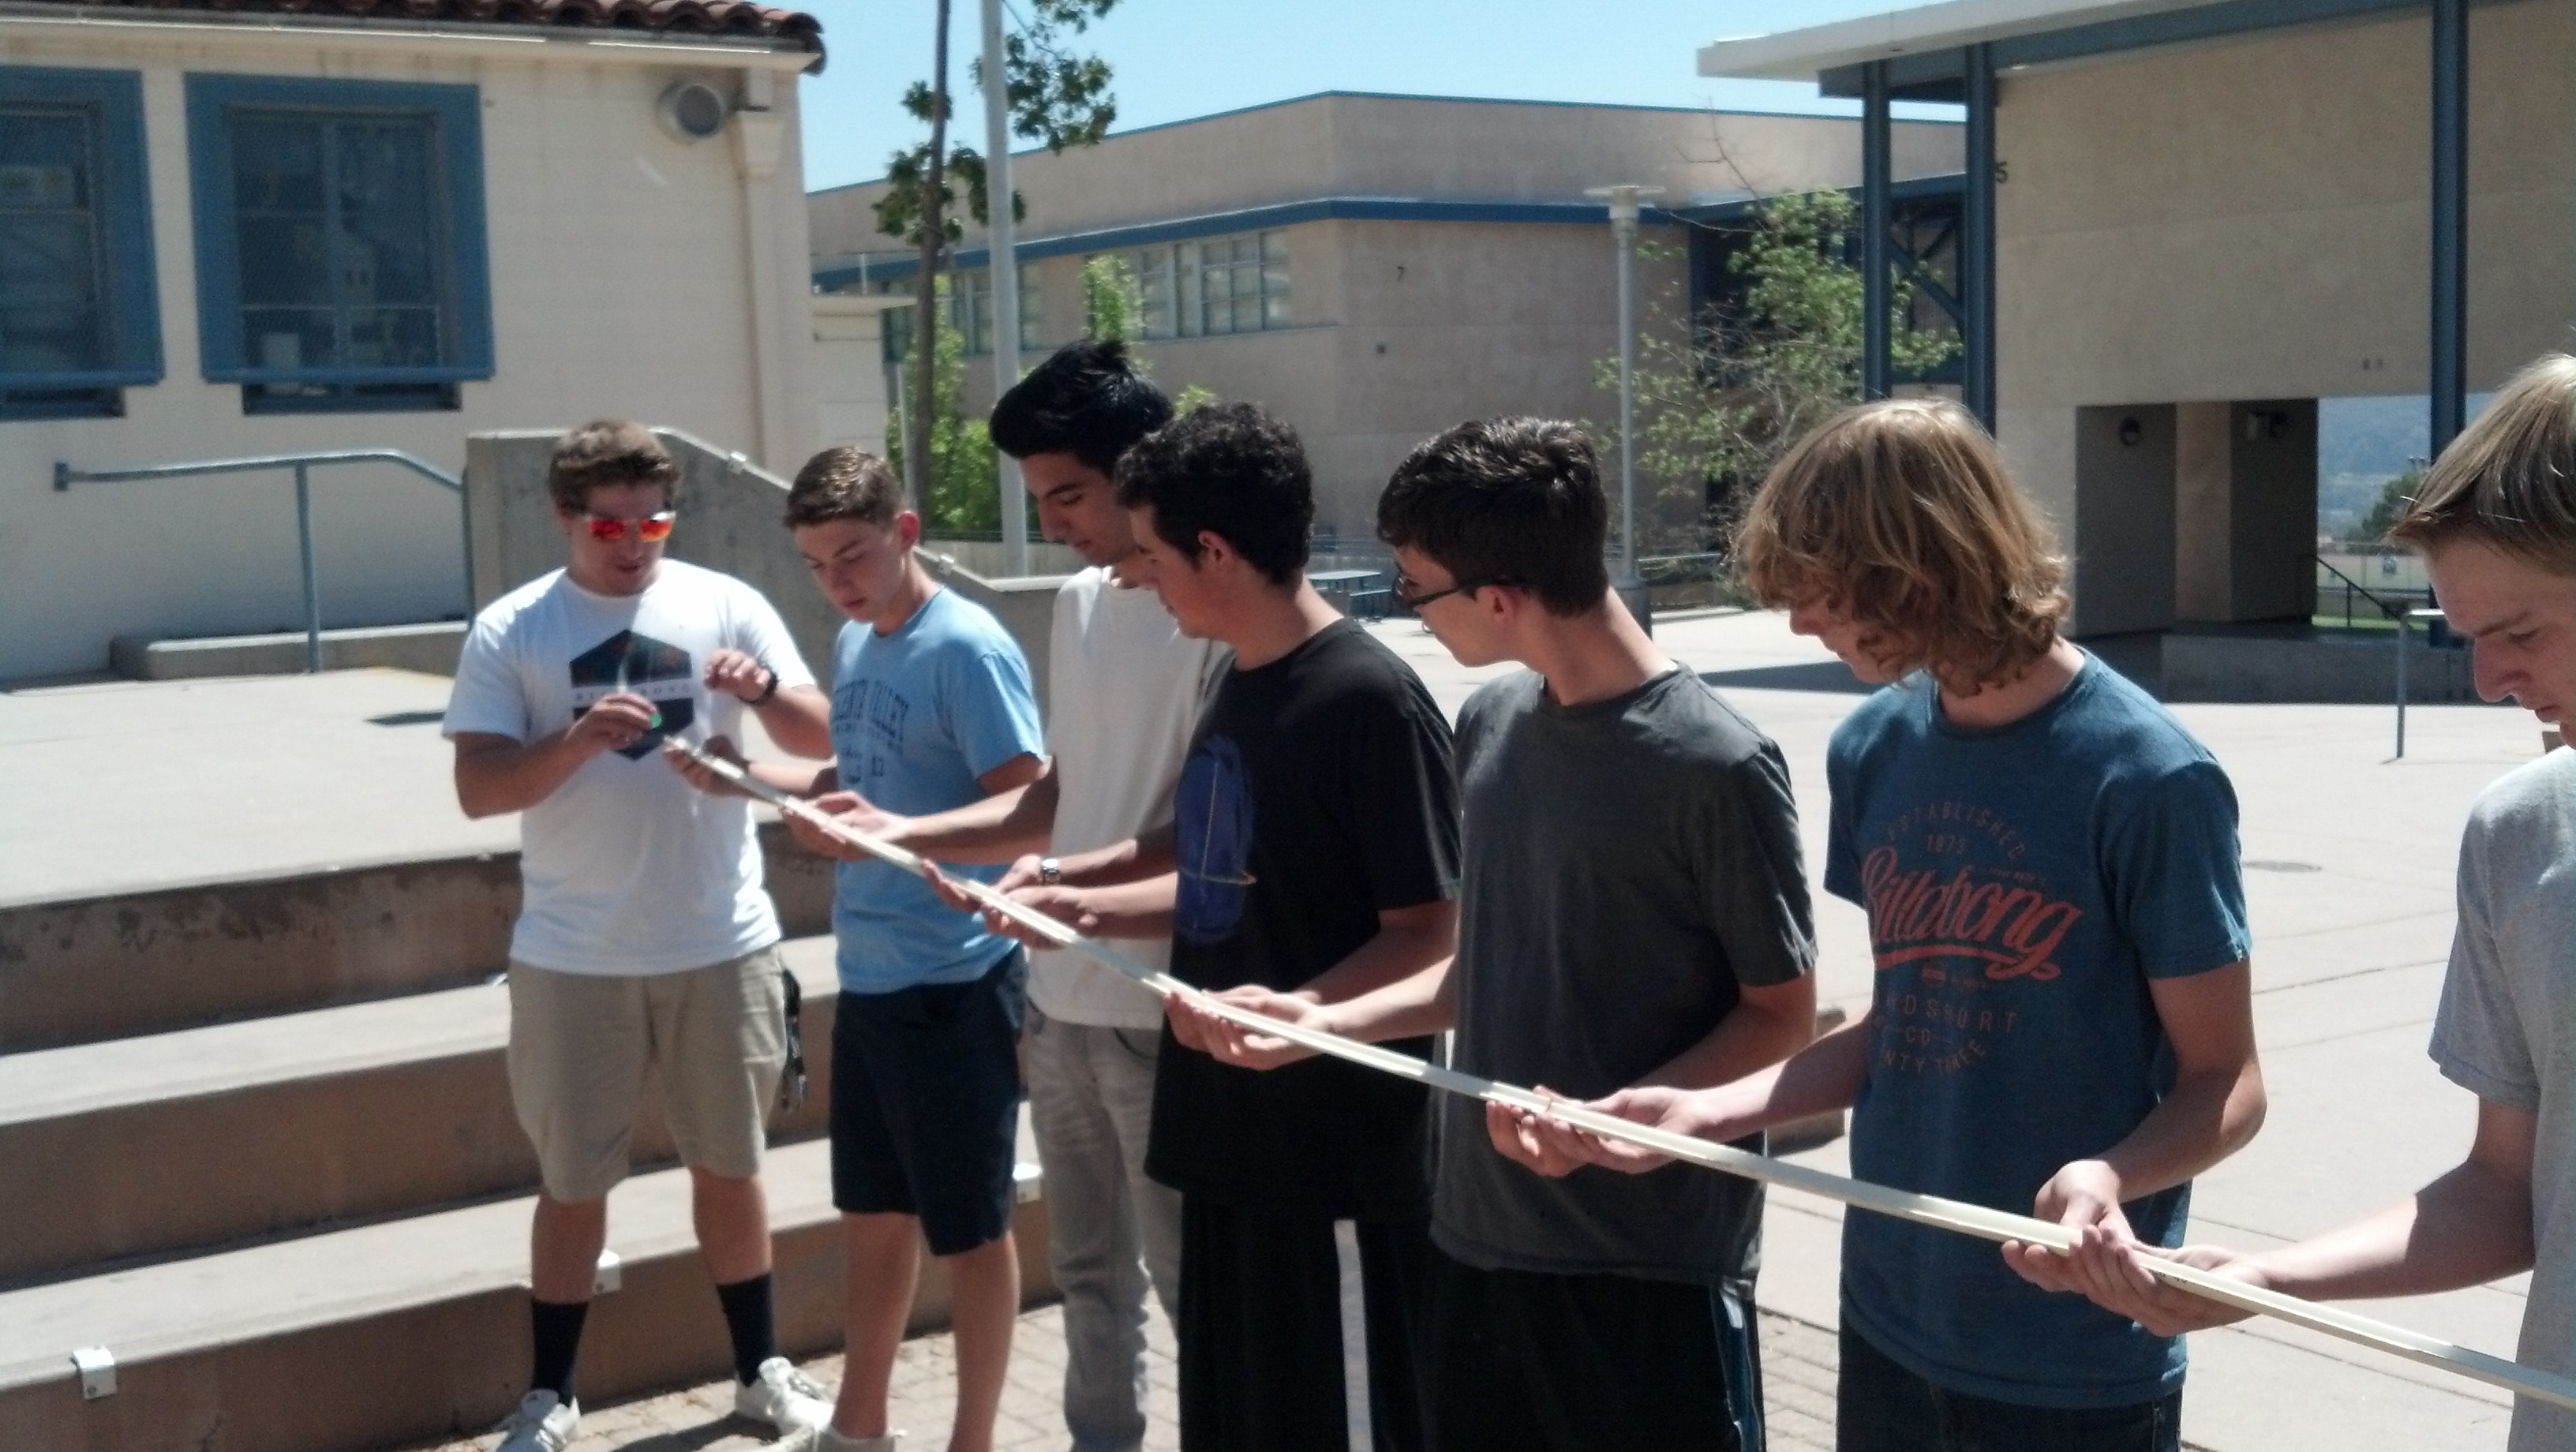
Today we started a Wednesday project early, it will count for the quarter grade and is about designing a bridge. An arch bridge that
has a maximum ratio of inner span to largest coordinate dimension of the building blocks which all need to be the same size, as well as
a countable number. My group has decided to build the preliminary design out of clay
shaped into wedges and coated with a high-friction rubber base paint.
10/6/14
We had some time at the end of class to plan the prototype of part C and even got a conveyor belt to propel a ball a short distance.
10/3/14
Mr. Wilton liked what we had, we accomplished everything on schedule, the spring worked fine, and our schedule for the
upcoming weeks was also completed. By the end of next week Part A and B need to be completed, as well as a prototype for Part
C, the conveyor belt.
10/2/14
Today I finished making the spring device and hope that Mr. Wilton will also find it to his liking.
10/1/14
Today the class had a Wednesday challenge. I bought a few things at OSH, notably nuts, washers and some aluminium, I will probably make the spring system tomorrow.
9/30/14
Today we cut the PVC pipe lengthwise, it wasn't flimsy at all and supported the billiard ball very well. It took a while to make sure the cut was straight, but a few clamps
and it all worked out.
9/29/14
I was finally successful in logging into the Filezilla system and my journal is now online at adrians.drneato.com.
9/26/14
Today we presented our progress to Mr. Wilton. We showed him an animated video of the design (see videos), showed him a running cad, a working program. However
he was worried that we may not have enough time to finish our project if we continue at this rate. He advised that we prepare an 8-week plan, cut the PVC pipe
to see how flimsy it is, and have the Part A, or the spring done by next Friday.
9/25/14
Today I updated journals and at home I am preparing an animated blender to display the the motion of the ball.
9/24/14
Today Gaby continued cadding while Daniel, Conner and I worked on a cardboard prototype. It works fine and can push a ball quite consistently. We did not take part in the Wednesday
challenge.
9/23/14
Today our team cadded our design for the invention challenge, a lot of ideas were exchanged. We were unsure if we want to use a conveyor belt or a minecart as a
propulsion system.
9/22/14
Today we continued clean-up, our JPL team used a combination of methanol, trichloromethane, and acetone to clean the whiteboards.
9/19/14
Today we watched a movie.
9/18/14
Today we presented the Card tower scores and also spent a lot of time cleaning the lab.
9/17/14
We did another Wednesday challenge today, building a tower out of cards. I was a judge, and along with Gaby and Daniel we
helped take pictures, measure towers, and record scores. I will post pictures and the scores when they are available to me.
All groups except one managed to build a tower and was entered into the scoreboard.
9/16/14
Gaby, Daniel, Conner and me tried experimenting with various belt designs today and tried to see what we could use on a
billiard ball. The spline I bought from OSH is pretty cheap and has good friction, only it slides off the ball. It may be
necessary to have more than one belt to push the ball from multiple angles. We also dismantled one of the robots to maybe use
the belt, but personally I think the robot's belt is built too specific and may not suit our purpose.
9/15/14
Today I mostly played catch-up on my journal. Thinking ahead, I believe the conveyor belt idea will work quite well. The idea is that once the spring starts
a timer that will adjust the speed of the conveyor to allow the billiard ball to hit 20 seconds exactly.
9/12/14
Today my group and I presented our rain gutter ramp and spring mechanism device to Dr. Neat and Mr. Wilton. Apparently they liked the design quite a bit.
9/11/14
Today I decided to buy some springs from OSH and was able to build a device that fired a rod about an inch at high velocity, more than enough to propel
a billiard ball. We also found some rain gutters and aluminium beams to use as a ramp.
9/10/14
Dr. Neat's daughter gave a presentation outlining global warming. It brought up the topic of solar coated roads which I thought could be a problem due to LEDs
having low visibility during the day.
9/9/14
Today we tried to use PVC pipes as a channel to direct a billiard ball's speed and direction.
However due to the PVC pipes all being too small this wasn't possible.
I tried experimenting with some springs to make a crossbow device for starting the ball.
However this too failed due to the springs abnormal tension.
9/8/14
Today Gaby, Daniel, and me started working on the JPL invention challenge. We need to create a machine that will traverse a ball
5m in exactly 20seconds. Three different methods of transportation must be used. Potential force, gravity, and one other method of our choice.
Today was mostly planning, we came up with the idea to use a conveyor belt to perfect timing, the idea still needs refining though.
9/5/14
This Friday, and probably most upcoming Fridays will be spent discussing the
Invention challenge. The goal being the delivery of a billiard ball, 5m
in exactly 20s, using at least 3 methods of force: potential, gravitational,
and one of free choice. Of the ideas presented, although clever, most were not reliable
and would probably provide inconsistent times.
9/4/14
Today I worked on my website, updating and upgrading it.
9/3/14
Today we had another Wednesday challenge. We had to make a line out of
PVC halves and we had to commute a marble from approximately 5 meters
into a can. Apparently our team won, however because we moved the can, it
may have been counted as a cheap shot. See WC paper for details.
8/25-28/14
After combining the layout for all spaghetti groups we combined them to make one
layer. However this didn't work due to its sticking to the cardboard, rendering it void.
This was solved quickly by using wax-paper. Two good ideas, ground support and side support were
declined however we were able to use a thermal gun, accelerating the drying rate of the glue.
8/22/14
Today we continued working on the website, we learned how to add images.
8/21/14
All 45 pieces are dry, unfortunately as the glue dries it shrinks creating hundreds of tiny
cracks all throughout the pieces. Which is OK, since it will be coated with multiple layers of glue.
For our design we created a hanging bridge that will actually compress the pieces lengthwise, and
through this axis, the spaghetti is very strong. Although the final design will be quite heavy.
8/20/14
For out bridge, we discovered that the rebar design is no good by itself, even though it is
significantly stronger than a lone spaghetti it will still snap easily. So we decided to build
a bigger bridge out of the rebar type pieces. For now we simply prepared around 45 of
the rebar pieces to be used tomorrow.
8/19/14
Today we continued with HTML, we were taught to insert local links, the example
being the insertion of a .pdf, additionally the 'marquee' command adds a nice
effect, although it seems unreasonable to use, since it appears to experience
low refresh rates which makes it difficult to read.
8/18/14
This is the first entry on the electronic journal, which has been
created today. Hopefully it will evolve over time to look pretty
and resemble a web page.


